This post may contain affiliate links.
If you have a vegetable garden of any considerable size, starting seeds indoors is well worth the effort. Starting your own seeds allows you to choose from many more varieties of your favorite vegetables. Seed starting supplies are also less expensive, after an initial investment, than buying seedlings at a nursery. You can grow 20 tomato plants for the cost of a bit of soil, electricity, and one pack of seeds – compared to paying five dollars or more per plant at a gardening center.
Starting seeds indoors is incredibly rewarding for those who love gardening. You can get your hands in the soil months earlier than if you wait until vegetables are ready to plant outside! It is almost enough to cure the winter doldrums, even when winters are reaaaaallly long, like in our home state of Vermont.
This article provides information on the seed starting supplies you will need to get your operation up and running. We emphasize DIY whenever possible, and also recycle. But sometimes you do have to invest in seed starting equipment to sure the best possible results. To make it easy, we have also gathered all of the supplies mentioned in this article in a shopping list in our Amazon Storefront.
This article is the first in our seed starting series, which takes you through the process of seed starting from choosing what to grow to planting seeds, caring for them, and transplanting seedlings. You’ll find links throughout the article to these valuable additional resources!
High Quality Vegetable Seeds
The first thing you’ll need, of course, is vegetable seeds. We prefer organic seeds because they are not much more expensive than conventional seeds and, in our opinion, offer higher quality results and more diverse varieties. Another option to consider is heirloom seeds – these varieties have been preserved over time and open the door to incredibly interesting specialty varieties.
Our two favorite seed companies are Renee’s Garden and High Mowing Organic Seeds. In our experience, seeds from these companies have a high germination rate (meaning, they actually come up when you plant them!) and produce delicious high-quality vegetables.
[mailerlite_form form_id=4]You’ll need to choose which vegetables you want to start from seed, which is based on both how many of each vegetable you want and whether they should be started indoors. We’ve provided a whole guide on which seeds to plant indoors in this separate article.
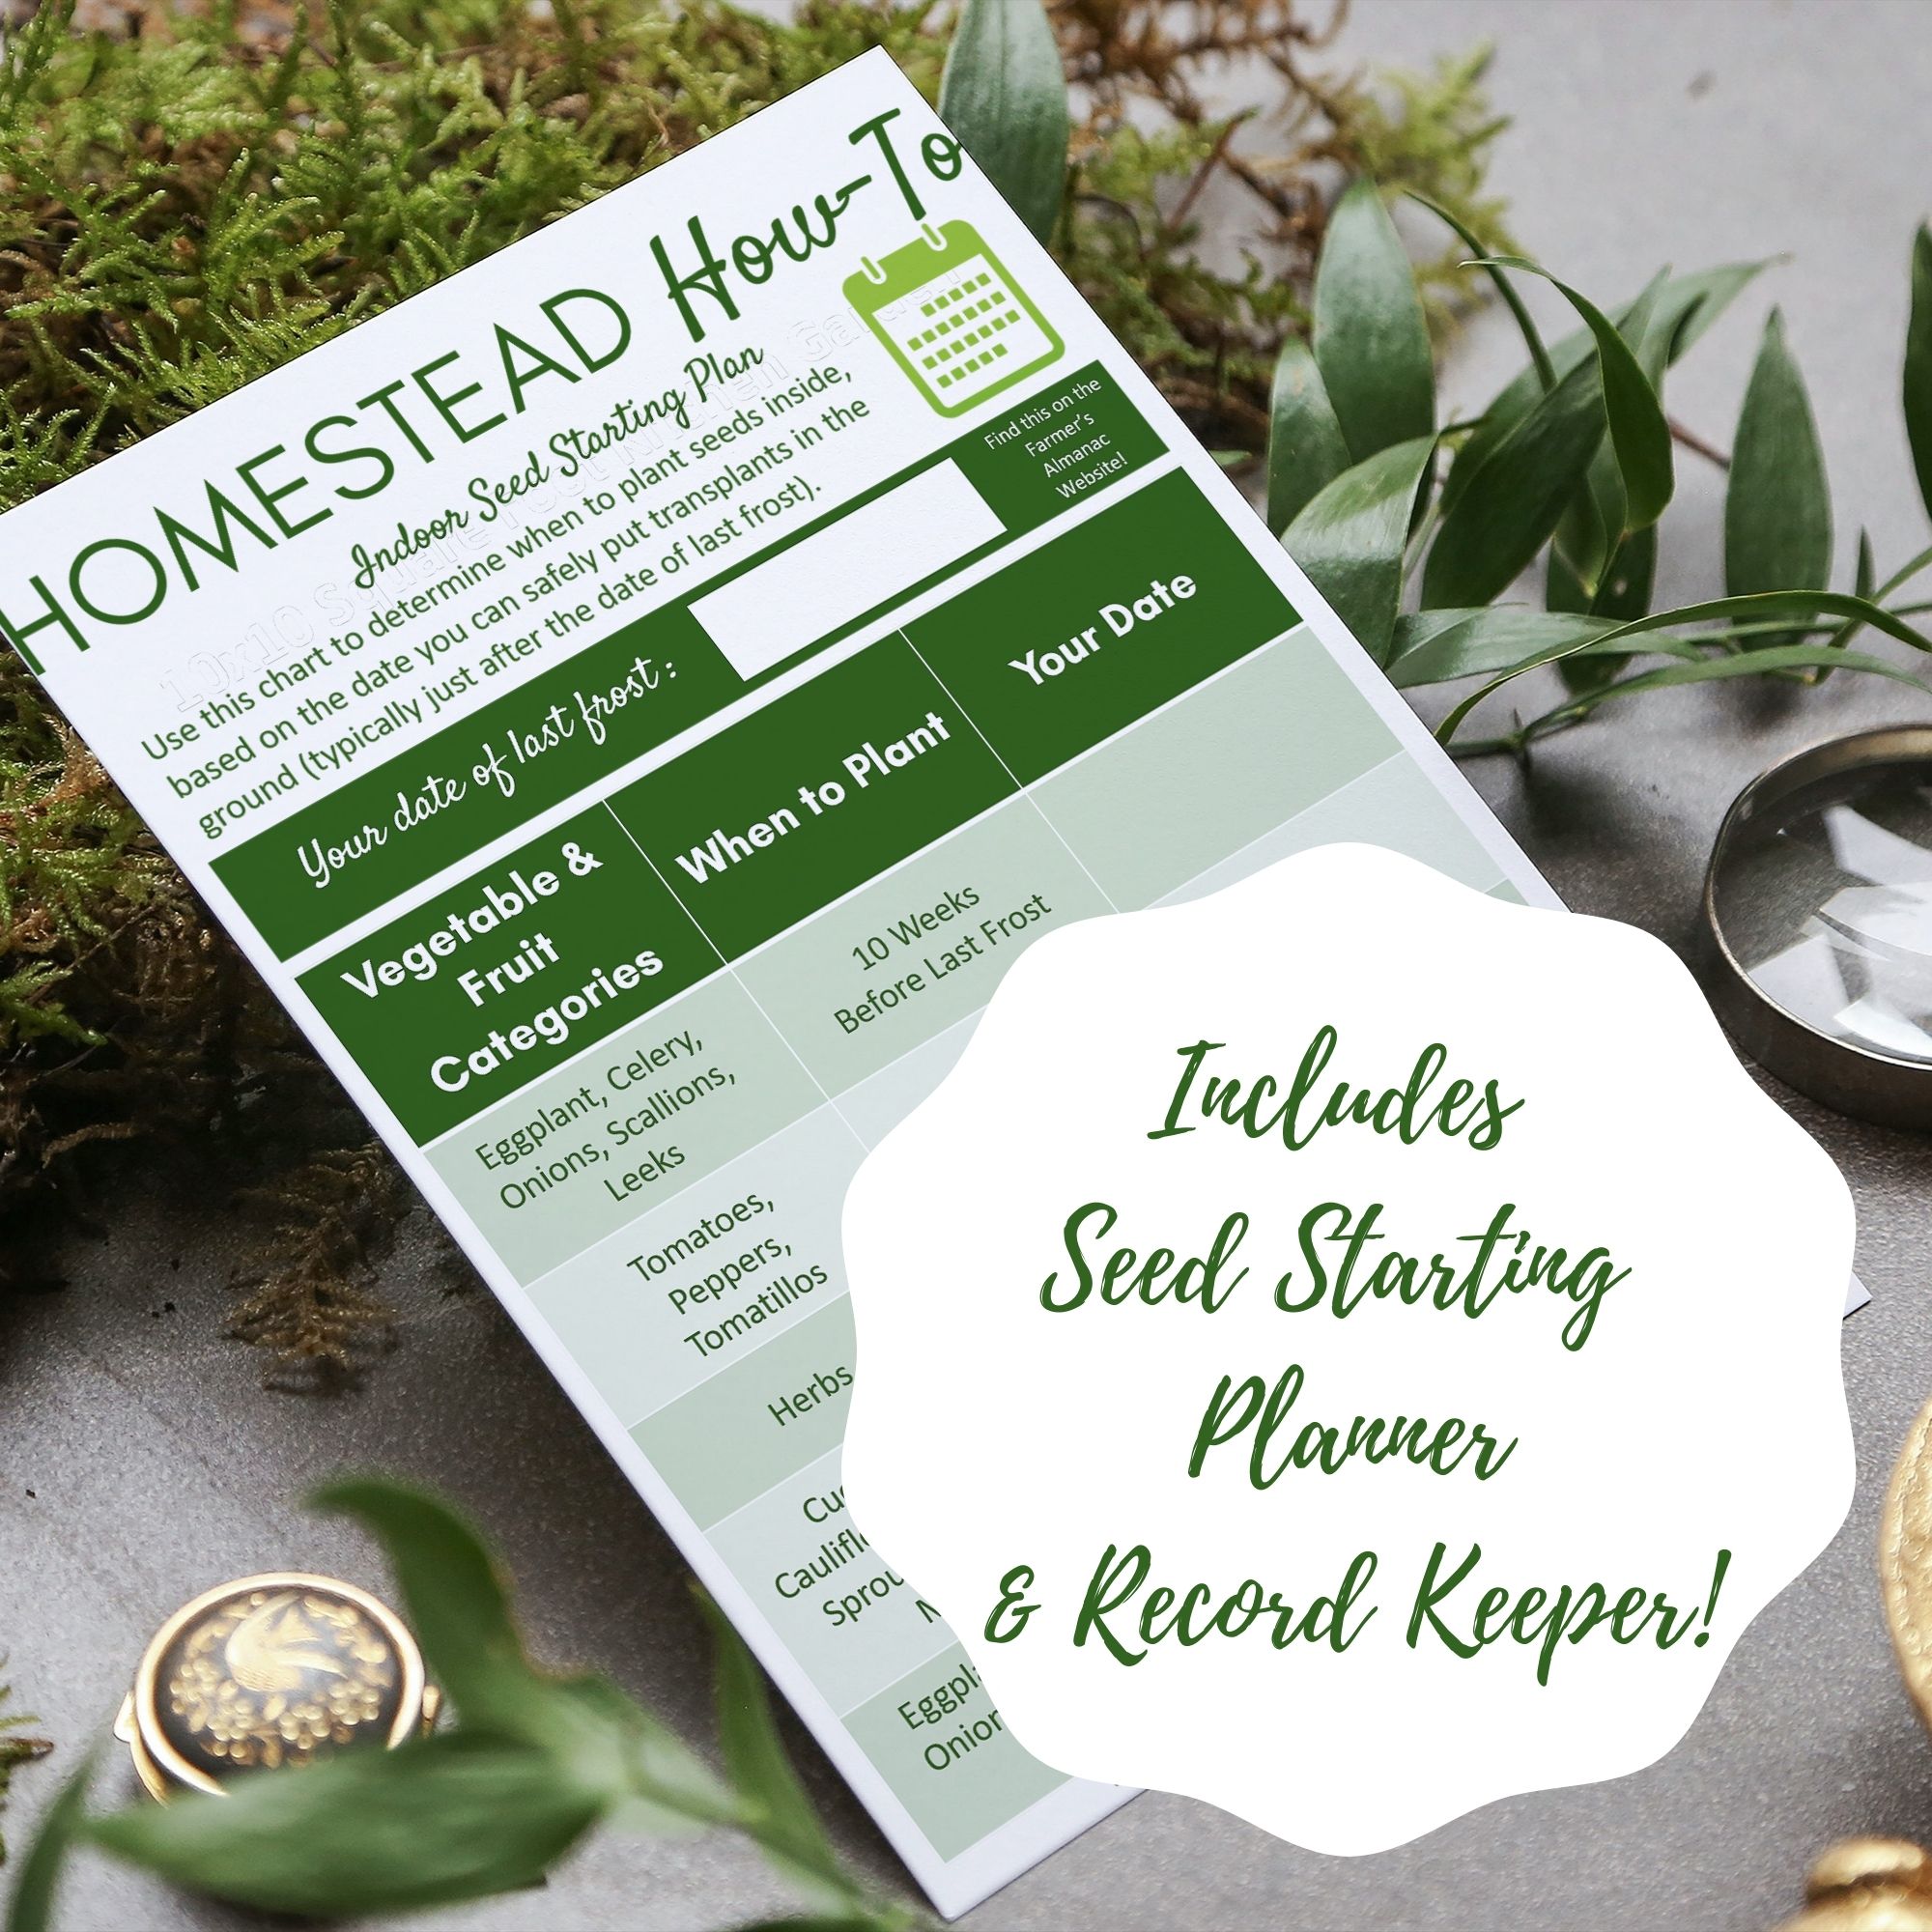
You’ll also need to plan out a seed starting schedule. Click here for an article on when to plant seeds indoors, and then download our easy seed starting planner and tracker from Etsy!
Seed Starting Soil (or Mix)
Seedstarting mix is specially designed to offer the nutrients that lead to better germination. You can make your own seedstarting mix with the components that will make your seeds happy, or you can purchase a ready-made soil mix, like Gardener’s Supply Company Seedstarting mix or Coast of Maine Organic Seed Starter. Again, we recommend going with an organic mix to ensure that no unwanted chemicals are introduced to your seedlings early on. After all, you will be eating this food and serving it to your family.
Many companies also makes something called a coir which is basically a small disc of essential nutrients and soil that is dried out. When you add water, the soil absorbs the moisture and expands to fill your pot.
It can also help to add organic compost to your seed starting mix, at a rate of about 1/3 compost to soil mix (check and see if your mix already has compost, and add a little less if it does).

Grow Lights or Full Spectrum Bulbs
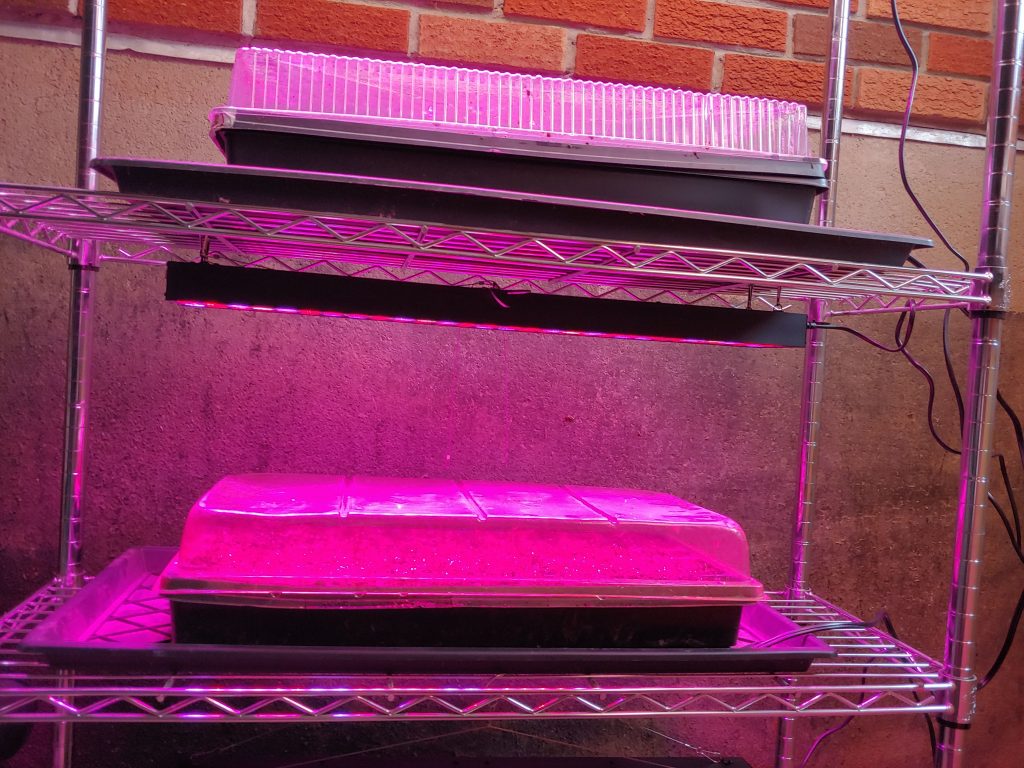
Starting seeds indoors requires a strong light source to make up for the lack of sunlight in the early spring. While a window sill may work later in the season, the day is typically not long enough for what the seeds need for germination. You’ll need to consider a full spectrum light bulb or grow light to ensure successful germination and growth.
A full spectrum plant bulb in a fixture that sheds light over your entire seedstarting surface is a decent place to start for a small set up. But once you get started and want a larger seedstarting operation, grow lights are a solid investment. Be sure to read the details on the size and coverage area of any grow light you choose – some can appear large in the photos but end up being very small when you get them home!
** Click here for our article on
How to Build a Grow Light Stand for your seedstarting operation.**
Seedling Pots or Flats
Once you have seeds and soil and a shelf or other location to put them, you’ll need pots or flats in which to plant your seeds. There are a lot of options when it comes to starting your own seeds, and you need not spend too much money on fancy equipment.
Seed Starting Flats can be large and open for planting seeds that you’ll divide later, or they can be divided into small sections. They are convenient because they fit nicely under a grow light on a stand and can be moved around easily without having to move tons of separate pots. However, depending on the size of the openings, you may have to transplant your seedlings into larger pots part-way through the season. Flats can be plastic (which can be used year after year) or made of peat or cardboard (these will degrade over time and can often be planted directly in the garden).
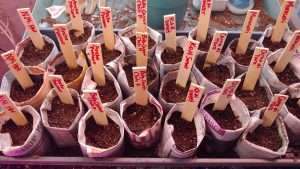
Seed Starting Pots are individual pots for each plant and come in a wide variety of shape and materials. You can also use recycled containers from previously purchased plants, just make sure they have been carefully washed to avoid introducing pathogens to your seedlings. Lastly, you can make newspaper seed starting pots for some veggies. We do not recommend newspaper pots for veggies that have to be planted more than 6 weeks in advance as the pots will begin to decompose after a while. This is by design, and great from a zero-waste perspective, but not so great if the pot decomposes before you are ready to transplant your seedling.
You can also make your own seedstarting pots out of recycled newspaper! Click here for instructions!
Fertilizer (optional, but helpful)
Though not always necessary, it can be very helpful to mix a fertilizer into the seed starting mix before you plant. This helps to add nutrients that give your veggies a little boost. You can go with an all purpose fertilizer or a vegetable-specific fertilizer; we only use something specific in the case of tomatoes because we plant a lot of these and have had good success with Organic Tomato Fertilizer.
After the initial planting, you can also use a fertilizer on a regular basis when you water. Follow the directions on the fertilizer that you choose for how much and how often to add fertilizer. We use an organic fertilizer mix that works for both seedlings and houseplants; you simply add a spoonful to your watering can and water your seedlings as usual.
Shop our Amazon Storefront for
Seed Starting Supplies mentioned in this article.
Other Seed Starting Supplies
A few other supplies that may be helpful to you when you start seeds include:
- A Seed Starting Planner & Schedule (available on our Etsy site!)
- A Watering Can, preferably one with a small spout so that you can get very precise with your watering.
- A Spray Bottle to dampen soil and for early watering before individual sprouts pop up.
- Boot Trays to put your seedlings on to avoid water damage to your table or shelf.
- Garden Gloves so you can dig your hands in to mix the soil.
- Seedling Labels so that you can keep track of what is planted where. Popsicle sticks or a piece of masking tape on a pot work just fine.
Read more about Starting Seeds Indoors in these Additional Articles on our Site:
- Choosing which Vegetables to Start Indoors
- Planting & Caring for Seedlings
- When to Plant Seeds Indoors (including a FREE Seed Starting Schedule)
- Preparing Seedlings for Transplanting

Carrie Williams Howe is an educational leader by day and an aspiring homesteader by night and weekend. She lives on a small homestead in Vermont with her husband, two children, and a rambunctious border collie. She blogs about her family's homestead life at The Happy Hive.


