This post may contain affiliate links.
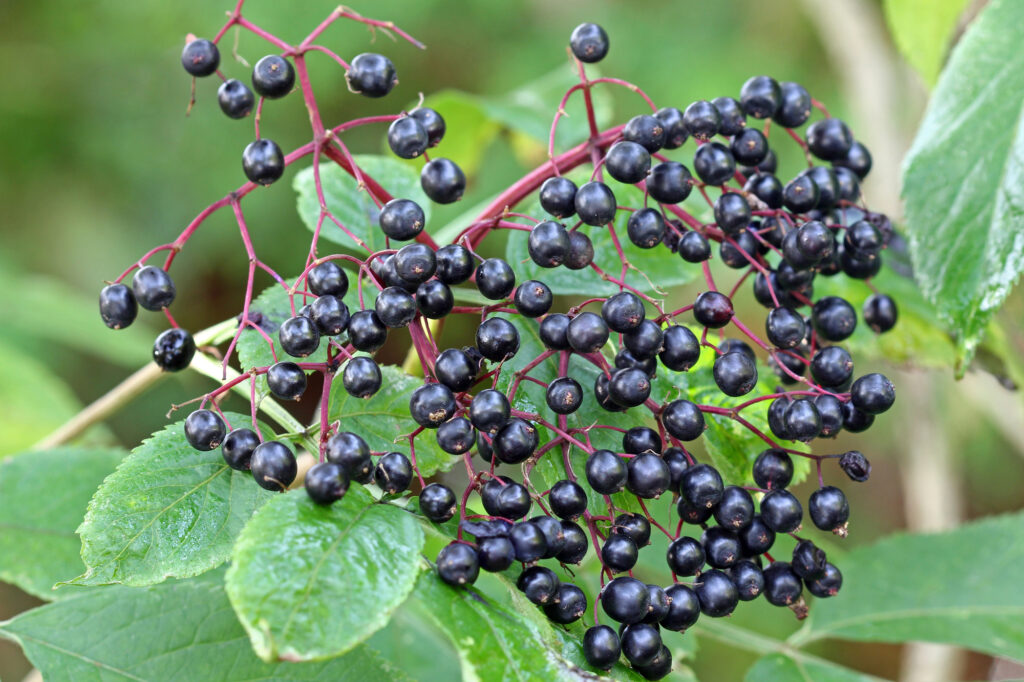
Elderberries make a great addition to any farm or homestead. The medicinal properties of elderberries are incredibly valuable. The flowers can infuse tea and other herbal products, and the ripe berries can be used for homemade elderberry syrup, baking, cooking, or winemaking.
Growing elderberries is actually pretty easy, and once you have a plant or two, you can multiply your berry patch simply by taking cuttings from your plants and propagating them!
We have three full-grown elderberry bushes (Sambucus nigra), and this year, we took about 30 cuttings to propagate so that we could expand our own collection and share it with friends and neighbors.
There are several methods for taking cuttings from elderberries, but this article describes the process of using hardwood cuttings to propagate during the winter or early spring.
How to Propagate Elderberries
Step 1: Cut the Shoots of Elderberry Plants
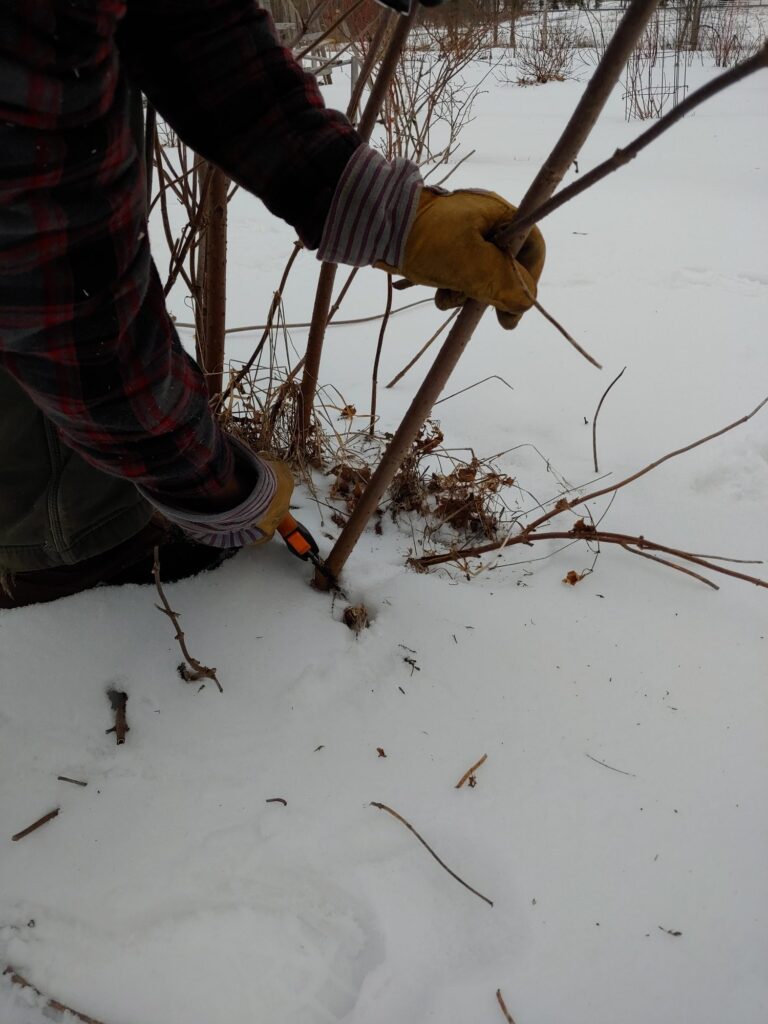
While your elderberry plant is still dormant, it’s time to start propagating. Look for shoots that extend from the main base of the plant, about the width of a finger.
Anything smaller should be left to grow for another year or two. Cut the shoot at an angle as close to the ground as possible.
Step 2: Create Sections from the Cuttings
To propagate each elderberry plant, you’ll need a cutting with two nodes—one towards the bottom and one towards the top.
Make sure to note the orientation of the cutting to keep track of which end is “up.” Angle the bottom cut and keep the top cut straight. Typically, you can get 4-6 sections from each shoot.
Step 3: Store the Cuttings (optional)
If you are not going to be planting your cuttings right away, keep them in a cool, moist place until you are ready. A sealed plastic bag with moisture out of direct sunlight will work.
Step 4: Plant your Cuttings
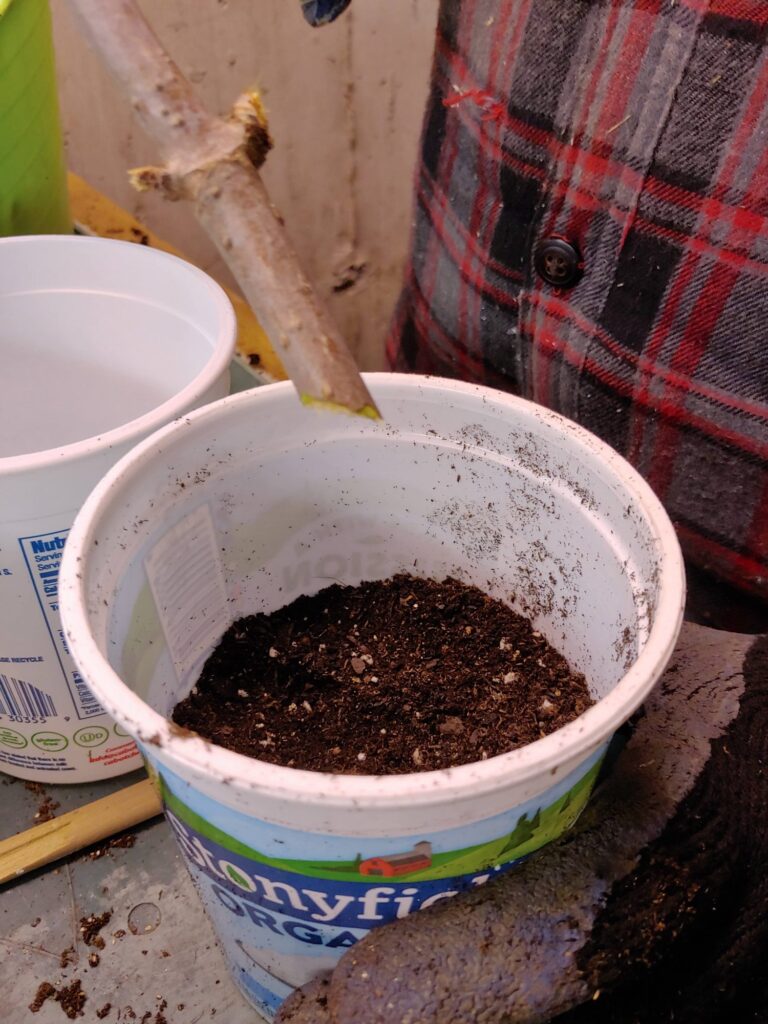
To plant your cuttings in a pot, fill a medium-sized container (we use empty quart-sized yogurt containers with holes drilled in the bottom) about 2/3 full with potting soil enriched with compost if you have it. Bury the bottom “node” (buds) of your cutting about 2 inches below the soil.
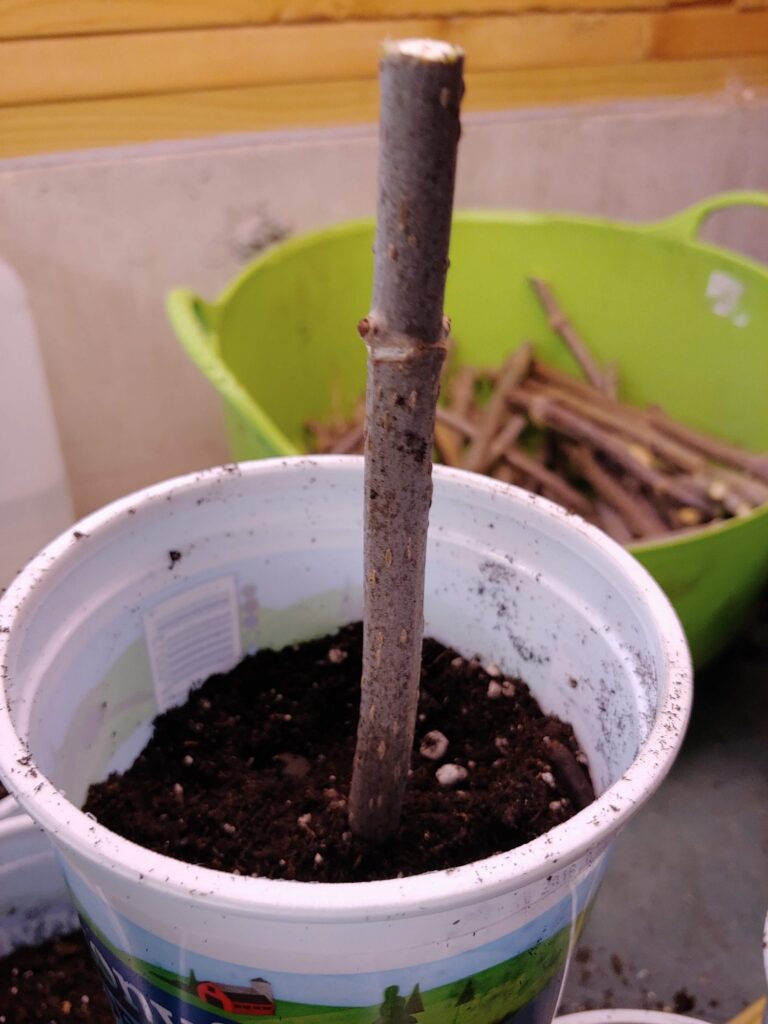
Step 5: Store It
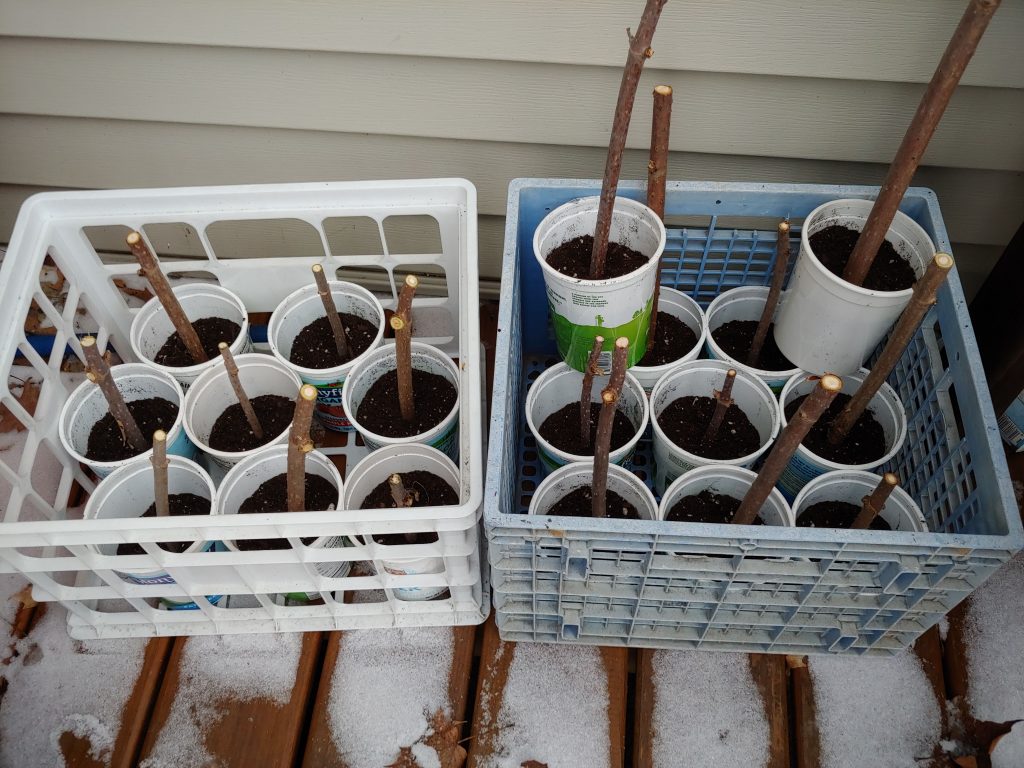
Place these pots in a cooler area instead of a warm greenhouse to prevent excessive leafing out at the top before the roots have a chance to establish firmly at the bottom.
Once the plants demonstrate signs of strong root growth—such as being well-rooted in the soil and buds starting to emerge on top—you can either share them with others or transplant them to their permanent location.
Where to Plant Elderberries
You can plant your elderberry cuttings directly into the ground before the warmer weather arrives. This ensures that the lower node, buried beneath the soil, can establish itself before the top of the plant begins to leaf out.
Choose a location for your elderberry with full to partial sunlight and acidic soil, although elderberries are quite adaptable. It’s a good idea to start several shoots, as not all may take root. Expect to see berries on your plant within about two years.
Last year, we planted a shoot like this, and by the end of the growing season, the plant had reached a height of 2 feet with multiple shoots sprouting up!
Other posts you might like
- How to Dry Fresh Thyme – 5 Methods
- How to Propagate and Grow Rosemary from Cuttings
- How to Regrow Scallions in Water
- Beginner’s Guide to Growing Basil in Your Garden
- How to Grow and Harvest Mint
Carrie Williams Howe is an educational leader by day and an aspiring homesteader by night and weekend. She lives on a small homestead in Vermont with her husband, two children, and a rambunctious border collie. She blogs about her family's homestead life at The Happy Hive.

