This post may contain affiliate links.
Wondering when to plant seeds indoors so you can get a head start on your garden? Here’s a hint – don’t plant all of your seeds at once. Each vegetable variety grows at a different rate, and has a different suggested planting time based on the date when you’ll transplant it to the garden. This article shares tips for when to start seeds indoors and provides a link to a seed starting schedule you can print out for home use!
In general, seed packets will tell you to start seeds a certain number of weeks in advance. The number of weeks is determined partly by how fast the seed will germinate and grow and partly by how big the seedling needs to be before transplanting.
Your earliest batch of seeds might include onions, eggplant, and tomatoes, whereas veggies like cucumbers and winter squash pop up so quickly they need less time inside to get established. If you start a vegetable too early, it could get “leggy” which means the stem grows very tall toward the light and gets too skinny. You’ll also outgrow the space you’ve allotted with huge veggies if you start too early, and your veggies may bust out of their pots.
Here are some basic guidelines for when specific varieties should be planted:
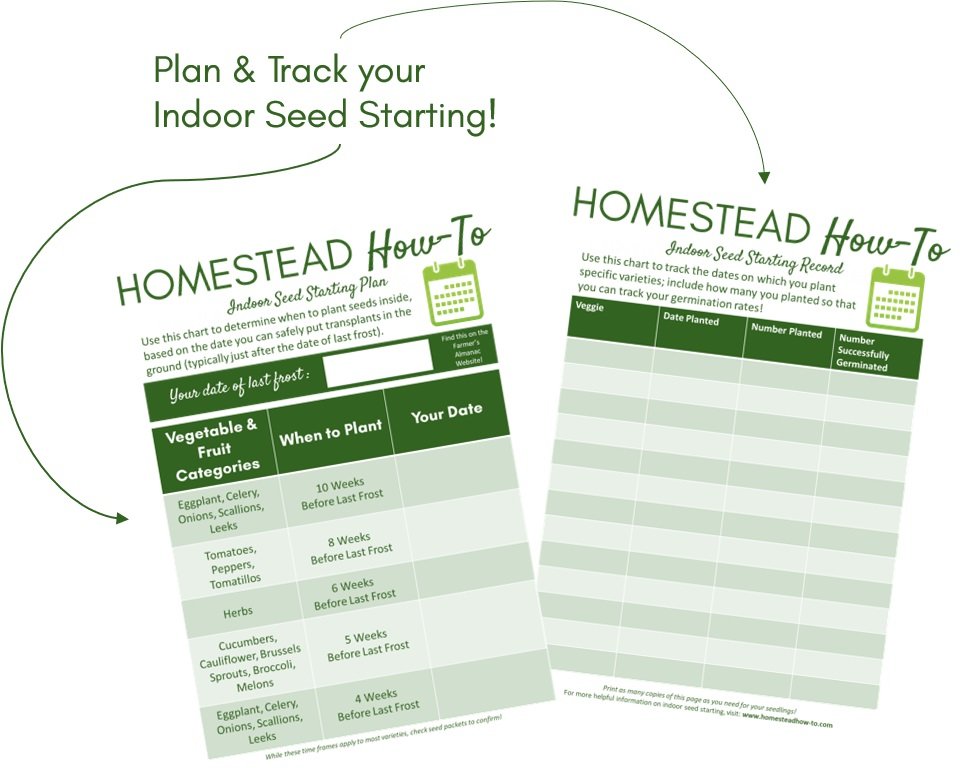
- 10 weeks before last frost: Eggplant, Celery, Onions, Scallions, Leeks
- 8 weeks before last frost: Peppers, Tomatoes, Tomatillos
- 6 weeks before last frost: Herbs
- 5 weeks before last frost: Broccoli, Brussels Sprouts, Cabbage, Cauliflower, Cucumbers
- 4 weeks before last frost: Lettuce, Melons, Squash
We have 2 strategies for organizing our seed starting schedule.
First, we store our seeds in sealed plastic baggies grouped approximately by planting date. So, for example, we keep tomatoes and peppers in a bag labeled “6-8 Weeks Indoors.” This keeps us from forgetting anything. It also helps us keep track of what we want to plant and which seeds need replenishing for the next year.
Second, we use a seed starting schedule that we post in our seed starting room with dates filled in. Scroll down for a link to our fillable seed starting schedule!
Tips for Creating a Seed Starting Schedule
The recipe for creating a seed starting plan is pretty simple:
STEP ONE: Choose the varieties you want to plant inside
Not all vegetables can or should be grown inside. Many veggies will do much better when planted directly in your garden. Typical veggies to start indoors include tomatoes, onions, eggplant, summer and winter squash, melons, and some greens. In addition, it may not make sense to buy a packet of seeds if you really only want one plant of a certain vegetable. To learn more about which veggies should be grown indoors, and which veggies make sense for you, check out our article on choosing seeds to grow indoors. It is helpful to plan out how many of each vegetable you want to plant. We tend to plant about 20% extra to account for any failure to germinate or transplant. This will help you to determine how much space you need and what you’ll need for supplies.
If you are looking for high quality seeds, we highly recommend both Renees Garden Seed Company. We have been using these seed provider for a long time and almost always have positive results with their products. We are an affiliate with both of these companies and proud to recommend their seeds!
[mailerlite_form form_id=4]STEP 2: Determine your Average Date of Last Frost
You can find your average date of last frost on the Farmer’s Almanac website. This date gives you an idea of when it will be safe to begin the process of preparing seedlings to transplant into the garden. You’ll use this as the date from which you back track as you determine when each seed should be planted.
STEP 3: Fill in a Seed Starting Schedule with Planting Dates
Using the average date of last frost, plus typical planting dates for most veggies, you’ll now plan out your seed starting schedule. Read the seed packet for specific varieties to confirm that the typical dates provided on any seed starting schedule apply to that particular type.
To help make the seed starting process simpler for you, we’ve created a downloadable seed starting chart that is available in our Etsy Shop. Simply fill in your average date of last frost, then use the timetables suggested to determine the dates when you’ll start each group of seeds. As a bonus, this packet it also comes with a planning sheet to help you keep track of what you planted when and how many seedlings succeeded – and it’s priced at less than $2!
STEP 4: Divide and Store your Seed Packets According to your Schedule
Once you know when each seed is to be planted, divide your seed packets into categories or put them in order in your storage bin so that each batch is ready to go.

then store them in a holiday cookie tin.
Step 5: Set up your Seed Starting Operation
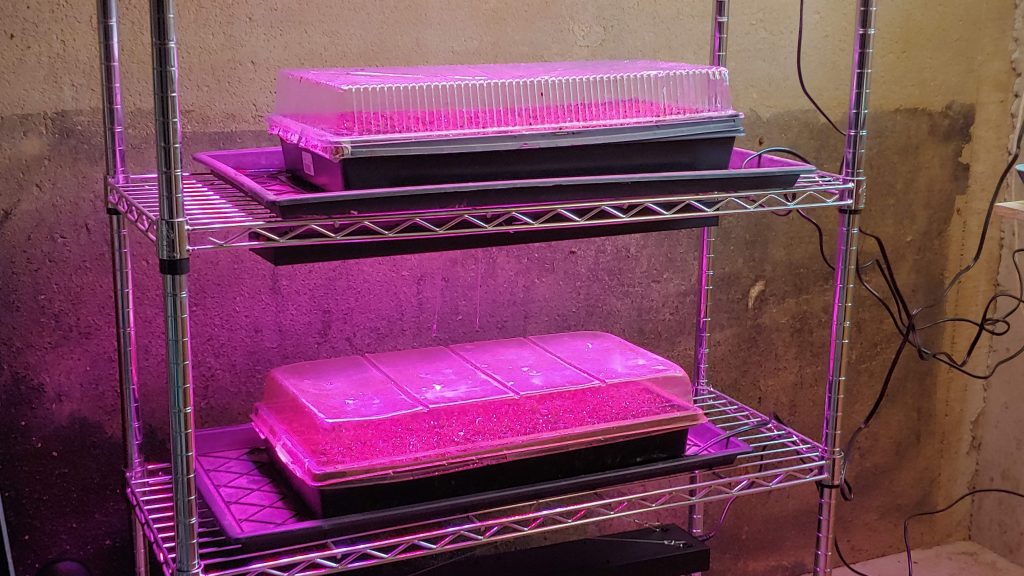
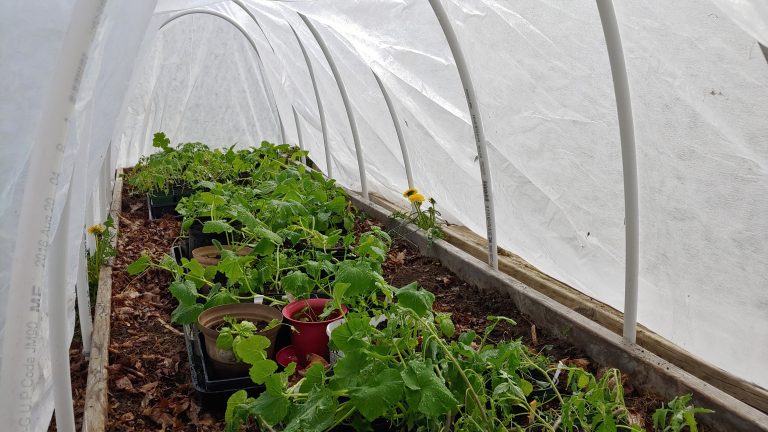
Based on the number of vegetables you want to plant, you’ll need to layout a seed starting center of operations. You’ll need a light source, soil, potting supplies, and potentially a fan and watering can. For more on setting up your seed starting operation, visit our article on seed starting supplies. Your location will also need to be fairly warm. You can use a grow light near a furnace in your basement if it runs fairly consistently; another option is installing heat mats or a space heater in a section of your garage. If neither of those is an option, just create a smaller seed starting operation in the living area of your home, but keep the number of veggies you plant in check!
STEP 5: Plant according to your schedule
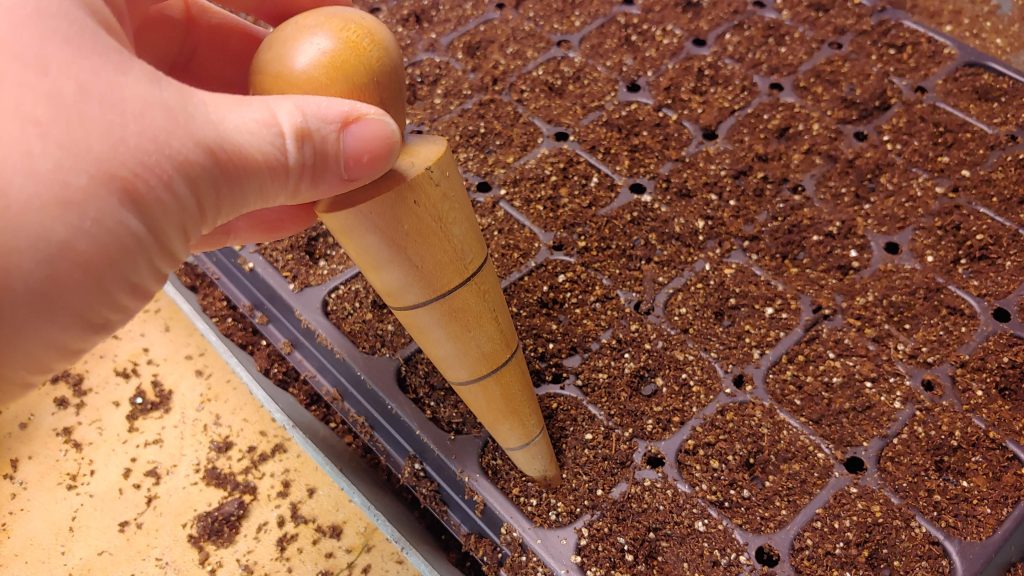
Now that you’ve got your seed starting schedule all planned out, follow it! Use our tips for planting seeds and caring for them to ensure good results.
More Seed Starting Resources
Be sure to check out the other articles in our seed starting series! Planting seeds can be a great, cost efficient way to support a big vegetable garden and we’ve provided all the resources you need to make it happen!
- Seed Starting Supplies (about)
- Seed Starting Supply Shopping List on Amazon
- Choosing which Veggies to Start Inside
- Planting & Caring for Seedlings
- Preparing Seedlings to Transplant

Carrie Williams Howe is an educational leader by day and an aspiring homesteader by night and weekend. She lives on a small homestead in Vermont with her husband, two children, and a rambunctious border collie. She blogs about her family's homestead life at The Happy Hive.


