This post may contain affiliate links.
Beeswax holiday ornaments are a great gift for friends and family. They are easy to make with just a few simple supplies and smell beautiful! You can package your beeswax ornaments into a box with a ribbon for a gift that looks like a gift store quality. They make great gifts for teachers, neighbors, and friends.
If you have your own beehives, you can render your own beeswax to make extra special ornaments from your homestead, but high-quality beeswax from other sources is also great for this project.
The process of making beeswax ornaments is simple, but the options to personalize them are plentiful! Because they are made in silicone molds, you can choose from hundreds of shapes—from snowflakes and Christmas Trees to bees or trucks!
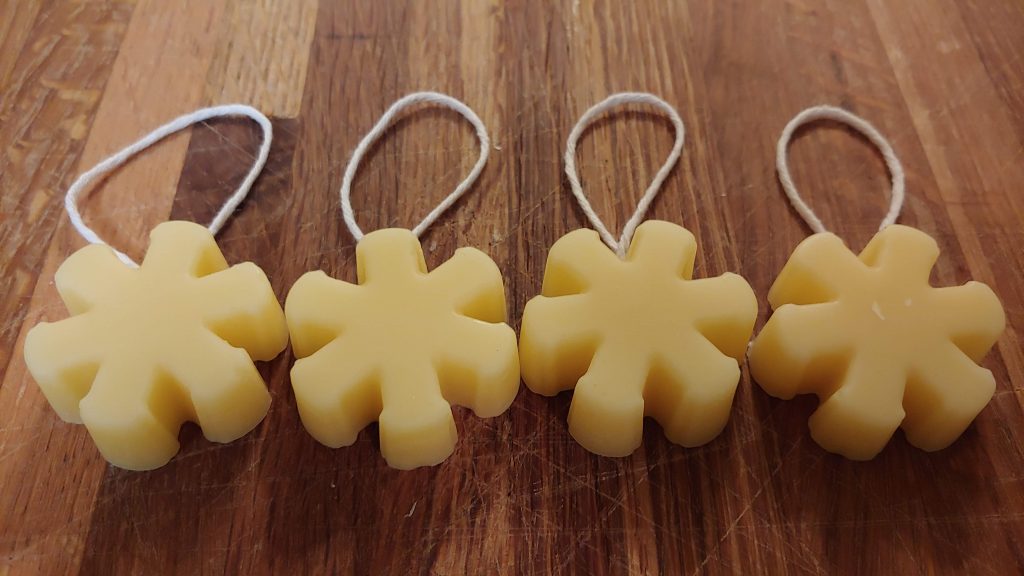
Supplies for Making Beeswax Ornaments
You need just a few key supplies for making beeswax ornaments:
- Silicone Molds of your choice – aim for smallish molds made for either chocolate or soapmaking. This part allows you to be creative, so choose cool shapes or ones that are personal to you or your giftees!
- A double boiler. We suggest a separate one because you will be melting beeswax in your double boiler. You can typically find one at a second-hand housewares store for just a few dollars. We find a small one meets our needs just fine (Bonus: once you buy it you can also make things like beeswax lip balm and furniture polish!)
- Beeswax – any kind of beeswax (crafting or cosmetic grade, bar or pellets) works fine for this project. The higher the quality, the better your ornaments will smell.
- String or Ribbon to serve as the ornament hook. I like using something rustic like twine, but you can also use a thin ribbon or simple white string. Ensure it is thick enough to hold its shape and not get too tangled.
- A wooden skewer or toothpick – preferably something disposable that you don’t mind getting wax on.
Instructions for Making Beeswax Ornaments
- Melt your beeswax—Add about 3/4 to 1 inch of water to the bottom of the double boiler. Place your beeswax in the top section. For your first run, start with about 1 cup of beeswax in the top of the double boiler. After you do this once, you can gauge how much mold you need for future iterations.

- Place the double boiler on the stove over medium heat until the water simmer, and the wax melts. Turn the heat down to low to keep it warm as the wax melts.

- Pour Hot Beeswax into Molds. Put your molds on a counter space on top of a tray, newspaper, or double layer of paper towels (to catch any wax that drips). Carefully remove the top section of the double boiler from the bottom, wiping any water collected with a towel. Pour hot wax into each of the cavities in your mold. A relatively quick pour helps to keep the wax from dripping down the side of the mold.
- Add your String or Ribbon Hook. Wait about 2 minutes until the wax around the edges of your mold has started to cool and solidify, then insert your string or ribbon.

- Make sure the top of the loop is coming out where you want the ornament’s top to be. Tying a knot at the end of the loop helps it stay put in the wax. Using your toothpick or skewer, gently press the loop down into the wax until it is covered with hot wax on top but not touching the bottom.
- Allow Beeswax Ornaments to Cool for 24 hrs, then Remove from Mold. Place your molds filled with beeswax in a cool place to dry (like your basement, garage, or unheated porch). They will dry in your house, too, but it might take a little longer if it is warm. Once the ornaments are fully solidified, carefully peel back the edges of the silicone mold, then press from the bottom to pop them out.
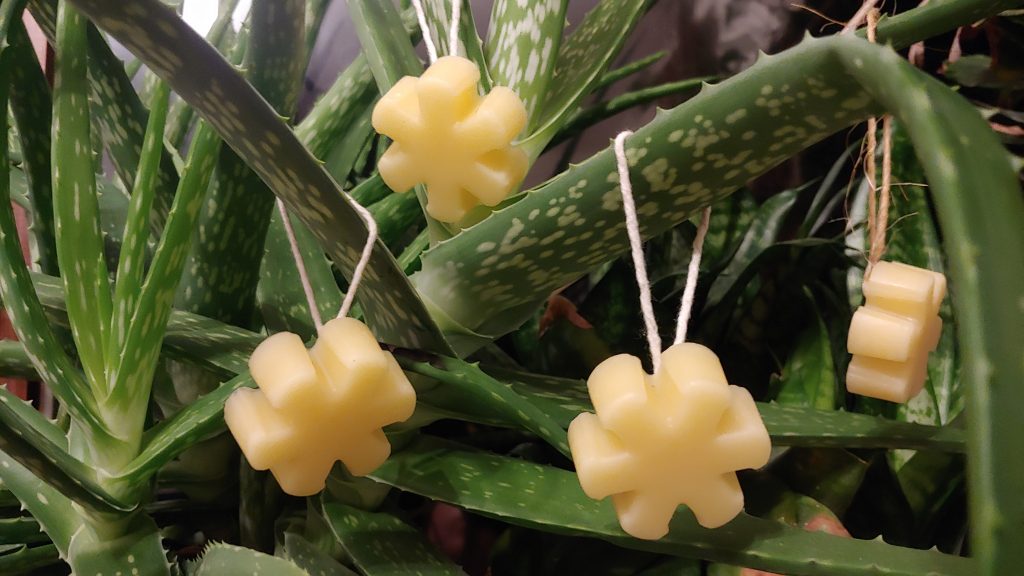
Use on your own tree or give as gifts! Placing your ornaments in a warm (but not hot) location can help to remove the smell. Remember to store them in a place that does not get hot enough to melt the wax between seasons.
What else can you make with Beeswax?
There are so many wonderful things you can make with beeswax. Personal care products take advantage of the health benefits of beeswax for your skin. Home products use the protective benefits of beeswax for leather and wood. And beeswax candles are healthier to burn in your home!
Other Posts You Might Like
- Beeswax Furniture Polish
- Beeswax Leather Conditioner
- Beeswax Pinecone Fire Starters
- Beeswax Lip Balm
- Beeswax Lotion Bars
Carrie Williams Howe is an educational leader by day and an aspiring homesteader by night and weekend. She lives on a small homestead in Vermont with her husband, two children, and a rambunctious border collie. She blogs about her family's homestead life at The Happy Hive.
