This post may contain affiliate links.
You can grow any type of potato in your garden using traditional methods like trenching or hills. These methods can be used for anything from large Yukon gold beauties to fingerlings or early purples.
In this article, we’ll provide step-by-step instructions for planting and growing potatoes in your garden using either the trench or hill method.
We’ll also tell you when to plant, and provide some helpful tips for how to ensure your potatoes grow into a healthy harvest.
Preparing your Garden for Potatoes (Trenches or Hills)
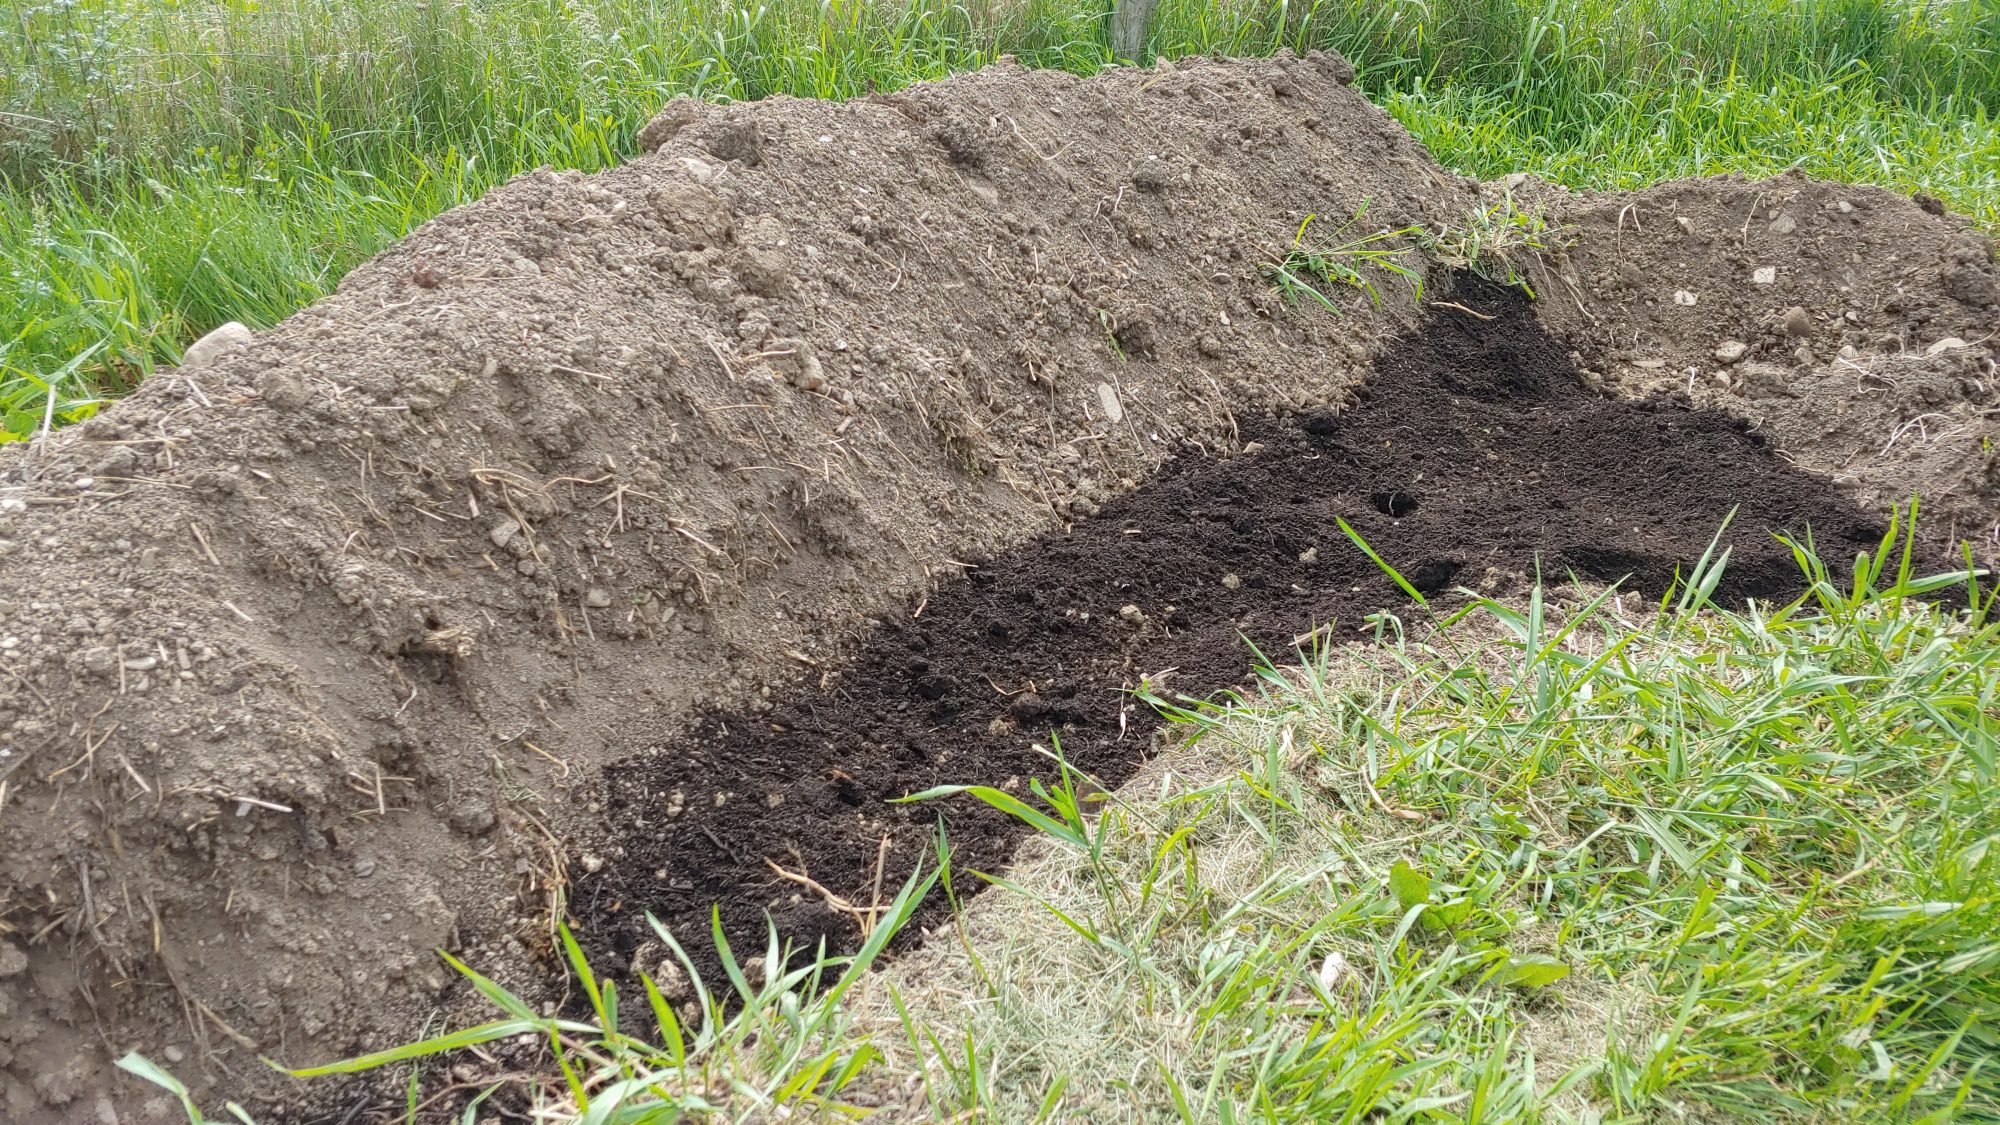
To start the process of growing potatoes, you must first select a site on your land. Once you have selected a site, use a shovel or hoe to dig a trench about eight inches wide and 12-18 inches deep. The trench should be long enough to accommodate the number of potato plants you want to grow (one plant every 12″).
If you are growing potatoes in hills, make sure the hills are about four feet apart.
Once you have dug your trench, it is time to amend the soil with compost or manure. You will need about two gallons of compost or manure per ten-foot row. Spread the compost or manure evenly in the bottom of the trench and then use a hoe to mix it into the soil.
Planting and Hilling Potatoes
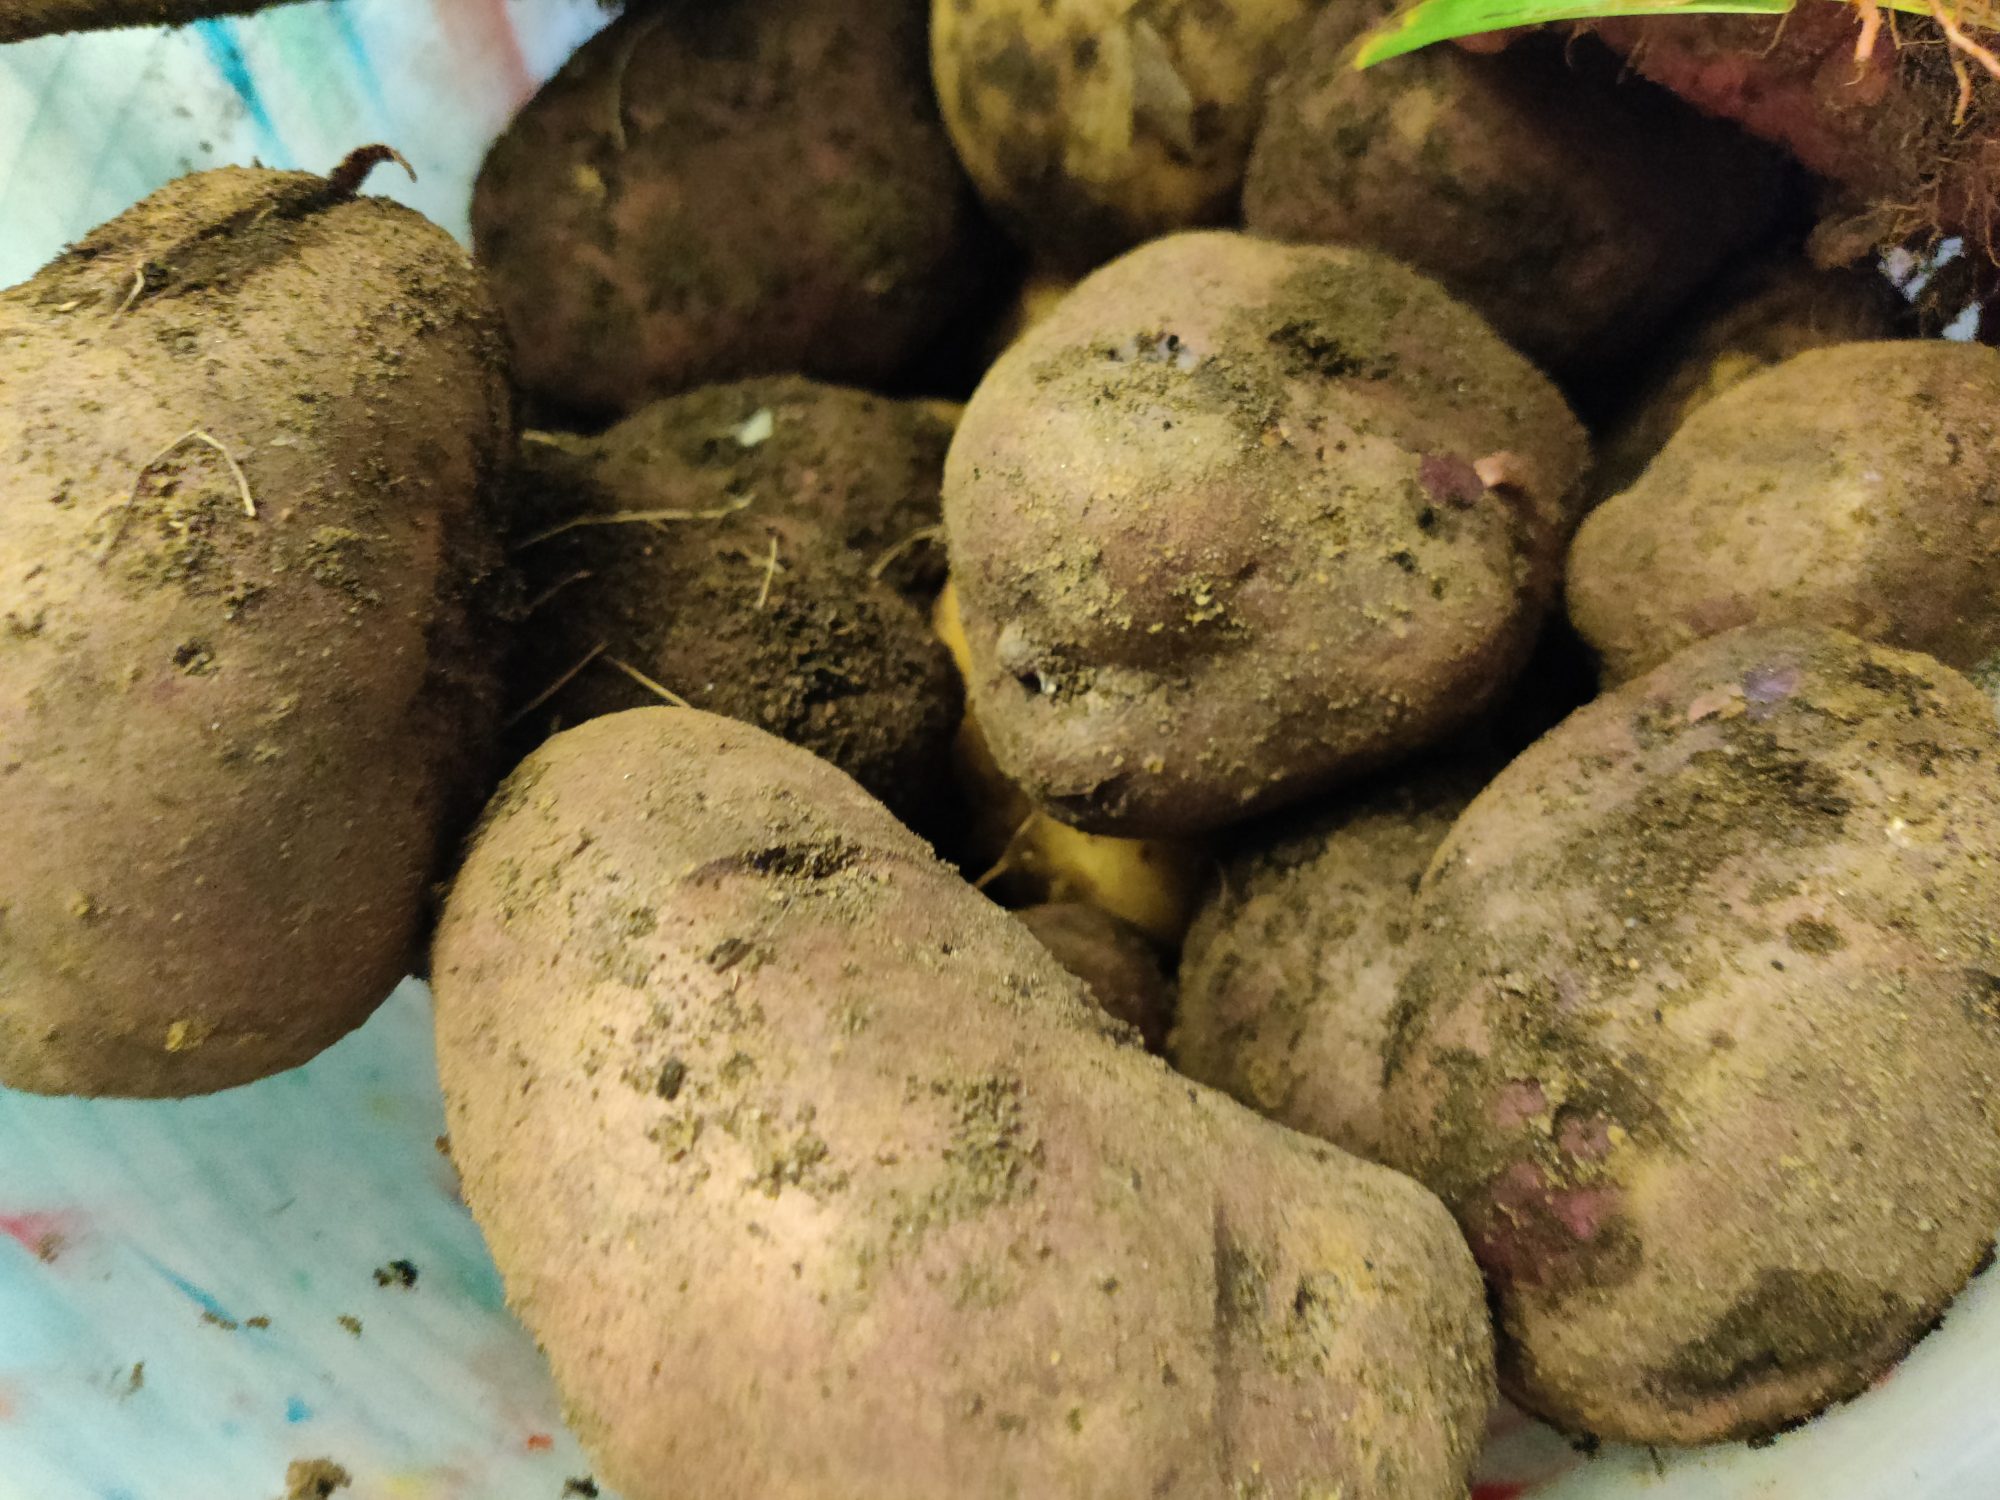
Potatoes are grown from “seed potatoes,” which are small tubers specifically grown to be planted. You can purchase seed potatoes from a garden center or online retailer. It is best to plant seed potatoes that have been certified as disease-free.
Here’s how you can plant your potatoes today.
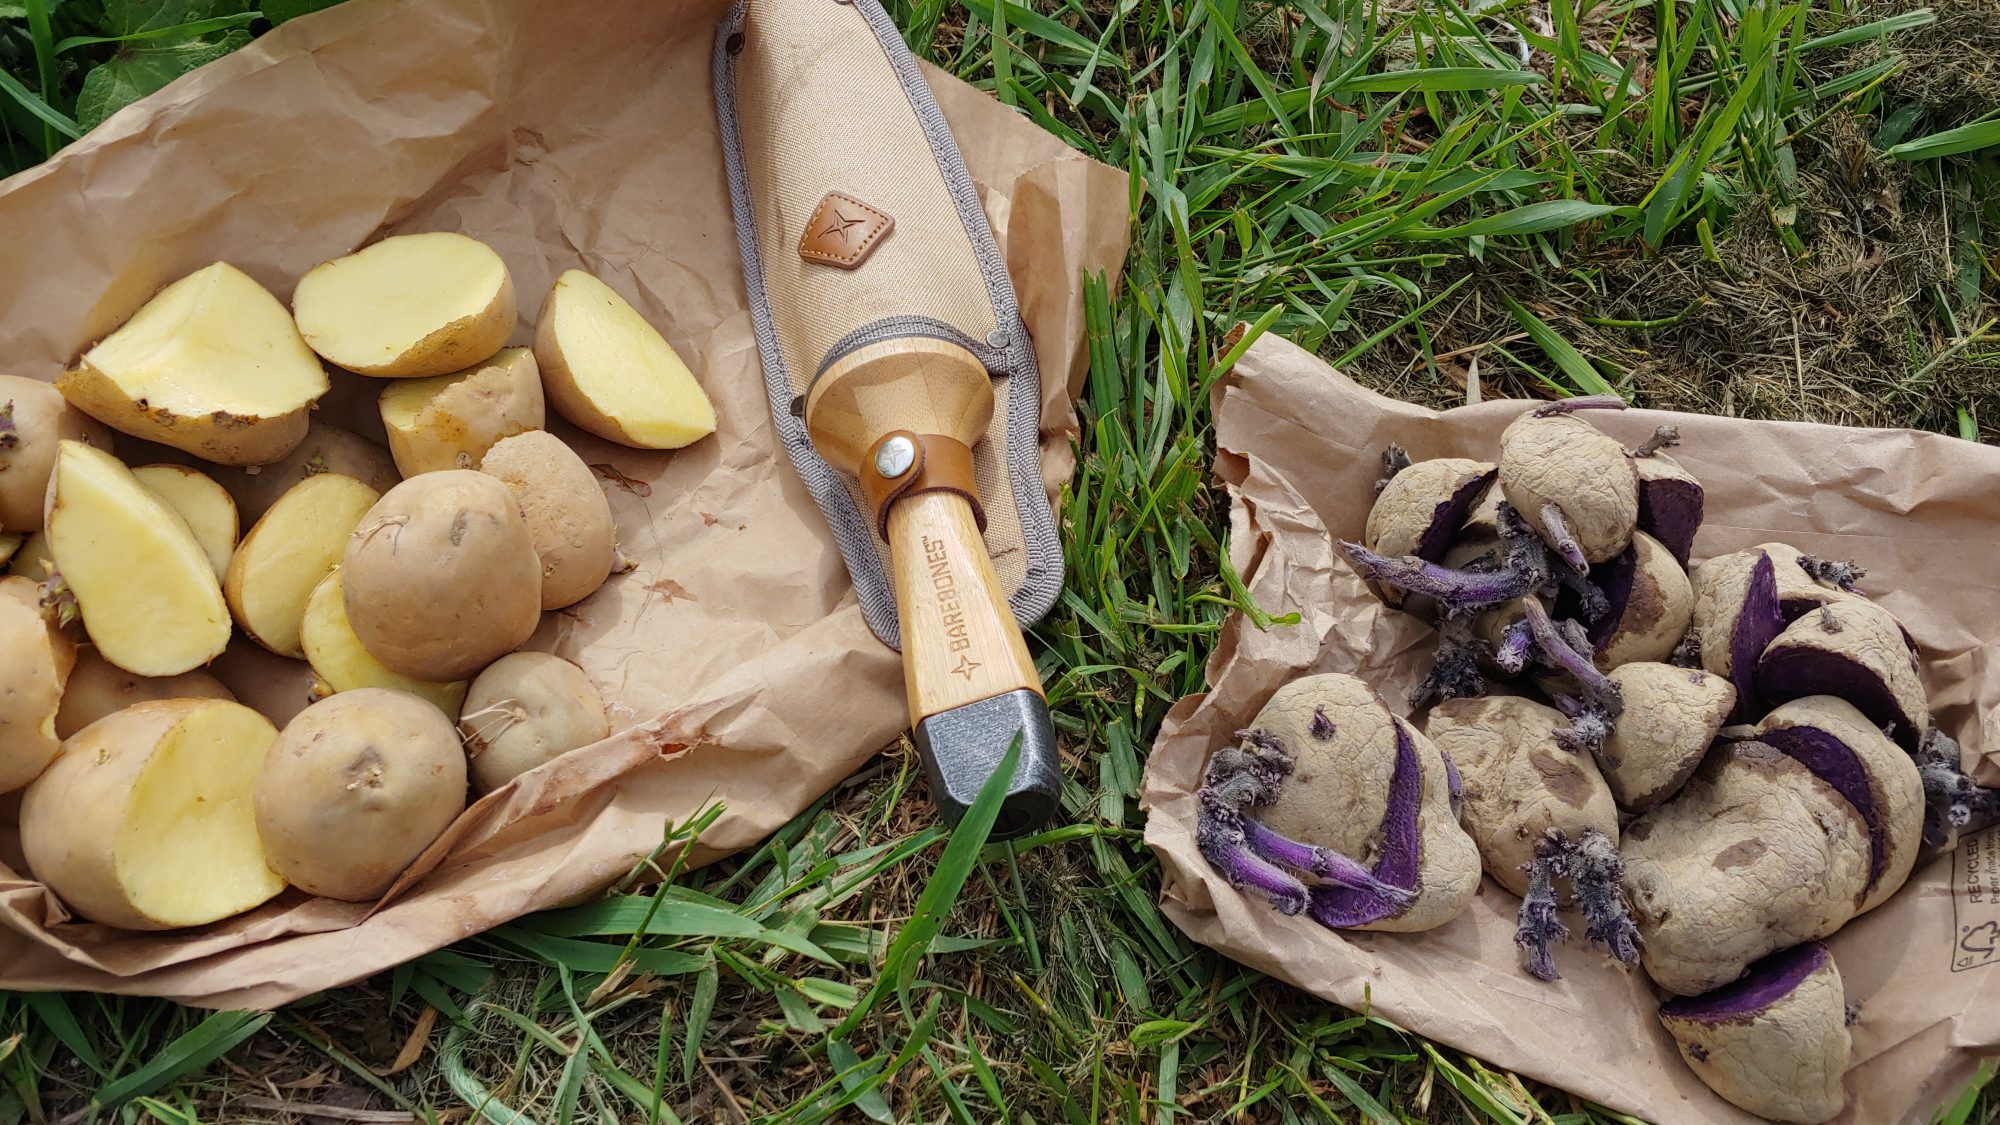
- Before planting, cut larger seed potatoes into pieces, ensuring each piece has at least two “eyes.” These are the small buds that will grow into new potato plants. We love using a high-quality garden knife like a “hori hori” for cutting our seed potatoes to size.
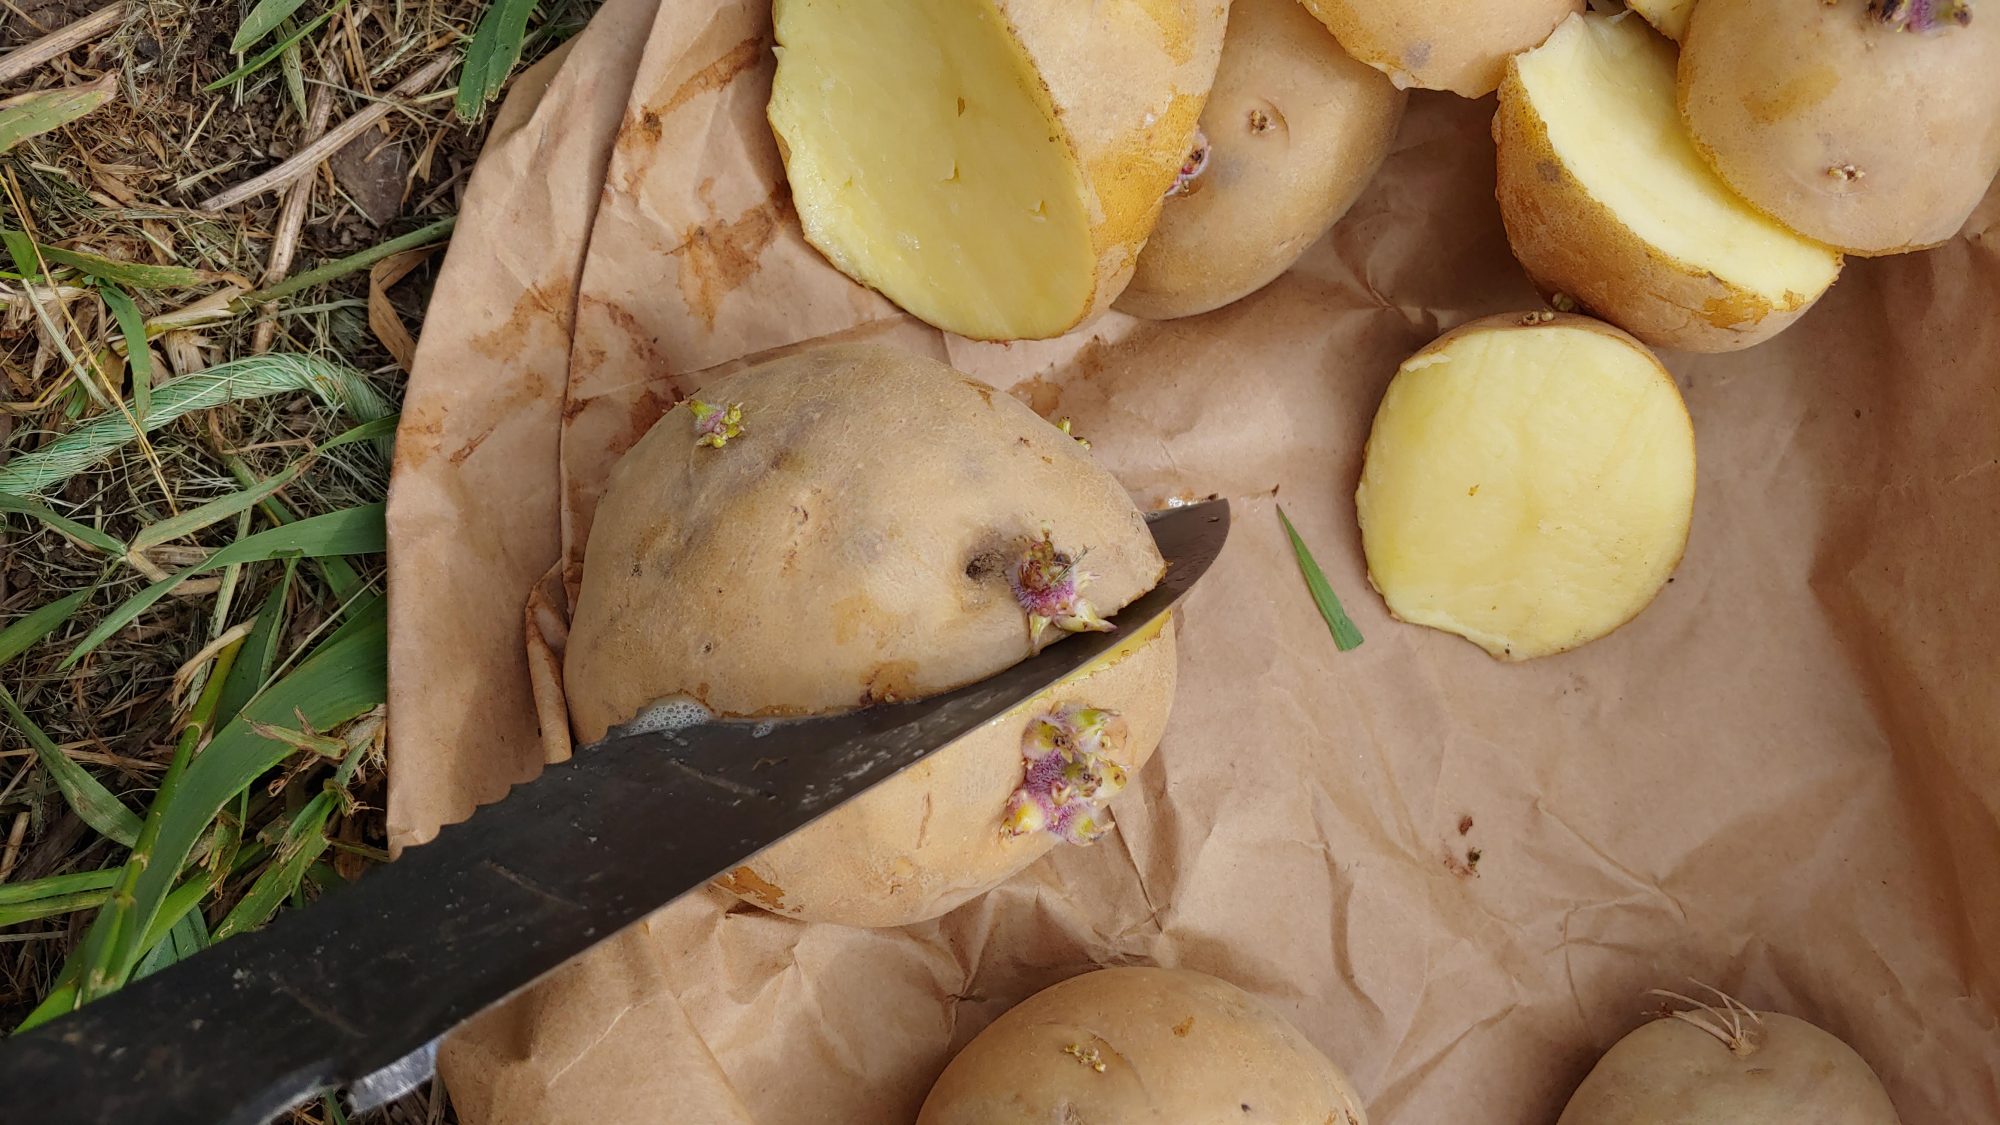
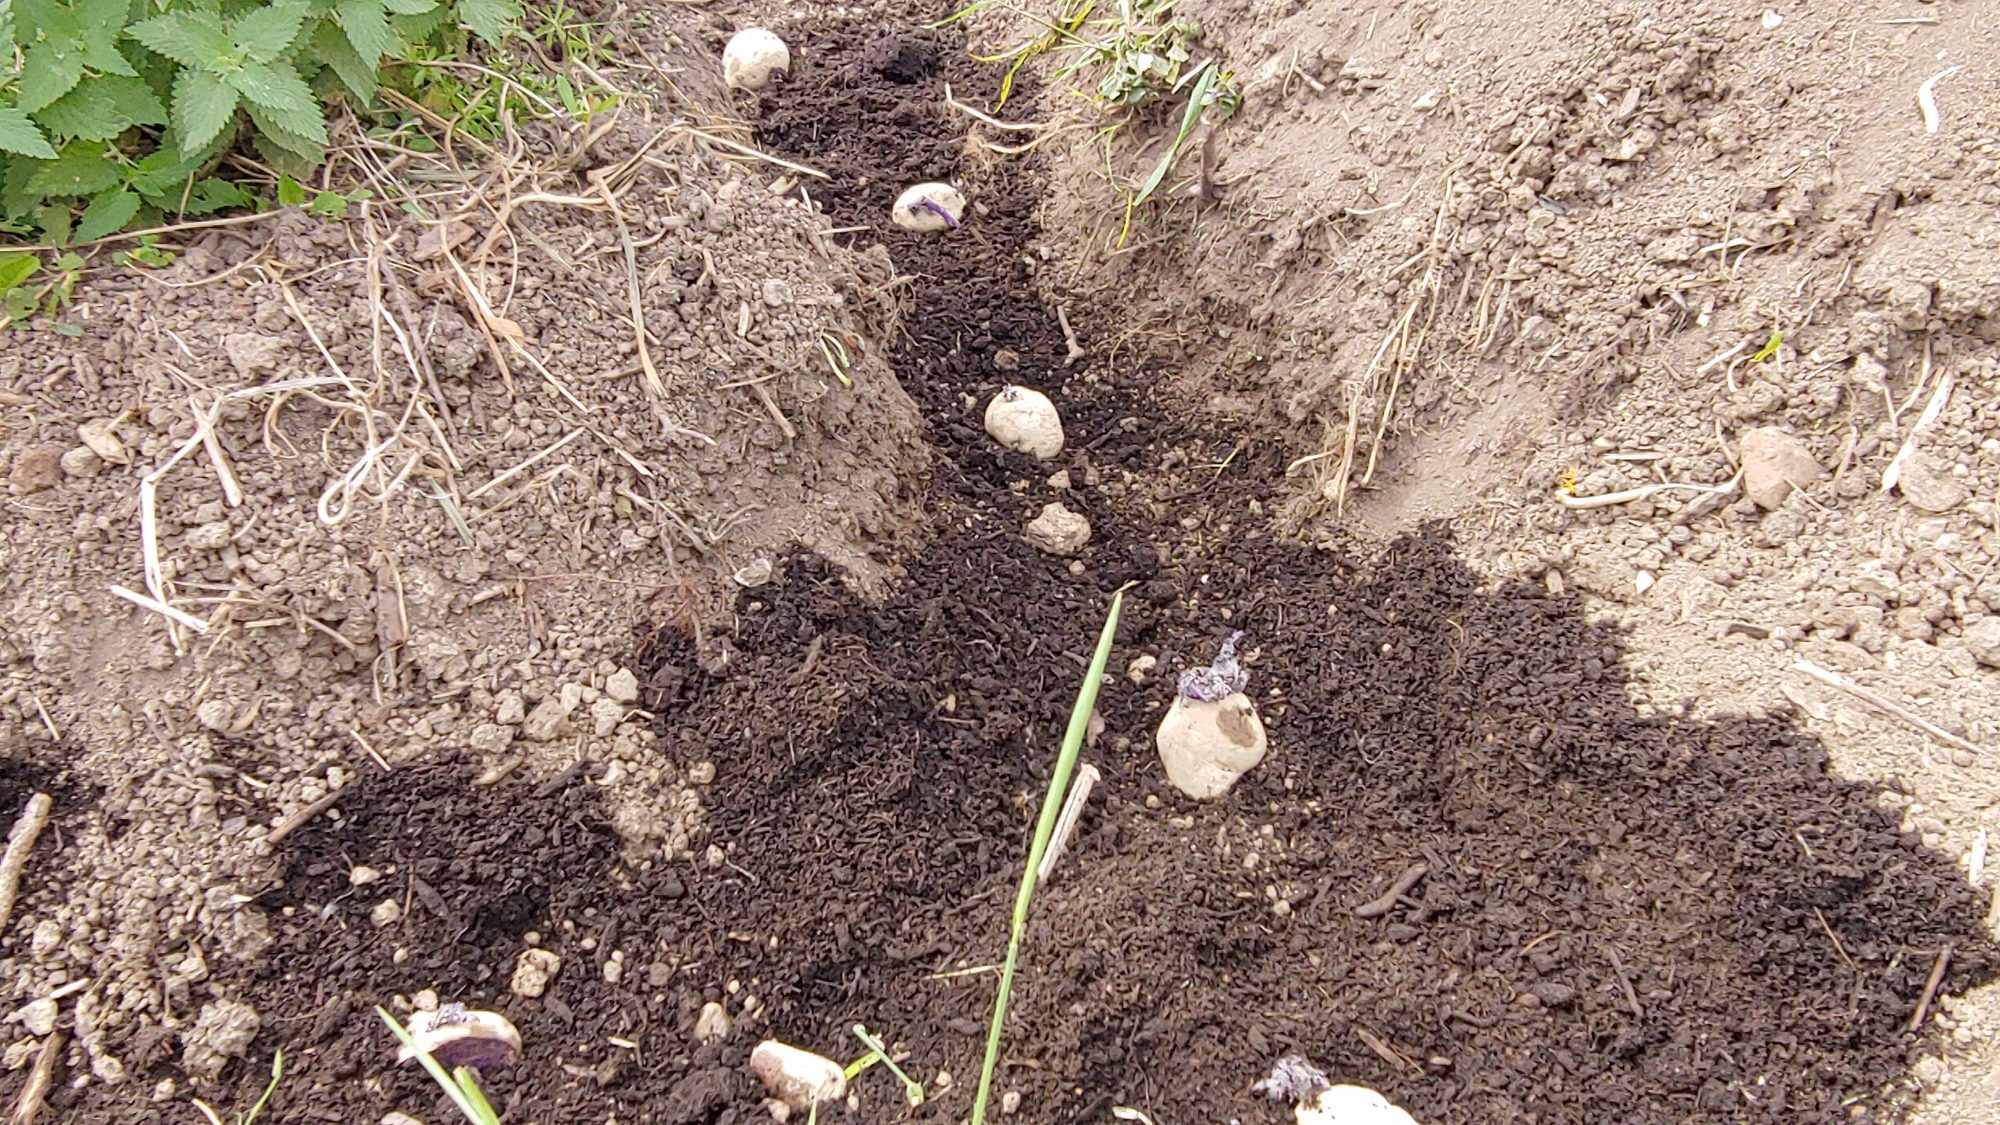
- Plant the potato pieces 12-18 inches apart, depending on the size of the potatoes. Plant the potatoes about four inches deep if you are planting in hills. If you are planting in rows, plant the potatoes two to three inches deep at the bottom of your trench.
IMPORTANT: As the potatoes start to grow, you will need to “hill up” the soil around the plants (or in the trench). This means that you will need to add more soil to the base of the plant as it grows, covering about half of the plant each time.
This helps the potatoes develop properly and prevents them from being exposed to sunlight, which can cause them to turn green and taste bitter. You can use soil with mixed compost to add nutrients as the potatoes grow.
You’ll do your first hilling when the plants are about 6 inches tall, then again every two weeks until you’ve added about 12-18 inches of soil.
Watering & Fertilizing
Potatoes need about one inch of water per week. Water at the base of the plant, being careful not to wet the leaves as this can encourage disease. If you are growing potatoes in hills, water around the hill, not just at the base of the plant.
You can fertilize your potato plants about two weeks after they have flowered, using a fertilizer that offers a healthy potassium and phosphorus level (nitrogen is not as necessary). For example, a 5-10-10 fertilizer would be appropriate. You can also side-dress the plants with compost or manure about six weeks after planting.
Harvesting Potatoes
You can harvest potatoes for daily use as soon as the plant begins to flower. To check if they are ready, dig around the edge of the plant with a spade or fork and carefully lift one tuber to see if it is a good size. These “new potatoes” will be small but perfect for boiling or roasting.
For better storage potatoes, wait to harvest until later in the season. If you wait to harvest all of your potatoes at once, you can do so after the plant has died (when the leaves turn yellow and begin to die).
This usually happens about two months after flowering. To harvest, dig around the plant with a spade or fork and lift the entire plant out of the ground. Be careful not to damage the tubers as you dig them up.
You can also leave some potatoes in the ground and dig them up as needed. These “late harvest” potatoes will not be stored either, but they can be a convenient way to have fresh potatoes throughout the fall and winter months. Dig around the plant with a spade or fork.
When do you plant potatoes?
Generally, it is best to plant potatoes in the spring, typically 1-2 weeks before the last frost. This will give the plants the longest possible growing season and yield the highest. Because you have to dig a ditch to plant your potatoes, you’ll have to wait until the ground is workable to save yourself a lot of tough work.
In some areas, planting potatoes in the fall for a winter harvest is possible. This is known as “winter planting.” If you are planting in the fall, you should plant potatoes eight to ten weeks before the first expected frost date. This will give the plants time to develop a strong root system before the cold winter weather arrives.
If you live in an area with a long growing season and mild winters, you can plant potatoes anytime. For example, potatoes can be planted in California’s Central Valley from February through November.
What type of soil do potatoes need?
Potatoes need well-drained, sandy loam soil with a pH of between four and seven. You can test your soil before planting to ensure it has the right pH and nutrient levels for potatoes and to get a sense of its consistency.
If your soil is clay or very sandy, you can improve its drainage and fertility by adding organic matter such as compost or well-rotted manure (read more about improving clay soil here). If your soil lacks organic matter, you can improve it by adding compost or manure to the planting area a few weeks before you plant.
What is the ideal location for planting potatoes?
Potatoes need full sun and well-drained soil. Avoid planting potatoes where they will be in the shade, as this can lead to greening of the potatoes and make them more susceptible to disease.
Also, make sure that you rotate your potato growing location from season to season so that you don’t deplete the nutrients in one spot or risk having over-wintered pests attack your potatoes right away.
How much space do you need to plant potatoes?
You can plant potatoes in rows or hills. Rows are great for maximizing your space, as you can plant other crops between the rows of potatoes. You’ll need about 12″ between plants and about 30″ between rows. So, in a row about 10 feet long, you can plant 10 potatoes. You’ll need about 30″ between this row and the one next to it.
You can also plant potatoes in “hills.” This means you will mound the soil around the plants as they grow, giving them extra space to develop tubers. This is a good option if you have limited space or are growing potatoes in containers. You’ll need about 18″ between plants and 36″ between rows when planting in hills. You can typically plant about 8-10 potatoes on a hill.
Storing Potatoes
Once you have harvested your potatoes, you’ll want to follow a few careful steps before storing them. Here’s an article on how to properly store potatoes!
How long does it take to grow potatoes?
Potatoes are a fast-growing crop that can be harvested in as little as 50 days from planting. However, the length of time it takes to grow potatoes will vary depending on the variety of potato, the climate, and the growing conditions.
For example, early varieties of potatoes may mature more quickly than later varieties, and potatoes grown in warm climates may mature more quickly than those grown in cooler climates.
When choosing a potato variety, it is important to consider how long it takes to mature. For example, if you want to harvest potatoes in early summer, you must choose a variety that matures in 60 days or less.
If you want to harvest potatoes in late summer or early fall, you must choose a variety that matures in 70 days or more. A traditional large russet potato is a late season variety that shouldn’t be harvested until after its plant dies back, especially if you want to store it.
The best way to determine how long it will take for your potatoes to mature is to consult the growing instructions for the variety you are considering. This will give you an idea of how long each variety matures and when they should be planted. You can plant some of each to have potatoes over a longer period!
Carrie Williams Howe is an educational leader by day and an aspiring homesteader by night and weekend. She lives on a small homestead in Vermont with her husband, two children, and a rambunctious border collie. She blogs about her family's homestead life at The Happy Hive.
