This post may contain affiliate links.
This DIY sewing project will teach you how to repurpose a flannel shirt into new clothing and practical items for your family. With just one oversized men’s flannel shirt, you can create at least four different pieces!
My journey into upcycling began when I wanted to reuse my husband’s old flannel dress shirts to make unique holiday gifts. In this guide, I’ll show you how to deconstruct an old flannel shirt to create various new items.
Starting with larger projects and gradually using smaller scraps, you’ll be surprised at how many things you can make from that old shirt.
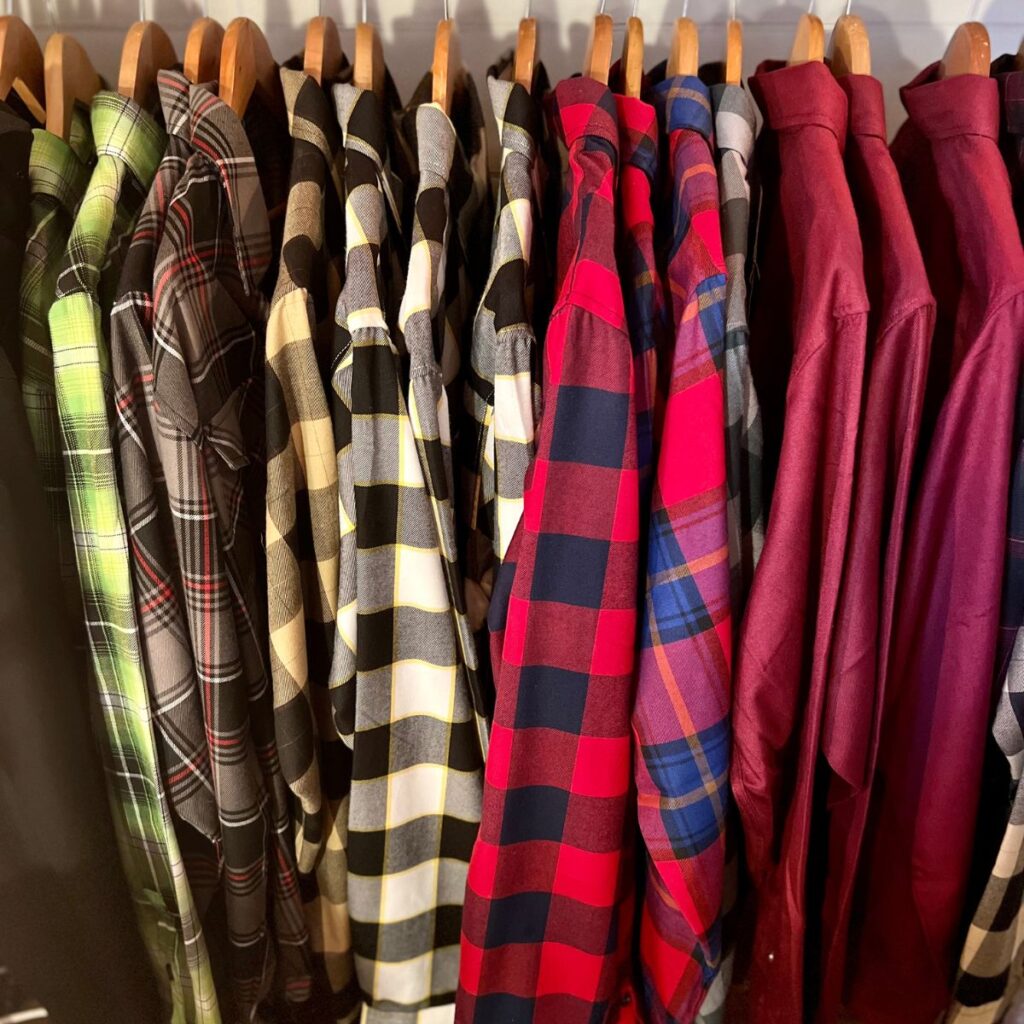
Supplies Needed
Large or bigger sized men’s flannel long-sleeved shirt with cuffs and a collar. A button-up shirt is best. Grab one that isn’t being worn anymore, or thrift one for just a few bucks, and turn it into something great! You’ll also need the following tools:
How to Recycle a Flannel Shirt
1. Toddler Pajama Pants
- The first item to easily make from a men’s large flannel shirt is a pair of toddler pajama pants from the arms of the shirt.
- Begin by cutting off the sleeves. The sleeve cuffs become the bottom of the pants, and the top of the shoulders become the waistband.
- Turn the sleeves inside out and place one inside the other.
- Measure your child’s crotch from the belly button to the small of the back of the toddler, leaving room for comfort. Match this measurement to the length from shoulder to shoulder on the shirt.
- Sew the crotch by connecting the sleeves together along the inside edge of both sleeves.
- Now, you should have what looks like a pair of pants without the waistband when you open up the pants.
- Measure the waist of the child and make an elastic casing for the waistband. Fold over the top with the pants inside-out, then sew a “channel” to insert the elastic, leaving one end open. Insert the elastic, then close off the final opening.
- Turn right-side out, and voila, pants for a toddler!
2. Infinity Scarves
The flannel shirt should now look like a vest without sleeves.
Now, make an infinity scarf by cutting the bottom half of the shirt off (as if you were making a crop top). The measurement should be approximately 15 inches from the bottom of the shirt.
Fold the tube in half, pretty sides together. Stitch along the fold, leaving a quarter seam allowance and 2 inches open at the end to turn right side out. Turn the right side out, then use a slip stitch to close the scarf.
3. iPad cover or Bookcase
The collar of the shirt and the front and back of one of the breasts will become an iPad mini, e-reader, or bookcase (for all those great homesteading books you want to carry with you!). The collar becomes the handle. The chest buttons become the snaps to close the case.
Cut this shirt section out (keeping the full collar), then turn it inside out. You’ll need to stitch the sleeve opening, the bottom opening, and the part of the collar that opens. You may find it easiest to create a new hem around all three sides of the rectangle. Be sure to double-stitch at the ends to create a secure end.
Turn it back, the right side out, and the fourth side of your rectangle – the buttons – becomes your opening to slip into your device.
4. Heat Packs
Cut out the pocket from the opposite breast pocket (the one you didn’t include in your device case), leaving the external hem intact. Fill the pocket with a quarter to half a cup of rice. Sew the pocket shut, and a small heat pack can be microwaved for warmth.
5. Hair Scrunchies
With more people upcycling and using what they have to live a more sustainable lifestyle, DIY scrunchies using scrap fabric or old flannel shirts are a great option for guilt-free hair accessories!
Hair scrunchies are also a super frugal DIY project that can save you a ton of money on hair accessories and products to tame the frizz and damage caused by standard hair elastics.
Cut 5-inch strips around the perimeter of the armpit. Use these fabric strips to sew basic hair scrunchies by folding and sewing them into tubes and then inserting an elastic cord.
6. Ornament
Any scraps left can be used to make holiday ornaments. You can stretch fabric over a mason jar lid and cut a hole to insert a hanger or cut into small strips and knot the fabric around a cinnamon stick.
There you have it! An old flannel shirt upcycled to make 6 new items!
Carrie Williams Howe is an educational leader by day and an aspiring homesteader by night and weekend. She lives on a small homestead in Vermont with her husband, two children, and a rambunctious border collie. She blogs about her family's homestead life at The Happy Hive.

