This post may contain affiliate links.
Pine cone fire starters can offer a safe and reliable option for starting a fire in your fireplace, outdoor oven, or wood stove.
Pine cones burn well when dry and can serve as helpful kindling. Adding a wick and dipping the pine cone in beeswax amplifies that effect, allowing you to light just one spot. It will create a full roaring fire in minutes, which is especially great for a top-down fire set-up.
Making pine cone fire starters is a quick and easy project. You can make a big basket full to keep you going throughout the winter or smaller baskets to give to family and friends as gifts!
If you can source the pine cones from your own yard or that of a friend or neighbor, this can be an incredibly inexpensive project, too.
Here’s a quick guide on how to create your own pine cone fire starter.
Preparing to Make Pine Cone Fire Starters
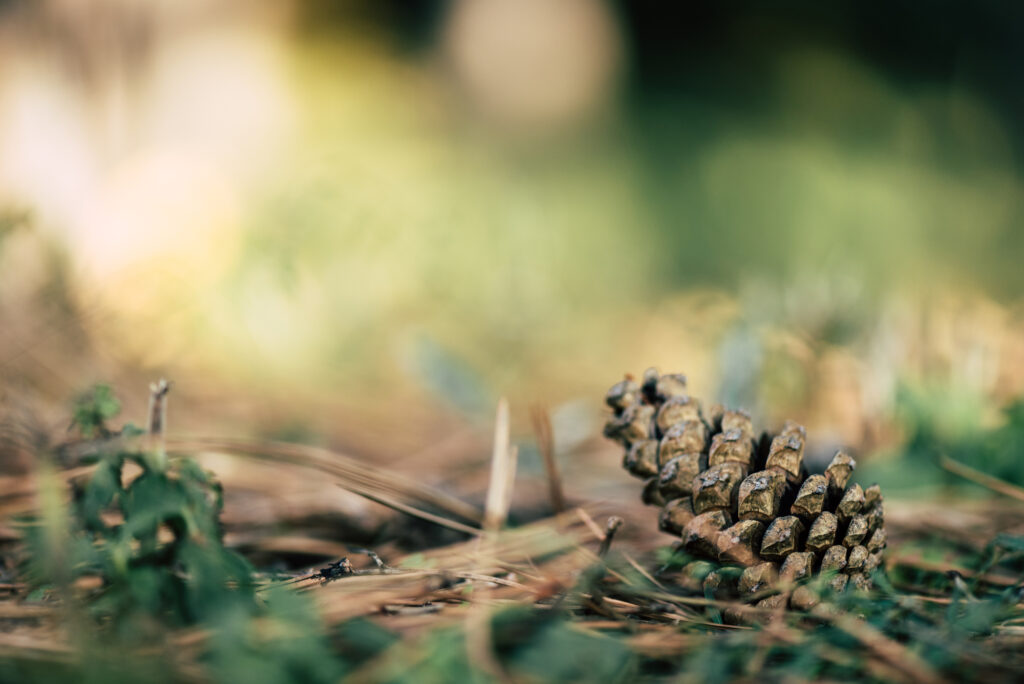
When prepping your pine cones, you must ensure they are completely dry. If not, they can cause popping in the fire. If you aren’t sure they are completely dry, you can place them on a sheet pan in your oven (lined with parchment paper in case of any sap leakage) at the lowest temperature setting (150-200 degrees) for about an hour.
Supplies Needed
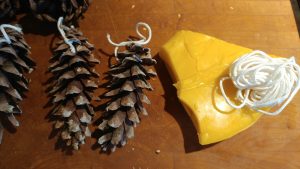
- A double boiler to melt the wax (or a pot with a ceramic or metal bowl that fits on top of it);
- 1 lb beeswax (for this project, you can use any variety of beeswax from locally sourced to what you can find online or at a craft store)
- 10-12 pine cones (you can use any size, but we like to make medium to large ones that will burn slightly longer to get things going)
- One small package of braided candle wick (you’ll want about 6 inches per cone).
- A sheet pan and parchment paper to lay your pine cones on to dry.
Directions for Making Fire Starters
Step 1: Melt the Wax
Put 1-2 inches of water in the bottom of your double boiler, then put the wax in the top section. Cover and place the beeswax on the stovetop over medium heat until completely melted. If you are using a block of beeswax, it can help to cut it into smaller pieces first.
We specifically use beeswax for our fire starters because beeswax burns much more cleanly than other types of wax. This is especially important if you are lighting a fire in a fireplace that is not completely closed. We don’t advise burning paraffin wax, for example, and allowing its toxic fumes to permeate your living room.
Step 2: Tie Wicks to Cones
While the wax is melting, cut 6-inch pieces of braided candle wick. Tie the wick onto your pine cones, weaving them in about 1/3 of the way from the end of the cone, tying with one end left long and the other left short. This will serve as your wick when lighting but also make a handy string for dipping.
Step 3: Dip the Cones into the Wax
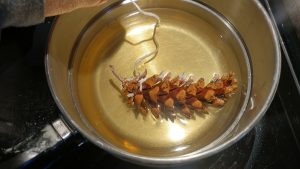
Your goal when dipping the cones is to create a light layer of wax and cover the cone and the wick (up to where your fingers are holding it).
If your cones are too big to be dipped into the wax, dip one side at a time. Counting to about 10 seconds for each dip results in plenty of wax.
Step 4: Allow the Cones to Dry
Let the hot wax drip off your cone over the double boiler before transferring your dipped cone onto parchment paper covering a sheet pan. Allow to dry for a few hours until the wax is no longer soft.
Voila – your pine cone fire starters are ready!
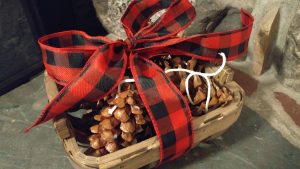
If you’re gifting the pine cones, or even if you’re keeping them yourself, it can be fun to place them in a rustic basket with a ribbon so that they can be an attractive addition to your living room or wood storage area.
How to use Pine Cone Fire Starters
The basic premise of the pine cone fire starter is easy. You place the pine cone among your kindling when starting a new fire, and then all you have to do is light the wick and watch your fire come to life.
However, we have found that building a fire “top-down” – i.e., with the larger logs on the bottom and the kindling on top – creates a cleaner and more effective burn.
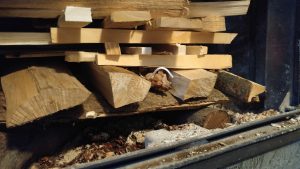
When using this method, you can place the larger logs on the bottom, add a few pieces of kindling, insert your pine cone fire starter, and then add more kindling on top.
This way, your fire starter is nestled right in the middle of your other materials. It will help to start the kindling and won’t immediately melt onto the bottom of your fireplace or wood stove.
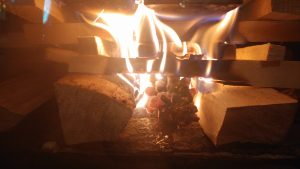
We have found that a pine cone fire starter can help to get a fire roaring within 5 minutes in our wood stove, much more reliably than newspaper!
Remember to keep a strong burn going, especially at the beginning, to ensure that the wax is used and your fire is burning cleanly and efficiently.
Helpful Tips When Using Pine Cone Fire Starters
Be sure to use pine cone fire starters carefully and responsibly. Too much wax in your fireplace is not a great outcome, so be sure to use them sparingly and make sure that the fire gets nice and hot for a while to use up that wax when you first get it started.
Melting any wax can mess up your pots, pans, and utensils. If you plan to do multiple projects, it may benefit you to have dedicated tools. If not, clean the pots and pans out while the wax is still in liquid form. The best way to clean your pots is to use paper towels to absorb the wax as much as possible. Throw them in the trash, and do not put a bunch of wax down your sink drain!
What else can you make with Beeswax?
There are so many wonderful things you can make with beeswax. Personal care products take advantage of the health benefits of beeswax for your skin. Home products use the protective benefits of beeswax for leather and wood. And beeswax candles are healthier to burn in your home!
Try some of these products yourself!
- Beeswax Furniture Polish
- Beeswax Leather Conditioner
- Beeswax Pinecone Fire Starters
- Beeswax Lip Balm
- Beeswax Christmas Tree Ornaments
- Beeswax Lotion Bars
Carrie Williams Howe is an educational leader by day and an aspiring homesteader by night and weekend. She lives on a small homestead in Vermont with her husband, two children, and a rambunctious border collie. She blogs about her family's homestead life at The Happy Hive.

