This post may contain affiliate links.
Freezing strawberries is quite easy, but there are a few tips that ensure success and your future enjoyment!
Strawberry season has arrived in Vermont, and like every other year we plan to pick at least 5 or 6 gallons of these delicious berries while the season is hot (literally). We freeze about 3/4 of the strawberries that we pick. By doing so, we actually provide a year-round supply of strawberries for things like smoothies, yogurt parfaits, beverages, and baked goods.

Step 1: Pick local, ripe strawberries – organic if possible
Ideally, your berries will come from a local farm (or your own garden!) so they have not already seen a few days of transport. Aim for nice and ripe berries but not so ripe that they are mushy or soft. They should be deep red and firm.
If you can find a farm with organic berries, that’s even better because you won’t have to worry about freezing pesticides along with your fresh berries!
Step 2: Process the strawberries as soon as possible
Strawberries can go downhill quickly on hot days, and they don’t taste quite as good if you put them in the refrigerator.
If you can not process your strawberries right away, take them out of the piled-up containers and spread them in a single layer on a large tray so they don’t weigh down on each other and cause bruising.
Step 3: Wash and dry the strawberries (if necessary)
We don’t wash the berries that we pick from our own garden. We lay them out on a clean towel and roll them around a bit to get any specks of soil or grass on them. But, if you got your berries from a place that might spray, you will want to rinse them.
We do this by filling a bowl with water and placing handfuls of strawberries. Scoop the berries out and lay them flat on a clean dish towel to dry. Consider aiming a fan at them or turning on your ceiling fan to aid in the drying process.

Step 4: Cut off the tops of the strawberries
Use a paring knife to cut the green tops off of your strawberries, leaving as much of the yummy berry as possible!
HINT: Don’t throw away the tops! Pop them in a pitcher or mason jar, fill the jar with water, and let them soak for a day in the fridge. Then strain and enjoy your strawberry infused water!
Step 5: Spread the strawberries for freezing
As you cut off the tops, transfer your berries to a large sheet pan. Be sure to put them “flesh up” – in other words, don’t put the part you just cut down on the sheet pan. This will make it easier to remove them once frozen. Fill the pan as much as you want, but keep it a single layer.
Step 6: Freeze the strawberries on the sheet pan
Place your single-layered sheet pan full of strawberries in your freezer and leave it there, uncovered, for at least 6 hours or overnight. You want the strawberries to freeze individually so that you can use them more easily later.

Step 7: Transfer frozen strawberries to a resealable bag
Now that your berries are individually frozen, you can pop them off the sheet pan and put them into a resealable bag for long-term freezer storage (don’t forget to date your bag!). While I like to get some air out of the bag before sealing, don’t worry about too much air in the bag (like you might when freezing green beans or spinach) because you have already frozen your berries, so the moisture is taken care of. They will hang out like hard marbles if you don’t let the bag defrost.
Step 8: Enjoy your strawberries!
When you want to use your strawberries, you can open up the bag, take as many as you want, and then close it back up and put it back in the freezer. I don’t recommend thawing the berries in the bag as they will get quite mushy and watery. I usually chop the berries when frozen for things like scones and muffins, and I use them as a natural cooling aid when packing yogurt in the kid’s lunches! You can also briefly defrost them in the microwave. They won’t regain their fresh consistency, but they will unfreeze enough to enjoy yogurt or cereal.
Other Posts You Might Like
- How to Grow Strawberries
- How to Grow Elderberries from Cuttings
- How to Regrow Scallions in Water
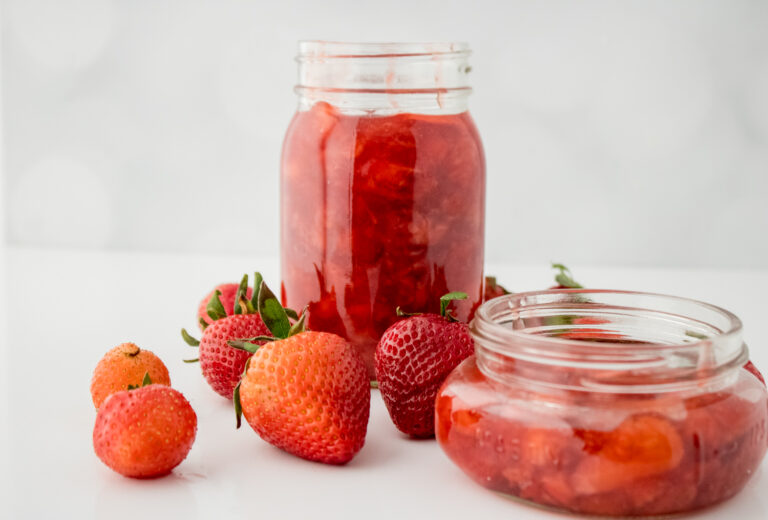
- Easy Homemade Strawberry Preserves Recipe
Carrie Williams Howe is an educational leader by day and an aspiring homesteader by night and weekend. She lives on a small homestead in Vermont with her husband, two children, and a rambunctious border collie. She blogs about her family's homestead life at The Happy Hive.

