This post may contain affiliate links.
When planting a tomato seedling, there are a few things you can do to help ensure a that your tomato acclimates well to its new home. After all, you didn’t grow that baby from seed just to see it die when it hits your garden!
The first thing you need to do is make sure your seedling is ready to be transplanted. Check out our article on preparing seedlings for transplanting to be sure you’re giving your tomato seedling its best shot.
Once you know the plant is ready for the garden, follow these simple steps for planting a tomato seedling:
Step One: Dig a Hole
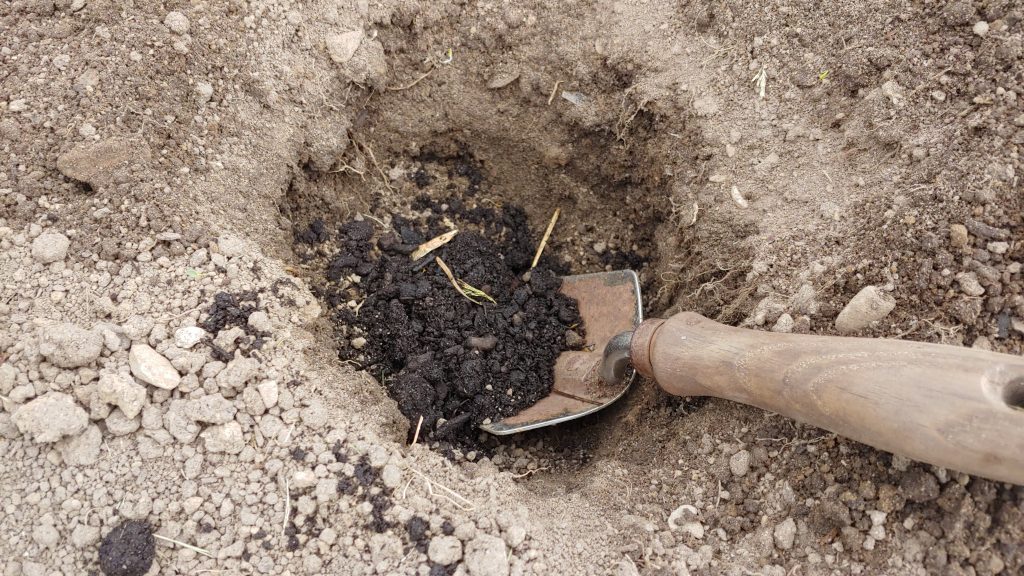
Dig a hole that is about twice the volume and depth of your seedling pot. This helps to loosen up any compacted soil and also provides space for you to add things that your tomato will LOVE! Tomatoes also like to be planted deep into the soil (more on that later) so you’ll want a big enough hole to include a significant portion of the stem growth on your seedling.
Add compost… and eggshells
Step Two: Ammend the Soil
Amending the soil simply means adding great nutrients that will help your tomato plant thrive. Place about 1/2 cup organic compost into the hole. There is no need to measure here, just a good spoonful on your spade. The compost provides a great boost of nutrients to get your plant started.
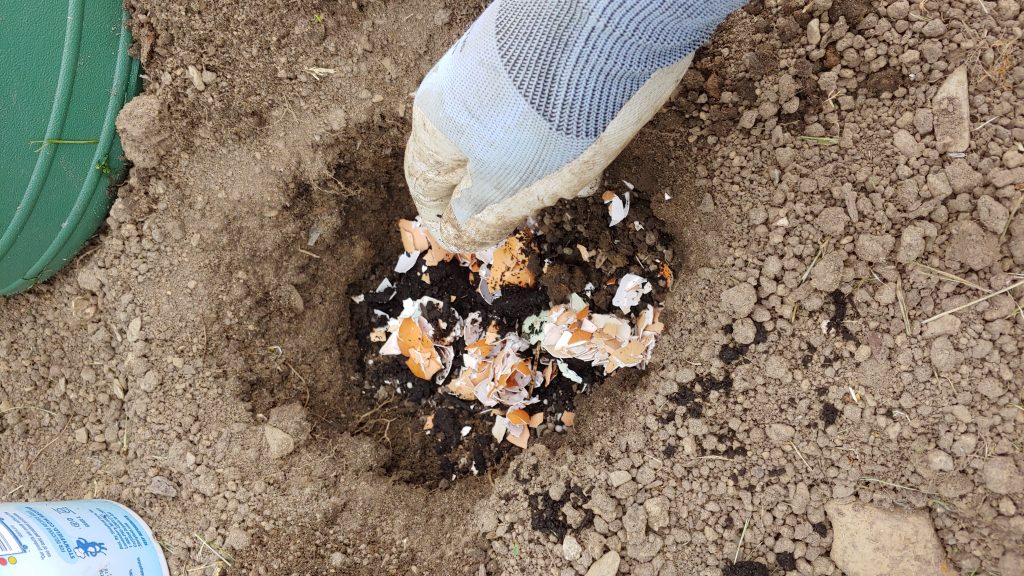
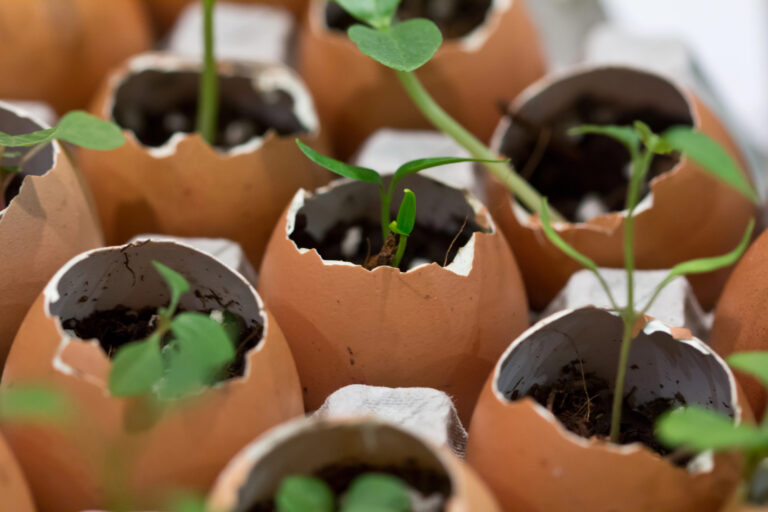
Tomatoes also love calcium, so add a handful of crushed egg shells if you have them. As the eggshells break down, they release calcium into the soil. The calcium helps the plant grow and also, in tomatoes, helps prevent blossom end rot (which is an ugly black spot on the bottom of the tomato that happens when they lack calcium).
An all-purpose fertilizer or tomato fertlizer is also great to add at this point. The fertilizer will provide a long-lasting nutrient boost as it breaks down in the soil over time.
Step 3: Add Water to the Hole
Add a generous amount of water to the hole you have dug and amended. It should fill up and then absorb so that the compost and soil look fully soaked.

Step 4: Remove Lower Leaves from Stem
Tomatoes actually sprout roots further up the stem if you let them, and this will help to provide a really stable base for your plant. Remove a couple of the lower leaves of your seedling so that you can plant the tomato further down into the soil. Do this by pinching them with your fingernail very gently right where the leaves meet the step (don’t pull to hard or you risk breaking the stem).

Step 5: Place the Tomato Seedling into the Hole
Remember, you want to plant your seedling to about half-way up the stem. When you place it into the hole that you have dug and amended, you may need to dig it down a bit or lay it on its side. It is completely fine to simply bury half of the stem on its side and then gently bend the top above the soil. Once your tomato plant is situated, it will start growing toward the sun.
Cover the plant with the soil you set aside from the hole and gently pack it down. Your seedling should look about half the height it was before planting. Don’t worry, it will shoot up soon with all of the love you have given it!

Step 6: Water Generously
Water your tomato plant generously after planting. It deserve a lot of love now that you’ve moved it to an entirely new place. Believe it or not, we sometimes give our tomato plants a gallon or two of water on hot days. Stick your finger tip into the soil to see how far down the soil is damp – you should feel moisture an inch below the soil.

Step 7: Mulch
Mulch is a gardener’s best friend. It helps eliminate weeds, retain moisture in the soil, and keep nutrients from washing away. Place a generous two inches of mulch around the base of your tomato plants. At the beginning of the season, we use recently cut grass from our lawn. Grass is free and is full of nitrogen. It will dry out and stay in place as the sun warms it. We don’t use it as much later in the season because nitrogen encourages green growth and we want fruit!
Other options for mulch include store-bought natural mulch, wood chips (they should be seasoned), landscape fabric, or plastic. For more on choosing the right mulch, visit this article from Gardener’s Supply.
That’s it! Your tomato is planted and set up to live it’s best life. Now your job becomes keeping an eye on it. Water it generously, watch out for diseased leaves, and keep it well supported. Then enjoy the fruits of your labor!
[mailerlite_form form_id=2]
Carrie Williams Howe is an educational leader by day and an aspiring homesteader by night and weekend. She lives on a small homestead in Vermont with her husband, two children, and a rambunctious border collie. She blogs about her family's homestead life at The Happy Hive.

