This post may contain affiliate links.
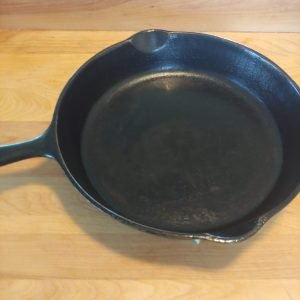
Cast iron pans are one of my favorite homestead kitchen tools. They heat up well, can go from stovetop to oven, and last decades (if you take care of them). Learning how to clean and season cast iron pans is essential to keeping yours forever.
Seasoning cast iron pans is fairly simple, but some best practices will help you achieve long-term success.
This article covers basic instructions for cleaning a cast iron pan that is currently in use and seasoning it to keep it in good shape.
What does it mean to “Season” Cast Iron?
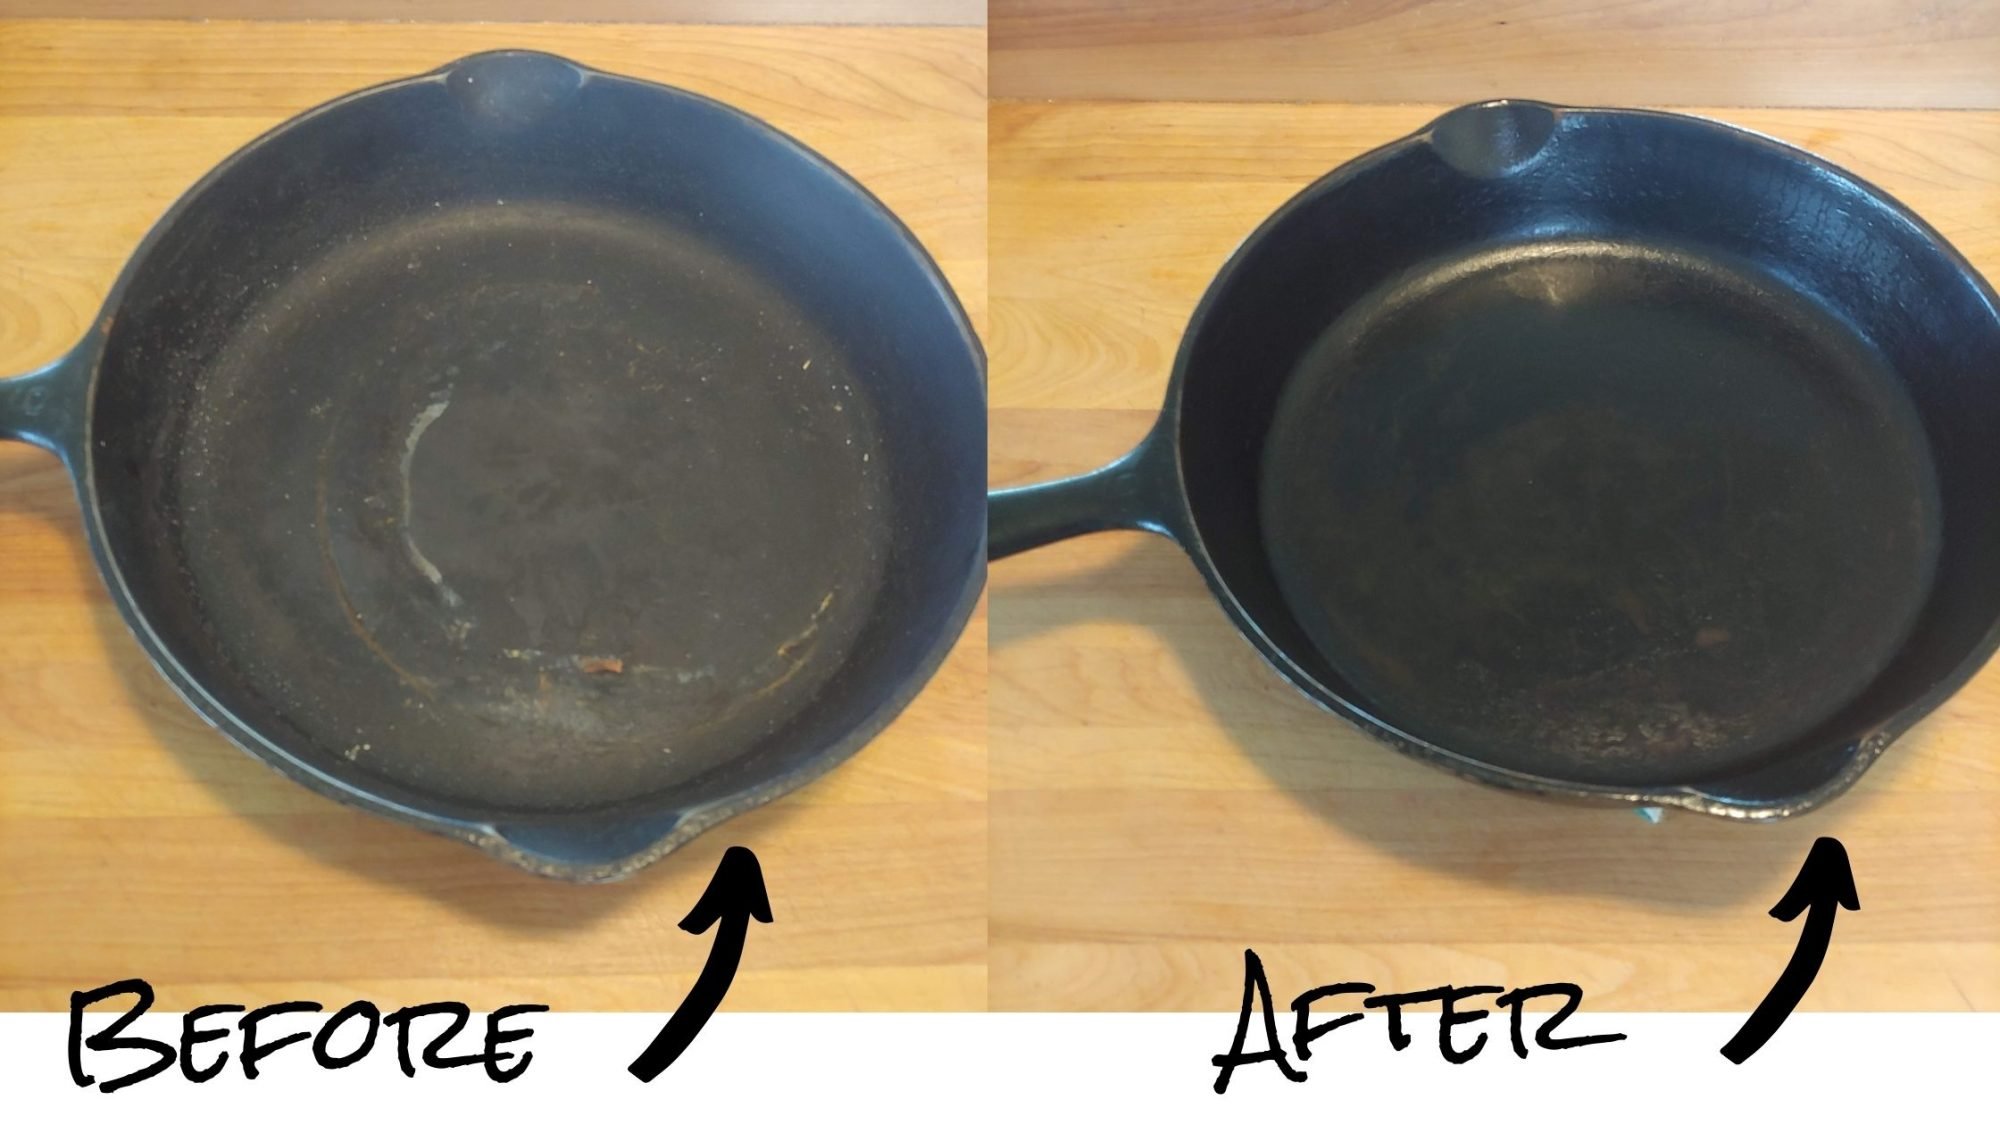
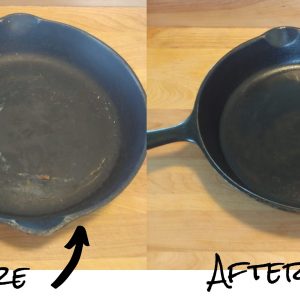
Once your pan is clean, you are ready to season it. Seasoning cast iron means adding a layer of high quality oil to the surface and baking it on. Doing this adds a nice dark and shiny “patina” to the surface of the cast iron pan.
A well-seasoned pan will be better able to resist rust and will last for years. Seasoning your cast iron pan also leads to a virtually (though not always) non-stick surface. You will still need to use a lubricant like butter or oil when cooking, but even something like a fried egg can slide right off a well-seasoned pan.
Technically, this seasoning process is called “polymerization” which is a fancy word to describe how the liquid oils heat up and form a protective layer (you can read more about this process). This layer of seasoning bonds with the iron and ensures there are no surfaces to which rust could bond.
The more you cook with your pan with high-quality oils, the more you’ll build up this layer. Taking the time to season your pan when you first get it and regularly thereafter will ensure a nice, smooth seasoning.
Some cast iron pans will come pre-seasoned. After much use, it will likely benefit you to season again. Do this when the pan starts to stick or if it has a rough usage that leaves some of its finish damaged.
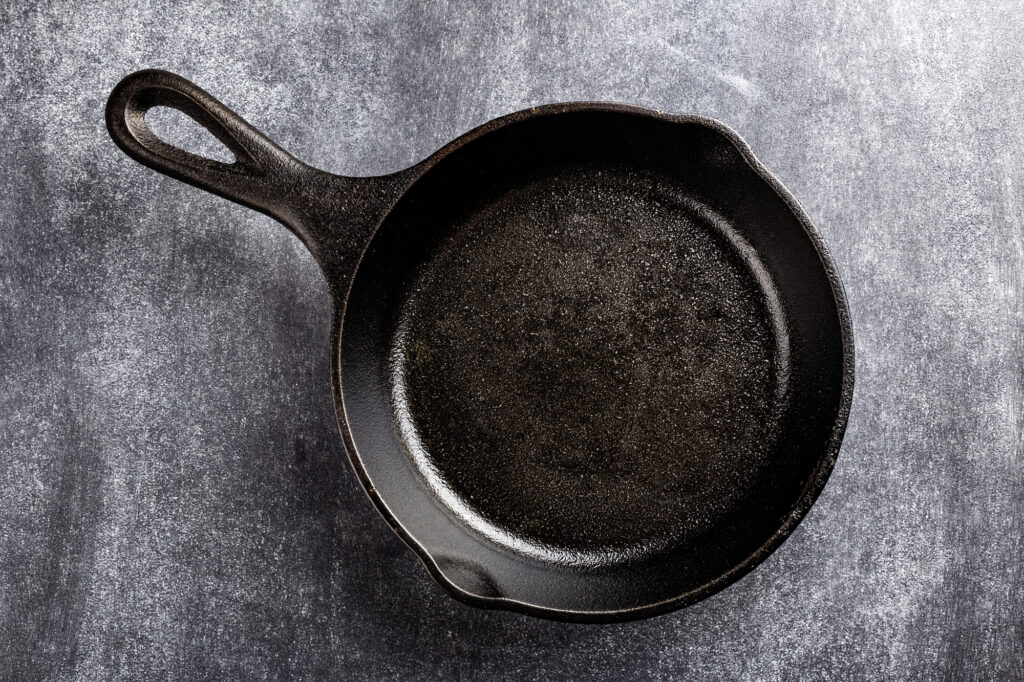
Using your cast iron pan regularly with high quality oils and fats will keep your pan in great shape and allow you to season as you go. The process for seasoning cast iron described below is great for new pieces or when your cast iron pan needs a refresher after tough use or damage to the seasoning.
Seasoning Your Cast Iron Pan
Equipment
- cast iron pan
- seasoning oil (or wax) of choice
- paper towel for spreading
Instructions
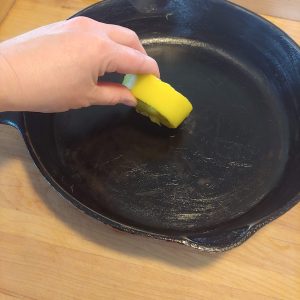
- Clean your cast iron pan. If seasoning a pan for regular use, make sure all food particles have been removed and the pan is dry. If your pan needs more work, wash it with soap and water or scrub lightly with a steel wool pad to remove rust or built-up layers.
- Dry your cast iron pan. Wipe well with a paper towel or clean cloth towel and place in a warm (200-degree) oven for about 5 minutes to ensure it is completely dry (this can be done while you preheat your oven for the next step).
- Preheat your oven to 400-450 degrees (the general rule of thumb is to preheat your oven about 25 degrees above the smoke point of the oil you are using; vegetable shortening has a 360-degree smoke point whereas grapeseed oil has a smoke point of about 420 degrees).
- Apply a thin layer of your oil of choice to all pan surfaces (it should look shiny but not have a lot of texture; applying too much oil will lead to uneven absorption). Wipe the pan as if removing the oil to ensure your layer is not too thick.
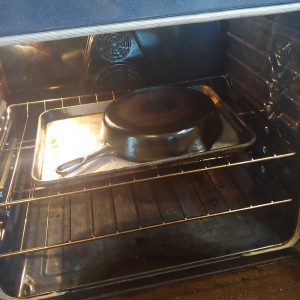
- Place your pan upside down in the oven as it continues to preheat. Some people like to put their pan on a cookie sheet to catch any drips, but removing any excess oil isn’t necessary; you can also place a cookie sheet on the bottom rack just in case.
- Once your oven comes to the full temp, set your timer. Bake your oiled cast iron pan for 60 minutes. A small amount of smoke may be produced; turn on your kitchen vent fan to vent this outside. Try not to open your oven during the cooking process.
- After the allotted time, turn off the oven and allow the temperature to lower naturally with the pan inside. This will continue the baking process and allow the pan to get to a temperature at which it is easily handled. It will also avoid letting a bunch of smoke into your kitchen!
- Remove the pan from the oven and allow to cool completely before storing.
How Do You Clean a Cast Iron Pan?
One of the nice things about a well-seasoned cast iron pan is that food will come off the surface quite easily. This is why you won’t always need soap on a cast iron pan for regular use. You can scrub with a brush or scrape with a plastic scraper.
That said, the belief that you can never use soap on a cast iron pan is misguided; this used to be true when soap was made with lye (which will take the seasoning off your pan). Modern-day dish soap will not cause harm to your pan and can be used in small amounts when needed.
Once you are done cleaning, ensure your pan is completely dry before storing it. You can do this by gently heating it on the stovetop at a low temperature or placing it in a warm oven for a few minutes. This is also a great time to apply a very thin coat of oil or cast iron seasoning, allowing it to heat up to absorb.
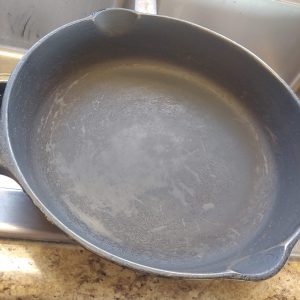
If your cast iron pan is especially built-up with uneven food remnants, or if you buy a cast iron pan used and want to clean it up, you can take a more assertive approach to cleaning.
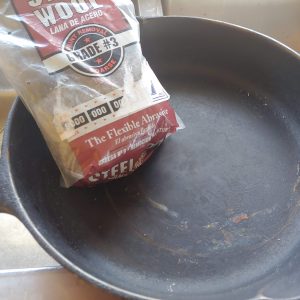
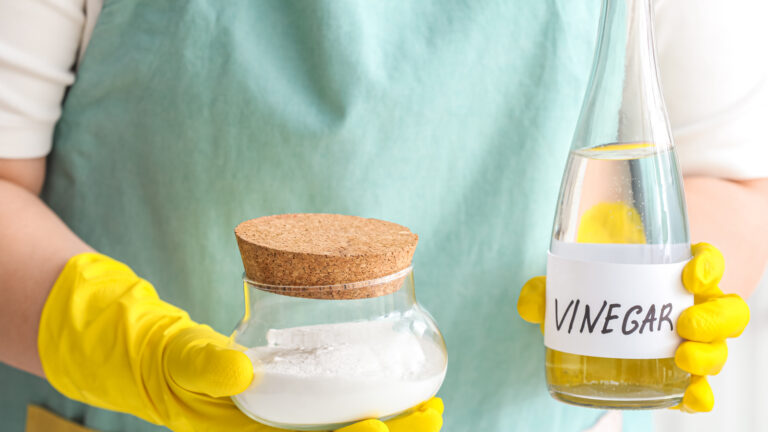
To restore a pan that needs more work, wash the pan with soap and water, then remove any rust or built-up grunge with a medium coarse steel wool pad. How much of the seasoning you remove is up to you now. If it is your pan and you only want to remove the problematic areas, be conservative with the steel wool.
However, if this is a second-hand pan and there are any signs of rust, you may want to remove a bit more and start building that seasoning layer again.
Pro Tip: You should not buy a second-hand cast iron pan if you see rust spots with pitting. If the rust has been on the pan long enough, it will start to eat away at the surface of the cast iron, and you may not be able to recover it. A little surface rust is ok, but any evidence of surface damage or wearing away is a no-no.
What kinds of oils can you use to season a cast iron pan?
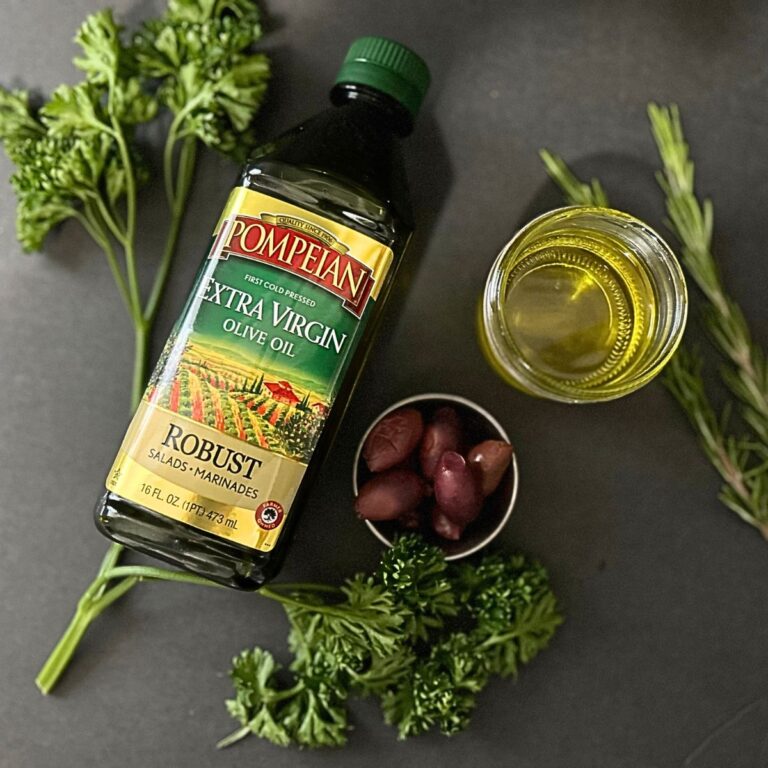
When it comes to choosing the type of oil for seasoning cast iron, there are actually a lot of options. Virtually any oil can be used, but some are much better. While you can use bacon grease or lard, some research has shown that oils with lower levels of saturated fat are more prone to polymerization, so they will do better on your pan. Thus, it is better to choose a vegetable-based oil.
Simple canola, vegetable, or shortening will work fairly well. That said, grapeseed oil is one of the most highly recommended types. It has a low saturated fat content, a high smoke point, and isn’t unreasonably priced.
Another ingredient that is valuable for cast iron conditioning is beeswax. Beeswax can help create a barrier that keeps water away from your cast iron. It can be especially useful if you store your pans for a while in between uses. We prefer to blend beeswax with other oils to get the benefits of both and use more oil than wax.
How to Season a Cast Iron Pan
Equipment
- cast iron pan
- seasoning oil (or wax) of choice
- paper towel for spreading
Instructions
- Clean your cast iron pan. If seasoning a pan for regular use, make sure all food particles have been removed and the pan is dry. If your pan needs more work, wash it with soap and water or scrub lightly with a steel wool pad to remove rust or built-up layers.
- Dry your cast iron pan. Wipe well with a paper towel or clean cloth towel and place in a warm (200-degree) oven for about 5 minutes to ensure it is completely dry (this can be done while you preheat your oven for the next step).
- Preheat your oven to 400-450 degrees (the general rule of thumb is to preheat your oven about 25 degrees above the smoke point of the oil you are using; vegetable shortening has a 360-degree smoke point whereas grapeseed oil has a smoke point of about 420 degrees).
- Apply a thin layer of your oil of choice to all surfaces of the pan (it should look shiny but not have a lot of texture; applying too much oil will lead to uneven absorption). Wipe the pan as if you are removing the oil to ensure your layer is not too thick.
- Place your pan upside down in the oven as it continues to preheat. Some people like to put their pan on a cookie sheet to catch any drips, but removing any excess oil isn't necessary; you can also place a cookie sheet on the bottom rack just in case.
- Once your oven comes to the full temp, set your timer. Bake your oiled cast iron pan for 60 minutes. A small amount of smoke may be produced; turn on your kitchen vent fan to vent this outside. Try not to open your oven during the cooking process.
- After the allotted time, turn off the oven and allow the temperature to lower naturally with the pan inside. This will continue the baking process and allow the pan to get to a temperature at which it is easily handled. It will also avoid letting a bunch of smoke into your kitchen!
- Remove the pan from the oven and allow to cool completely before storing.
Carrie Williams Howe is an educational leader by day and an aspiring homesteader by night and weekend. She lives on a small homestead in Vermont with her husband, two children, and a rambunctious border collie. She blogs about her family's homestead life at The Happy Hive.

