This post may contain affiliate links.
If you’ve ever wanted to grow your own garlic, you are in for a treat. Growing garlic is incredibly easy and quite rewarding as well. Garlic can be used fresh or roasted. It can even be preserved and turned into garlic powder.
Here are some tips for growing your own supply of garlic that will last an entire year.
1. Calculate how much garlic you need to grow
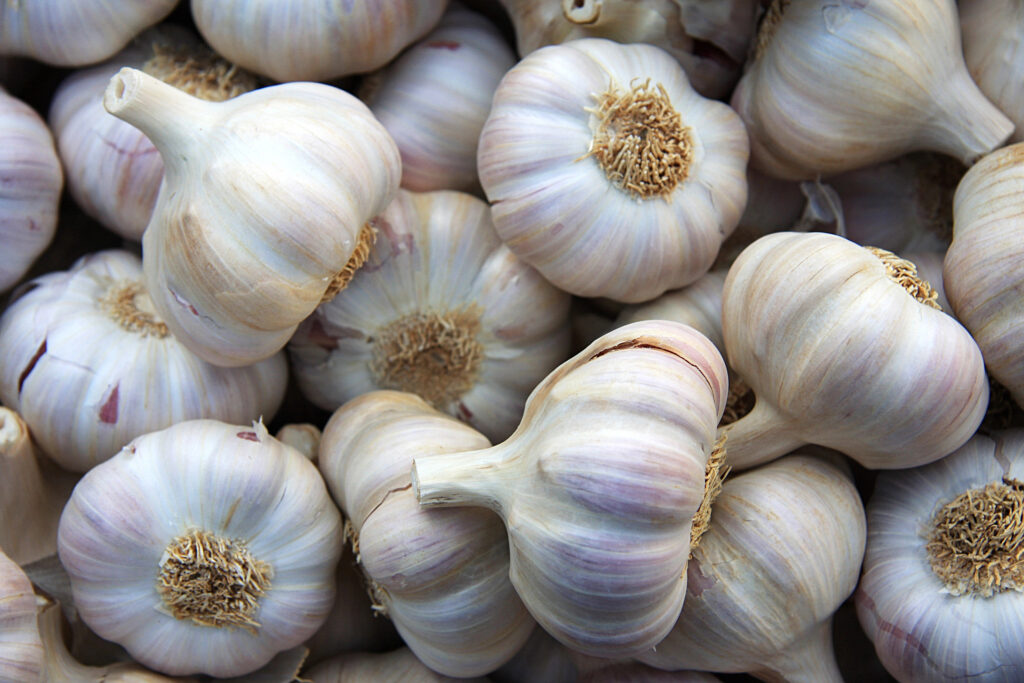
To have a year-round supply of garlic you need to plant enough to grow your “eating garlic” and your “seed garlic.” Seed garlic is the garlic that you’ll set aside at harvest time to plant that fall to become next year’s harvest.
Determining how many cloves to plant takes a little bit of math, but once you figure it out you’ve got an equation you can use year after year.
Here are the equations you’ll need to use:
Total # cloves to plant = desired # eating heads + (seed garlic: desired # eating heads / 4)
Total # heads to buy = Total # cloves to plant / 4
In other words, to determine how many cloves to plant in your garden this fall, you need to decide how many heads you want to have for eating. Then, you need to plant enough to have that number of cloves again for next year’s seed garlic.
Since garlic is sold in heads, not cloves, you then do a quick calculation to determine how many heads to buy (we use the number 4 as the average number of cloves per head – it can vary by variety).
2. Choose garlic varieties
Did you know that there are at least 600 named varieties of garlic? That means the possibilities are endless possibilities when choosing your garlic variety.
You can usually find seed garlic at your local gardening store, but it is also fun to ask other homesteaders and gardeners if they have seed garlic of differing varieties. You can trade or purchase garlic from them to mix things up. Try a few types to see how they grow, store, and taste.
There are also a variety of online sellers who offer seed garlic; be sure to read reviews and make sure you are buying from a reputable company to get the best quality product.
Step 3. Determine when to plant your garlic
Though garlic can be planted in early spring in warmer climates, most experienced gardening experts recommend planting in the winter. When the garlic goes through winter frosts and freezes, it develops a strong root system that will help it to rapidly expand into a head the next spring and summer.
The Farmer’s Almanac recommends planting garlic 6-8 weeks before the average first frost. Use this handy tool to determine your first frost date if you don’t know it off hand.
4. Prepare a location for planting your garlic
Garlic prefers to grow in full sun. It also prefers sandy, well-drained soil. If your soil is wet or drains poorly, consider building a raised bed to ensure that moisture does not get trapped and rot the garlic over the winter.
5. Give the garlic space
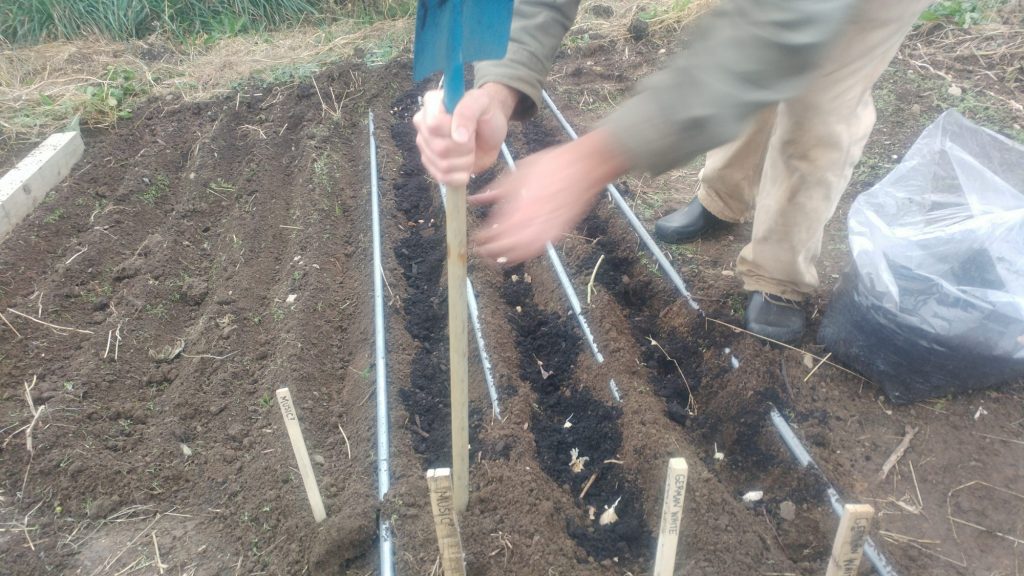
Planting is easy – simply separate the heads of garlic into cloves and plant about 2 inches deep with the “pointy” end up. You’ll need to plant garlic 4-6 inches apart, with rows spaced about 1 foot apart.
For example, our rows of garlic are about 10 feet long, which means we can plant about 25 plants per row. This means we’ll need about 5 rows spaced one foot apart plus a border. So, we need about a 10 x 6-foot area in our garden.
For raised beds, we’d recommend two beds, each about 3 feet wide. It is easier to get to the garlic in the middle for weeding and cutting garlic scapes.
6. Label your rows of garlic
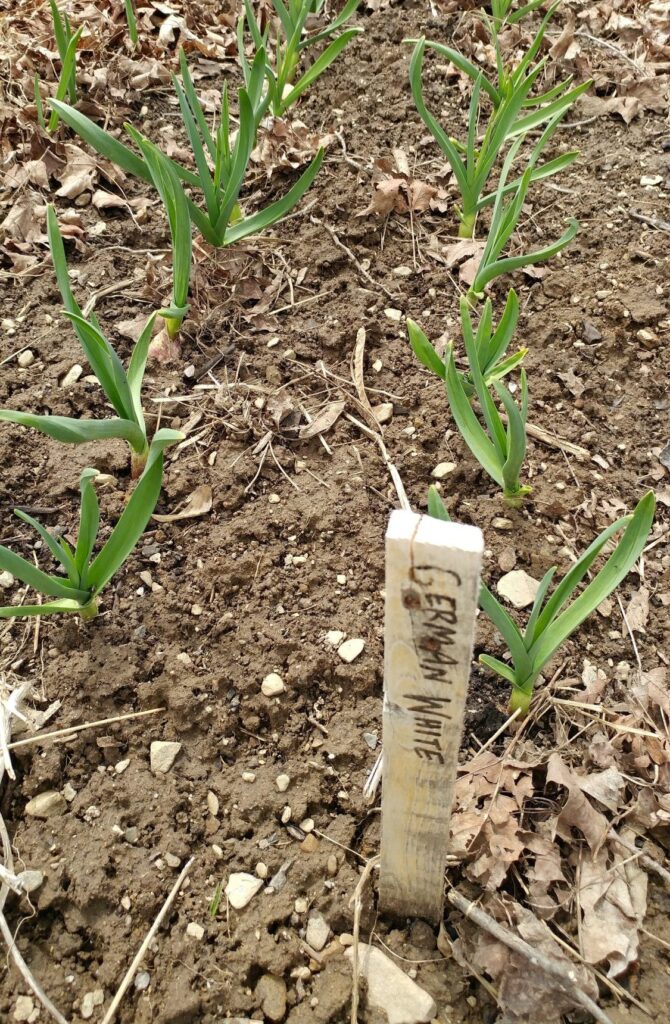
If you are using a variety of garlic types, don’t forget to label your rows so you can keep track.
7. Watch garlic grow
Come spring, remove the mulch and, once some leaves have formed on the garlic, amend the bed with some compost or light treatment of fertilizer.
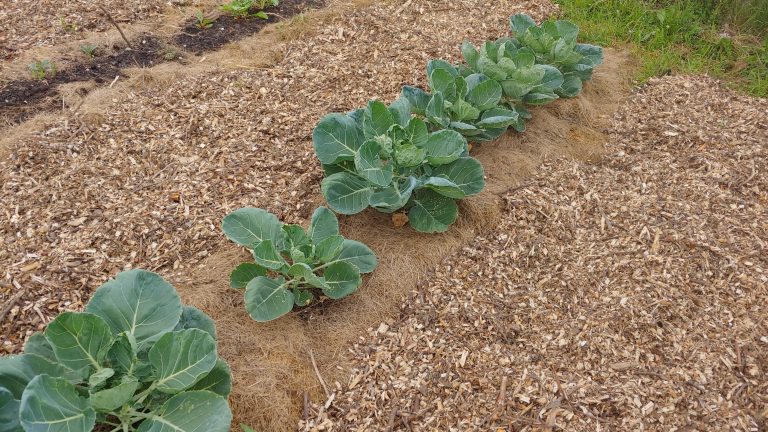
After planting in the fall, cover your bed with a thick layer of mulch to protect the garlic and keep the bed evenly moist. You can use hay or straw, and we have also had success with a nice thick layer of fall leaves.
8. Time to Harvest
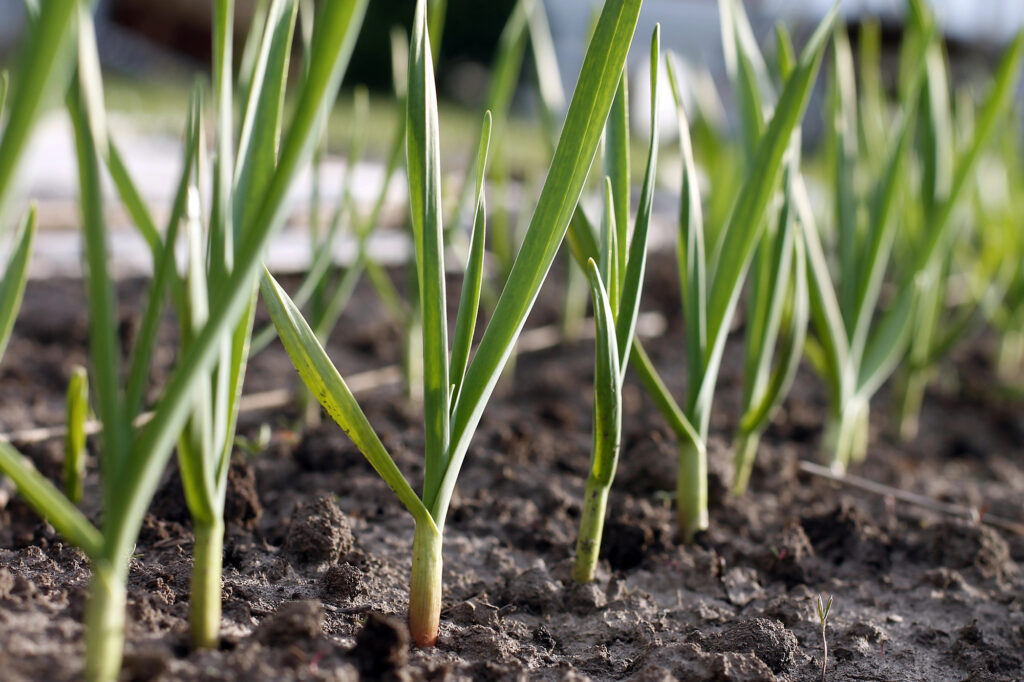
By early summer you will start to see your first harvest. Your garlic will be ready to harvest when the bottom of the leaves turns yellow. Your first harvest will be delicious garlic scapes.
You will get a regular cycle going and you’ll never have to buy seed garlic again. You simply use your own garlic heads as seeds for the new batch.
Other related topics you might like:
- How to Harvest, Cure, & Store Garlic
- How to Roast Garlic for Cooking & Storage
- How to Make Garlic Powder
Carrie Williams Howe is an educational leader by day and an aspiring homesteader by night and weekend. She lives on a small homestead in Vermont with her husband, two children, and a rambunctious border collie. She blogs about her family's homestead life at The Happy Hive.

