This post may contain affiliate links.
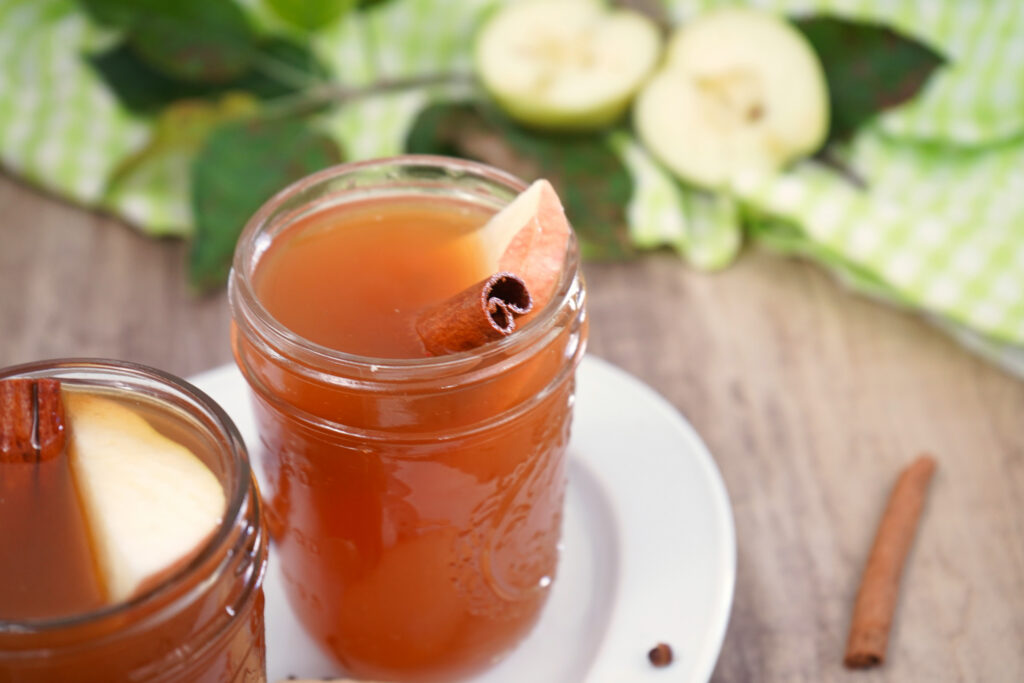
Apple cider is a traditional drink enjoyed during the fall and winter months. From the taste to the smell, what’s not to love about apple cider?
And it’s super easy to make at home with the right equipment. In this article, we’ll show you how to make your own non-alcoholic apple cider at home using a cider press.
This is a great project for anyone who wants to be self-reliant, and it’s a lot of fun too!
What is Apple Cider?
Simply put, apple cider is a drink made from apples that have been crushed and pressed. The term “cider” can refer to both alcoholic and non-alcoholic beverages, but in this article, we’ll focus on the non-alcoholic variety.
This is the darker brown apple cider that you pick up at your local orchard every fall. It is different from apple “juice,” made from apples that have been juiced and filtered.
Equipment You’ll Need to Press Cider at Home
A Cider Press
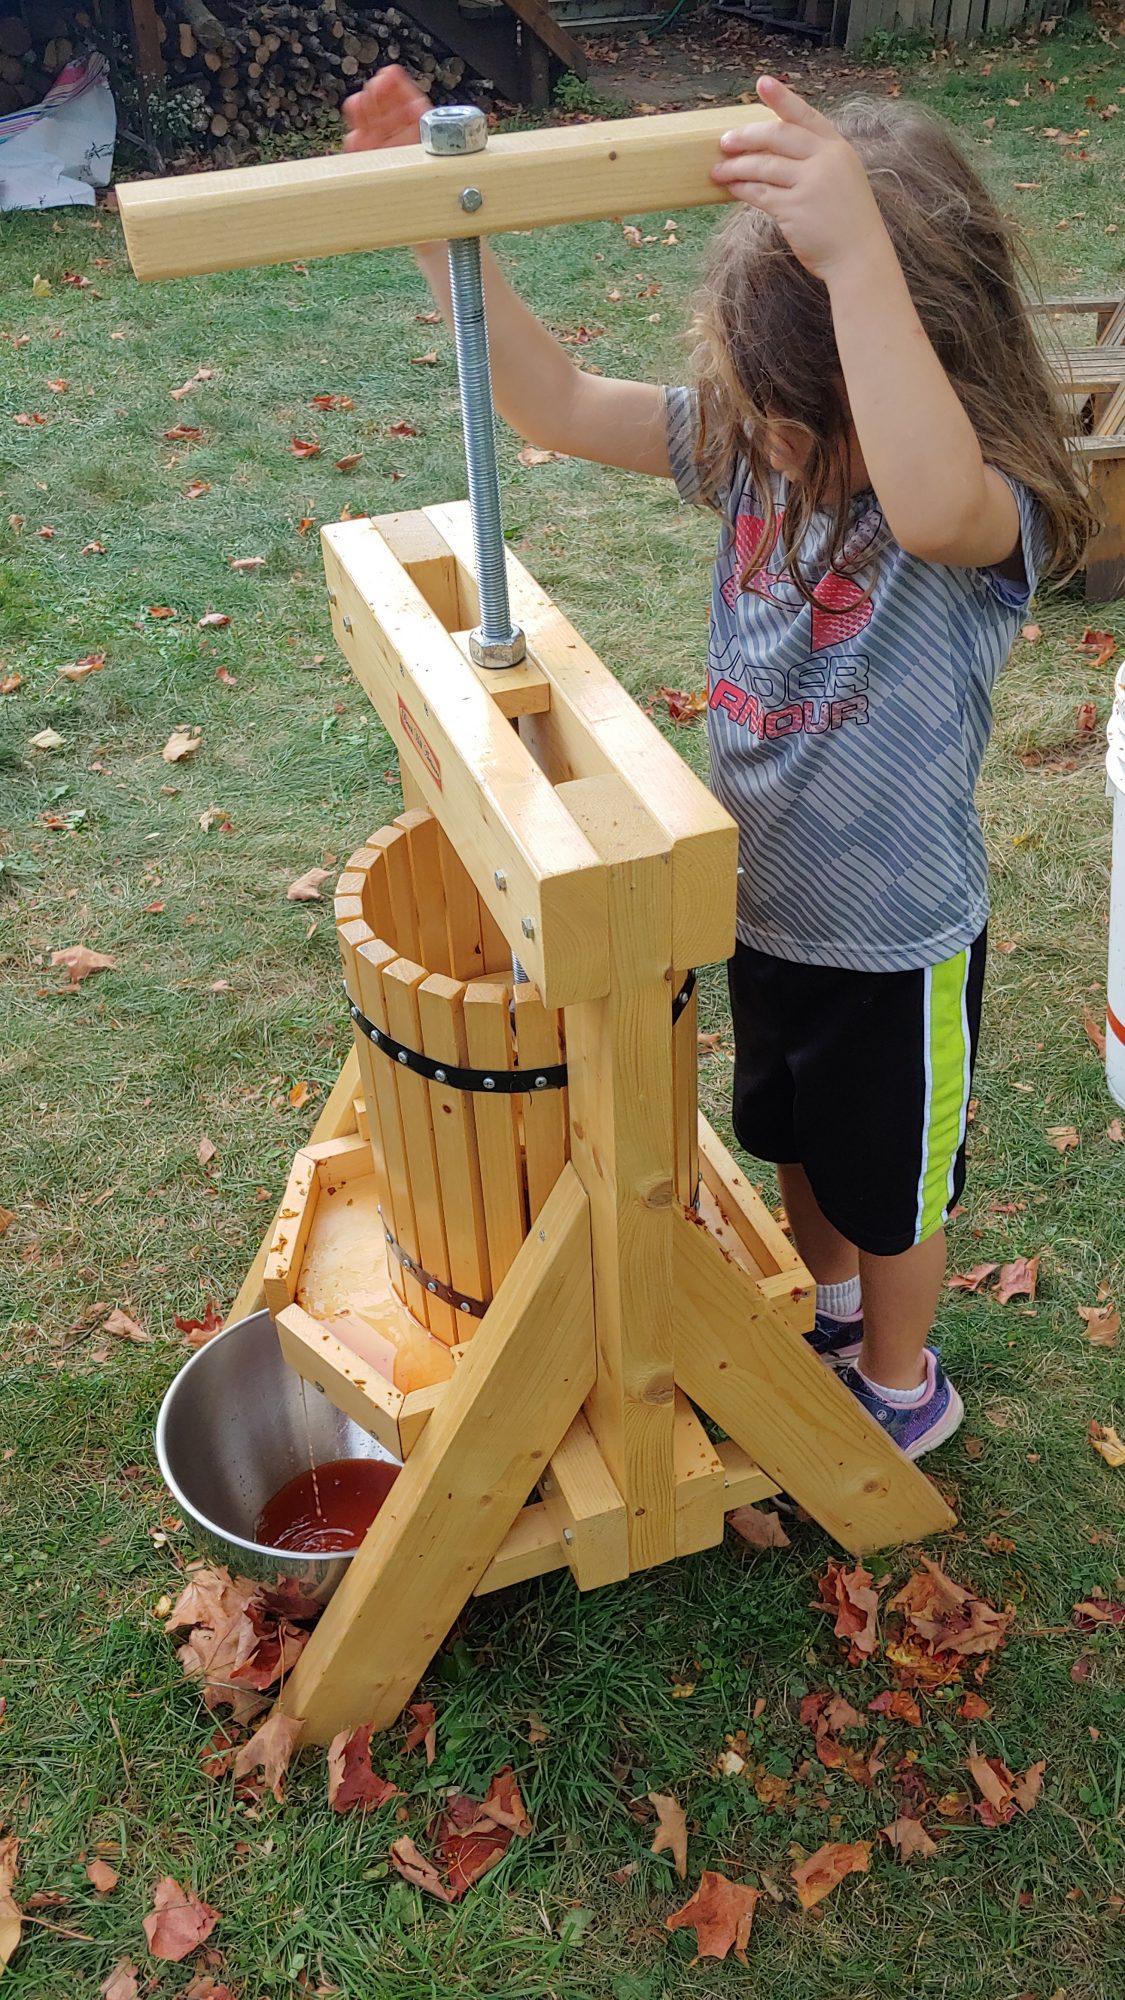
A cider press is the key piece of equipment for extracting the juice from your apples. Cider presses come in a variety of sizes and styles, so you’ll want to research which one would be best for your needs before making a purchase.
Cider presses can be made of wood or metal and come in various sizes and scales. For a smaller operation, you could explore a small home cider press like a 1.6-gallon Squeeze Master.
But if you want to do larger quantities of apples and cider, it could be worth investing in a larger model like this highly rated 4.75-gallon model.
Apple Grinder or Masher
To get the most juice, you’ll want to cut your apples into a pulp or “mash” before pressing them. An apple grinder or fruit crusher will make this process much easier, but you can also do this by hand if you want to save money on equipment. The more you break down the fruit, the more juice will flow from it.
Straining Bag or Brew Bag
You’ll need a mesh or other permeable material bag that will help strain your cider from the fruit; these come in a variety of materials and sizes, so be sure to get one that fits well in your press.
5-Gallon Buckets
Unless your grinder and press are a 2-in-1 model (where the crushed fruit goes straight into the grinder), you’ll need a 5-gallon bucket to collect your mash and then transfer it into your press.
Depending on how much cider you are making, you may also want one for collecting the cider once it is pressed. Be sure to get Food Grade 5-gallon buckets, and consider getting one 5-gallon bucket with a spout so that you can drain off the cider in batches when you’re ready to preserve or bottle it.
Large Metal Bowl or Stock Pot
You’ll need a container to catch the cider as it drains off of our cider press. We like using either a large metal mixing bowl or a stock pot (depending on what fits underneath your press).
You’ll also need a stock pot to pasteurize the cider on your stovetop (if you choose to take that step) so this can be an easy transfer if you collect it right in the stockpot from the beginning.
Once you’ve gathered your apples and other supplies, you’re ready to press some cider! Check out the next section for detailed instructions on how to do this.
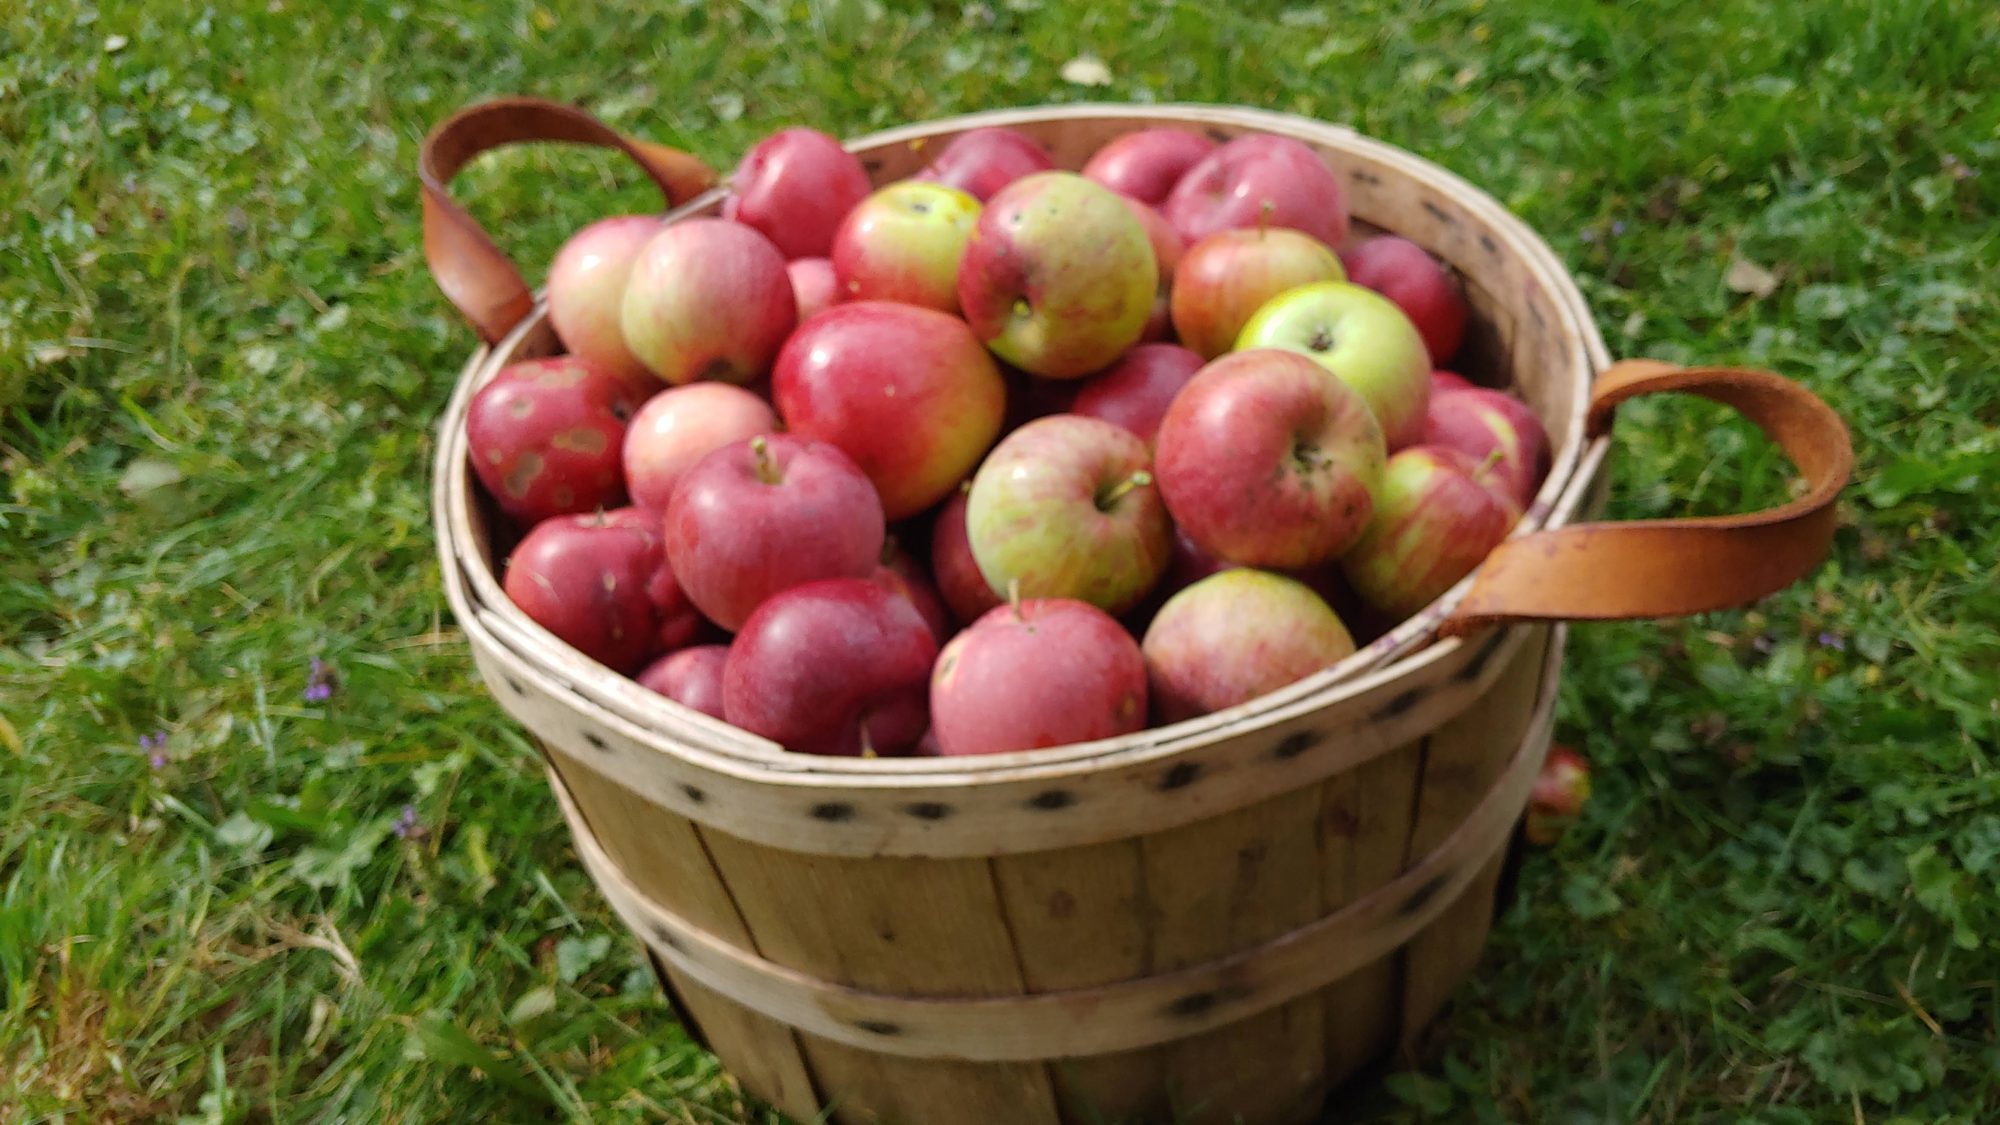
Pressing the Apple Cider
Whether you are using a hand-crank press or an electric one, the process for pressing the cider is essentially the same. Be sure to read through your press’s instructions before getting started so that you are familiar with how it works and any specific safety information.
As a general overview, the process looks like this:
- Wash your apples and remove any bad parts.
- Run the apples through a grinder or chop them into small pieces.
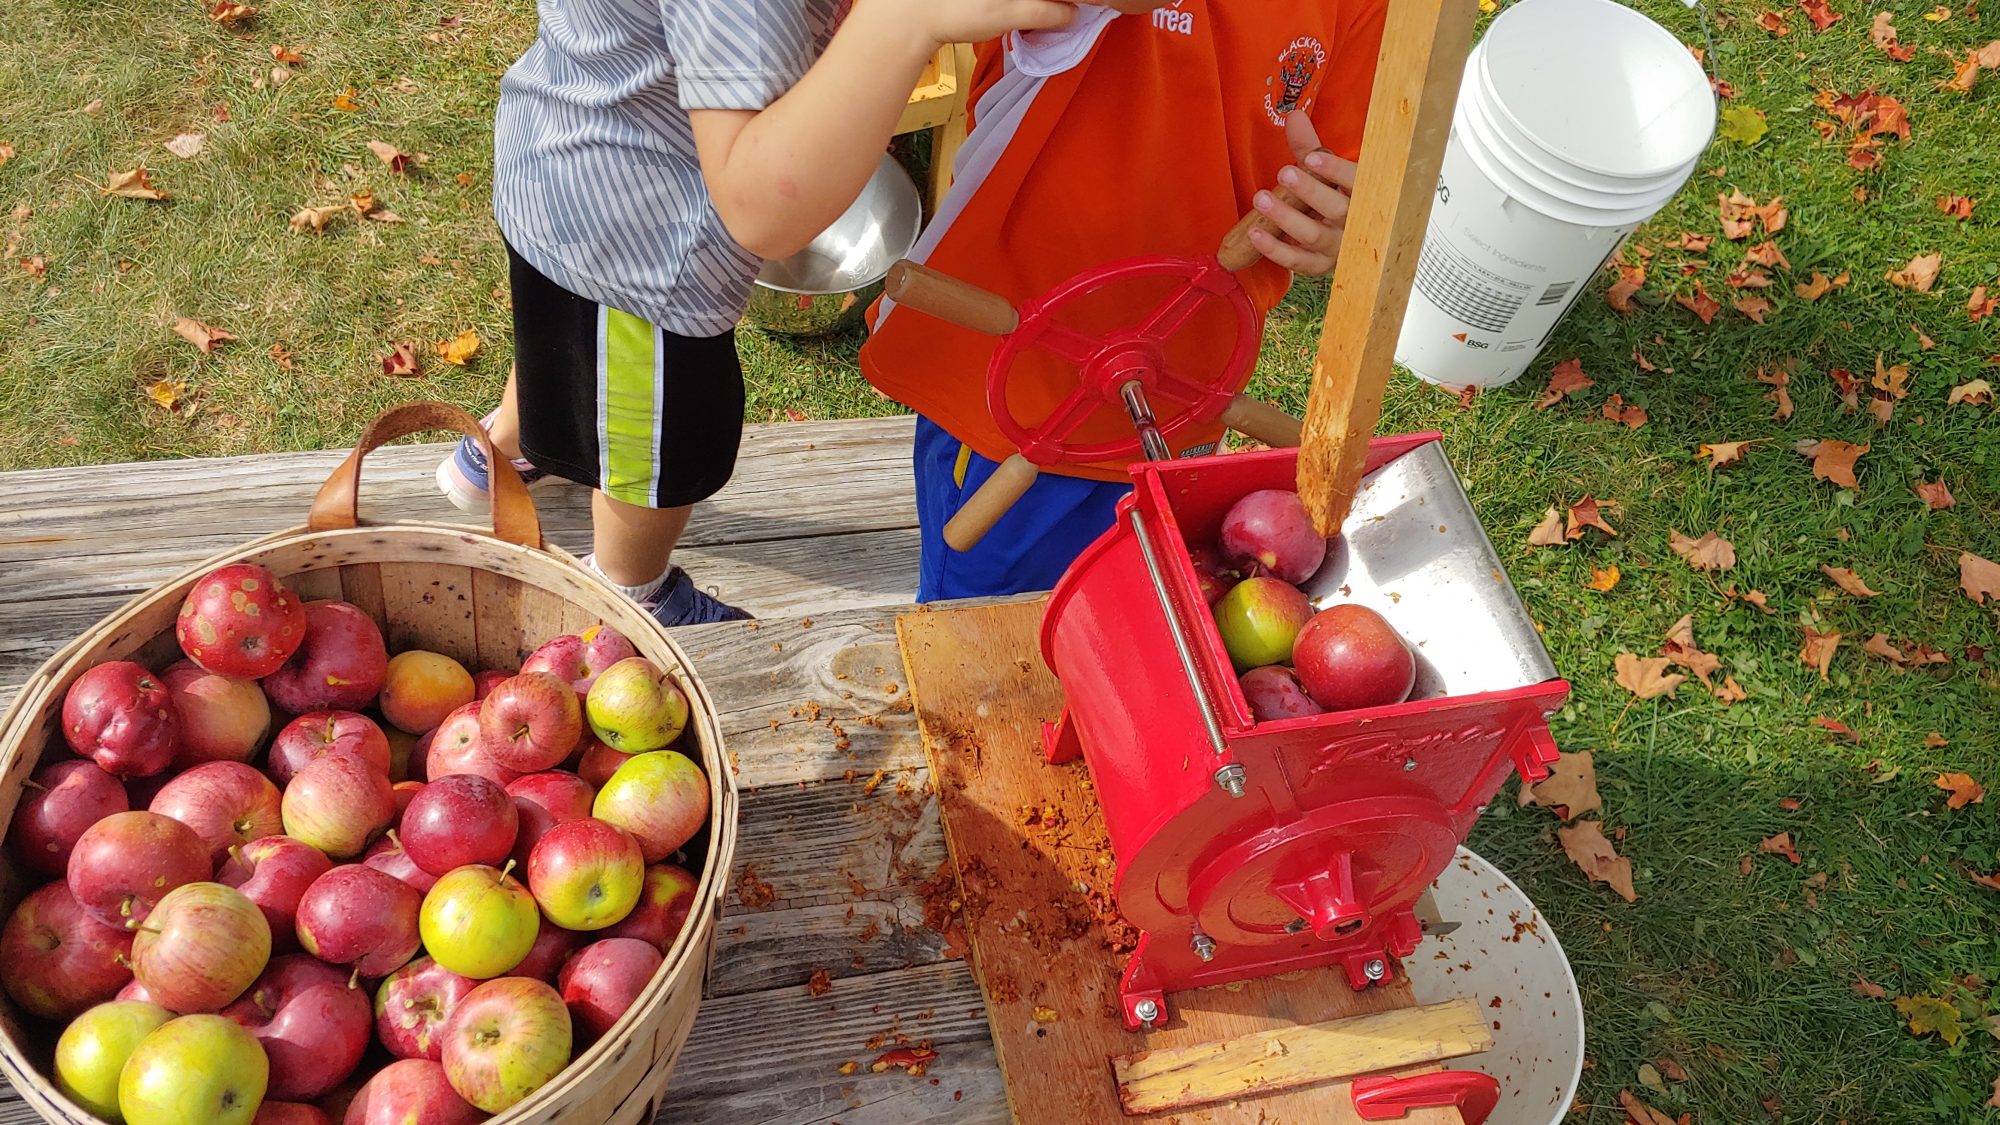
- Place the apple pieces into the straining bag and place the bag into the press.
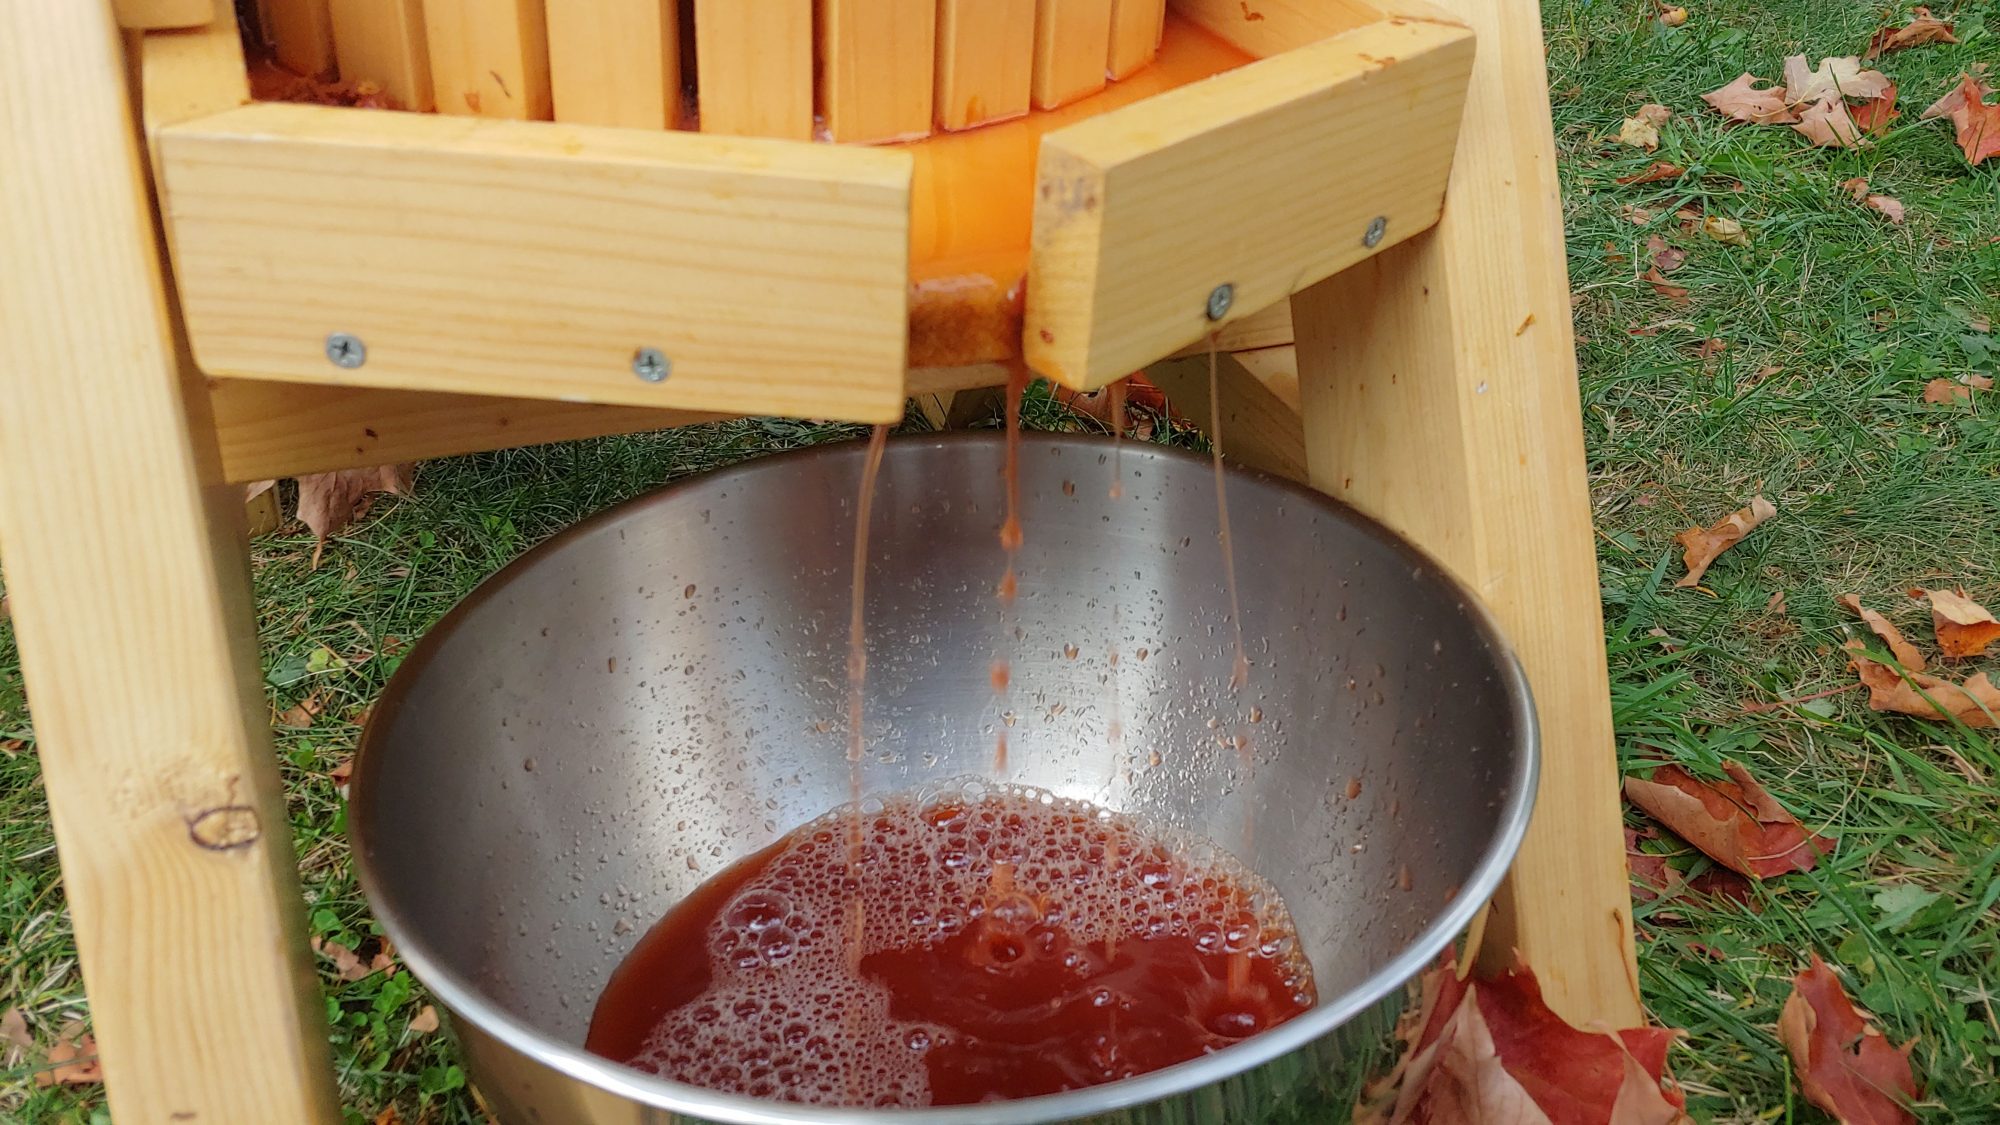
- Crank or turn on the press to press down onto the bag and extract the juice.
- Collect the cider as it comes out of the press.
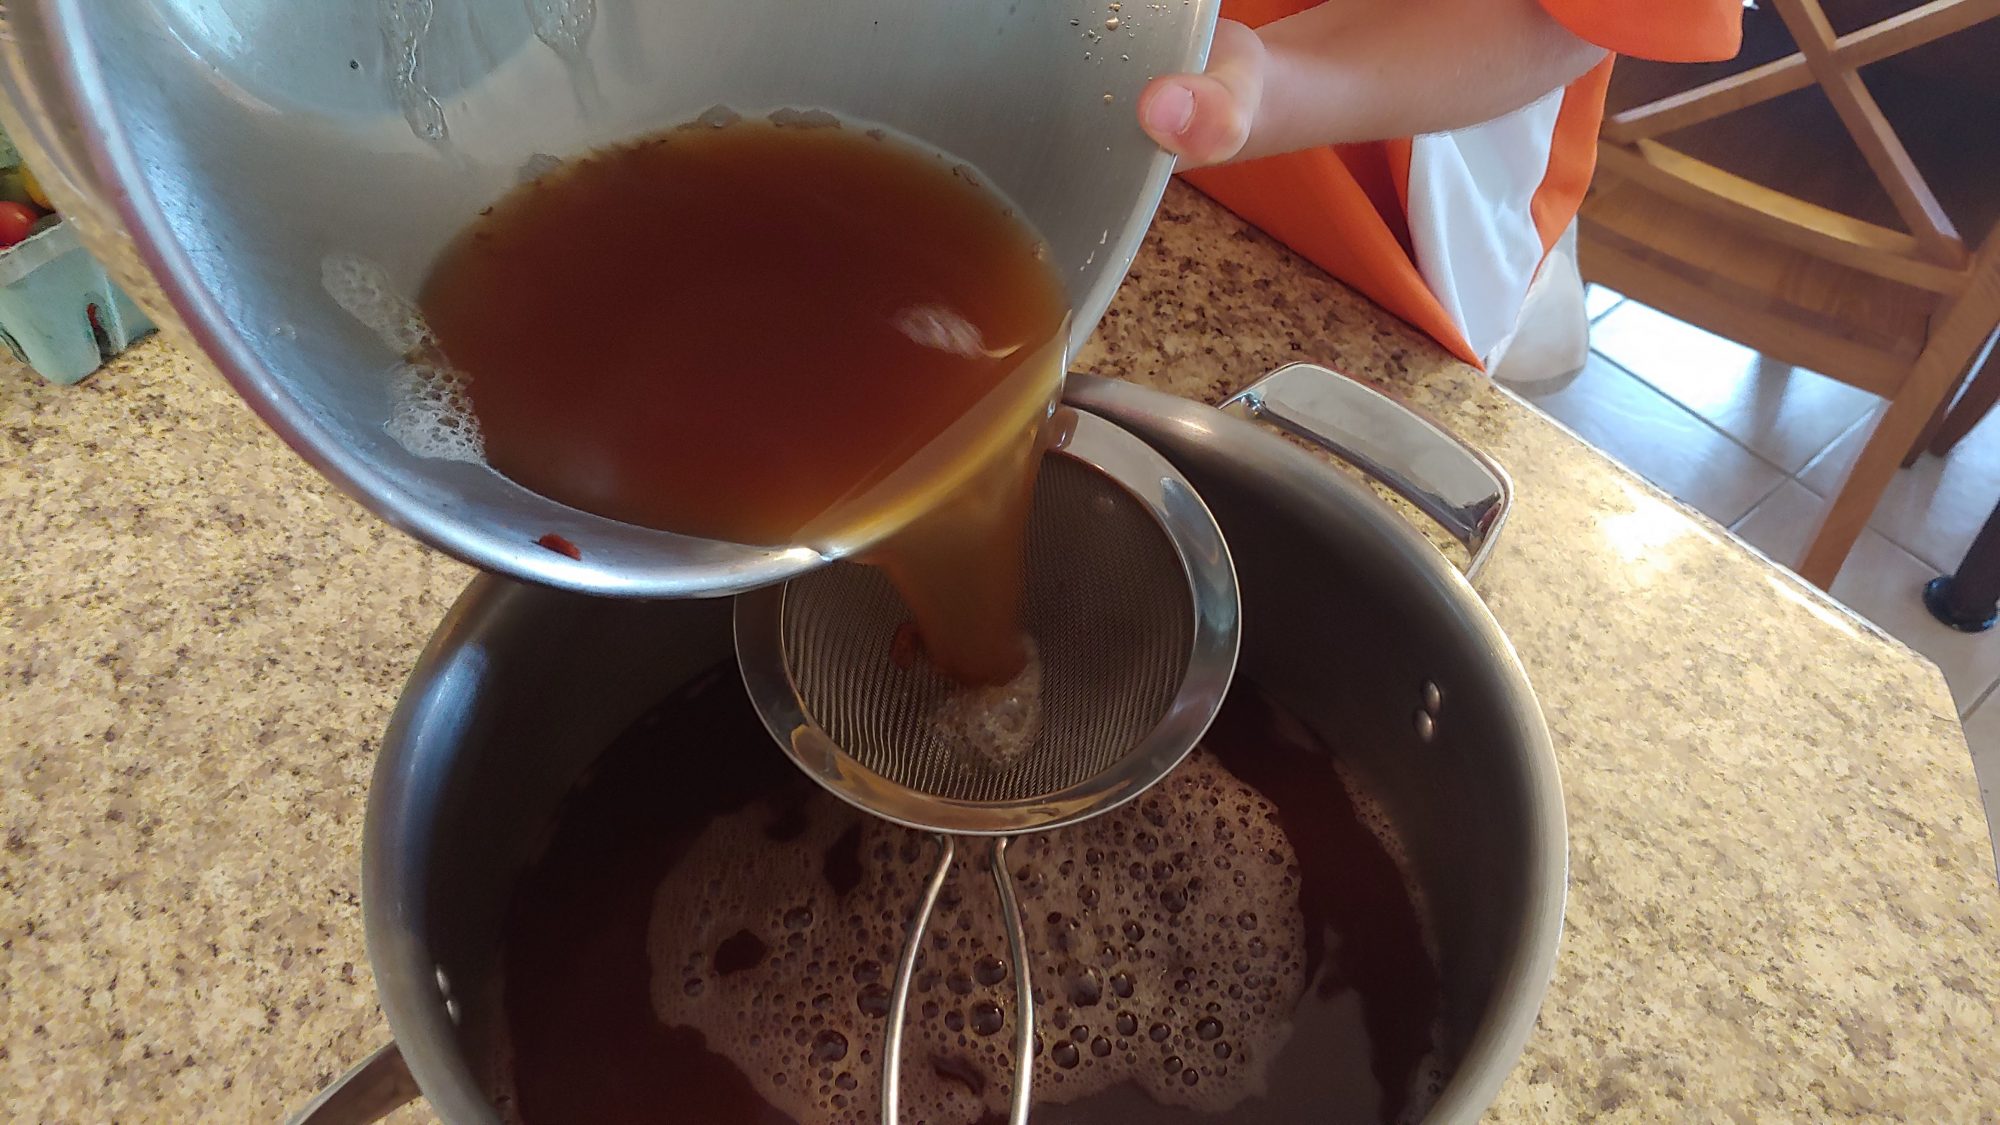
- If you spill any chunks of fruit or find that some particles of the apples come through into your cider, you can pour it through a fine-meshed strainer at the final stage of collection.
And that’s it! You’ve now pressed your own apple cider (watch the video below to see this process in action).
Storing and Pasteurizing Fresh Apple Cider
The cider will stay fresh in the fridge for a few weeks. If you want to keep it longer or just feel safer about drinking your cider, you will need to pasteurize your cider.
Pasteurizing cider involves heating it to kill any bacteria present. This step is optional, but we recommend it if you are not planning to drink your cider right away or if you want to be extra cautious.
We find that pasteurization does not alter the taste or quality of the cider, plus it means you’re heating it to enjoy a nice warm cup right on the spot!
To pasteurize apple cider, simply heat your cider on the stove until it reaches 165 degrees Fahrenheit and then hold it at that temperature for at least 30 seconds. Cider can be pasteurized in a stockpot on the stove.
Once it has been pasteurized, your cider can be stored in the fridge for several months, or you can use a canning process for canning your apple cider for shelf-stable storage.
What to do with the extra pulp?
Your apple pulp can be composted or fed to animals who might enjoy it (as long as you can be sure the fruit was safely collected and cleaned).
What types of apples are best for apple cider?
The type of apples you use for cider is up to you and your taste preferences, as well as what you have on hand. Some people like to mix apples for a more complex flavor, while others prefer to use all one type of apple. Here are some things to keep in mind when choosing your apples:
- Use apples that are fresh and ripe.
- Avoid using overly bruised or damaged apples as these can make your cider taste off.
- Different types of apples will produce different amounts of juice. For example, Granny Smith apples will yield about 0.36 gallons of juice, while Honeycrisp apples will yield about 0.44 gallons of juice. So, if you are looking to produce a certain amount of cider, you can consider this when deciding how many apples to press.
- Cider made with all sweet apples will be very sweet, while cider made with all tart apples will be quite tart. If you want a more balanced flavor, mix different types of apples.
- Be sure to wash or sanitize the apples first and to choose only the apples that are still in good condition, and consider pasteurizing your cider once it is made.
Cleaning Apple Cider Equipment
Cider-making equipment can be cleaned with hot, soapy water. Be sure to rinse all surfaces well to remove any soap residue. Be sure to clean before your first use, and between uses to ensure that no harmful bacteria or mold grow on your equipment.
If you have any stubborn stains or build-up on your cider press, you can use a mild acid such as white vinegar to help clean it. Never use harsh chemicals or abrasive materials to clean your cider press, as this can damage the equipment.
Carrie Williams Howe is an educational leader by day and an aspiring homesteader by night and weekend. She lives on a small homestead in Vermont with her husband, two children, and a rambunctious border collie. She blogs about her family's homestead life at The Happy Hive.
