This post may contain affiliate links.
Now you’ve extracted that golden delicious honey from your hives, what do you do with all the wax cappings and honeycomb? Believe it or not, you can easily clean the beeswax yourself and use it for all sorts of projects!
This article describes a process for rendering beeswax that is great when you have a fairly large amount of wax to work with. We’ve also included some tips for rendering smaller amounts of wax.
What is Beeswax?
Beeswax has been used since antiquity. The ancients used it for embalming the dead and the sealing of tombs, as a form of currency and for trade, for candle making, waterproofing, painting, health and wellness and even lost wax casting of metals and glass.
For those of you who aren’t yet beekeepers, wax cappings are produced by the worker bees for the purpose of capping their cells of honey. In order to harvest that honey, a Beekeeper must carefully remove these cappings.

While honey is very precious, beeswax cappings are even more so! We use it to make candles and reusable food wraps. Because of its anti-inflammatory, antibacterial, and antiviral benefits, we also use it in many of our soaps and skin care products. Beeswax protects the skin while allowing it to breathe.
Beeswax is the bees’ knees! Well, not actually. Beeswax is made by the worker bees who have eight wax producing glands on their abdomen, not their knees (bee humor). They use the wax to construct the hexagonal cells called “honeycomb.” This is where they store honey, pollen, and brood (baby bees).
According to the University of Arkansas Division of Agriculture, it takes many bees working together to produce and form the honeycomb. Those bees must consume at least eight pounds of honey to metabolize one pound of wax!
Beeswax removed from the hive often has a lot of detritus consisting of honey, pollen, propolis, bee parts, and even a few bees. It’s often dark in color. With a little work, you can render it down and remove the detritus, leaving with clean wax you can use.
Supplies for Rendering Beeswax
It is important to note that beeswax is a very sticky substance. Its residue will remain on the items you use to render it. For this reason, we suggest you use “old” items you don’t mind being ruined for purposes other than rendering beeswax.
- Cardboard, newspaper, or painter’s cloth
- An old, clean t-shirt or similar fabric (heavy-duty cheesecloth also works)
- A large old metal pot
- 2.5 – 5 gallon bucket
- An old wooden stick
- Wax Cappings and/or Honeycomb
- Mineral Oil (for clean up)
- Beeswax Bar Molds (optional)
Rendering Beeswax Instructions
Beeswax is highly flammable with a low melting point of 144-147ºF (62-64ºC) and a flash point of 400ºF (204.4ºC). Beeswax will begin to discolor at around 185ºF (85ºC). It should never be left unattended.
Step 1: Prepare
Beeswax is very sticky and can be difficult to remove from most surfaces. The process of rendering it can be quite messy. Be sure to lay down cardboard, newspaper, painter’s cloth, or something to protect your work area.
Cover your bucket with an oversized t-shirt or other suitable fabric. You can also use multiple layers of strong cheesecloth. You’ll pour the hot liquids through this filter, so secure it around the outside of the bucket. You can secure it with rope, a giant rubber band, or ratchet straps.
Place your beeswax in the old pot and fill the pot with enough water to cover the beeswax. Depending on how much water and wax you use, that pot will get heavy, so keep that in mind when filling it, or have another set for hands to help you.

Step 2: Heat the Wax & Water until the Beeswax Melts
Place the pot on the stovetop and turn the heat medium/low. Beeswax is highly flammable, so don’t be tempted to raise the heat. You want the beeswax to melt, but you do not want the water to boil. Remember, never leave your melting beeswax unattended.
You may need to stir the pot to encourage the larger pieces of wax to melt. As the wax begins to melt, it will rise to the top of the pot, and any honey and detritus will sink to the bottom.

Step 3: Pour Wax and Water through the Fabric Filter
When the beeswax has melted, remove the pot from the heat and carefully pour the contents into the previously prepared bucket (with the fabric or cheesecloth filter on top). Be careful about splashing any hot beeswax on a person or things.
The beeswax and liquid will filter through the t-shirt, leaving the detritus behind.

Step 4: Allow the Beeswax to Cool
Allow the beeswax to cool for several hours. You will notice that not only has it formed a layer on top of the liquid, but it has also changed color, closer resembling the lovely yellow beeswax most of us are familiar with.
Once cooled, you can gently remove the hard disk of beeswax from the bucket. Rinse it well to remove any remaining honey or sticky water accumulated on the bottom side and set it out to dry.
Discard the liquid. While there may be honey, cooked honey can be toxic to bees. Mineral oil may help break down some of the wax you accidentally splattered.
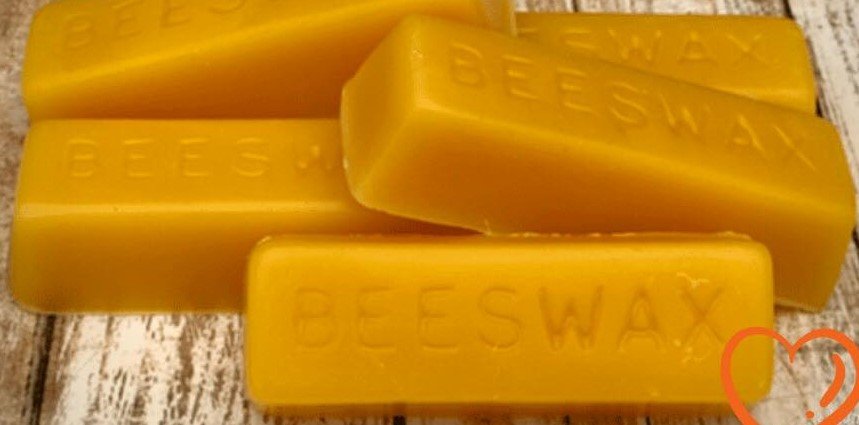
Step 5: Enjoy your Beeswax!
Once cooled, the beeswax can be used for any number of things: candles, furniture polish, waterproofing boots and clothing, lip balms, lotions, salves, reusable food wraps, coating cheeses, waxing threads, painting… so many projects!
If you find your rendered beeswax is not a clean as you would like, break it up, remelt it and pour it through a new clean old t-shirt or cheesecloth.
You can also melt the wax down and pour it into beeswax bar molds for a professional finish.
Rendering Small Amounts of Beeswax
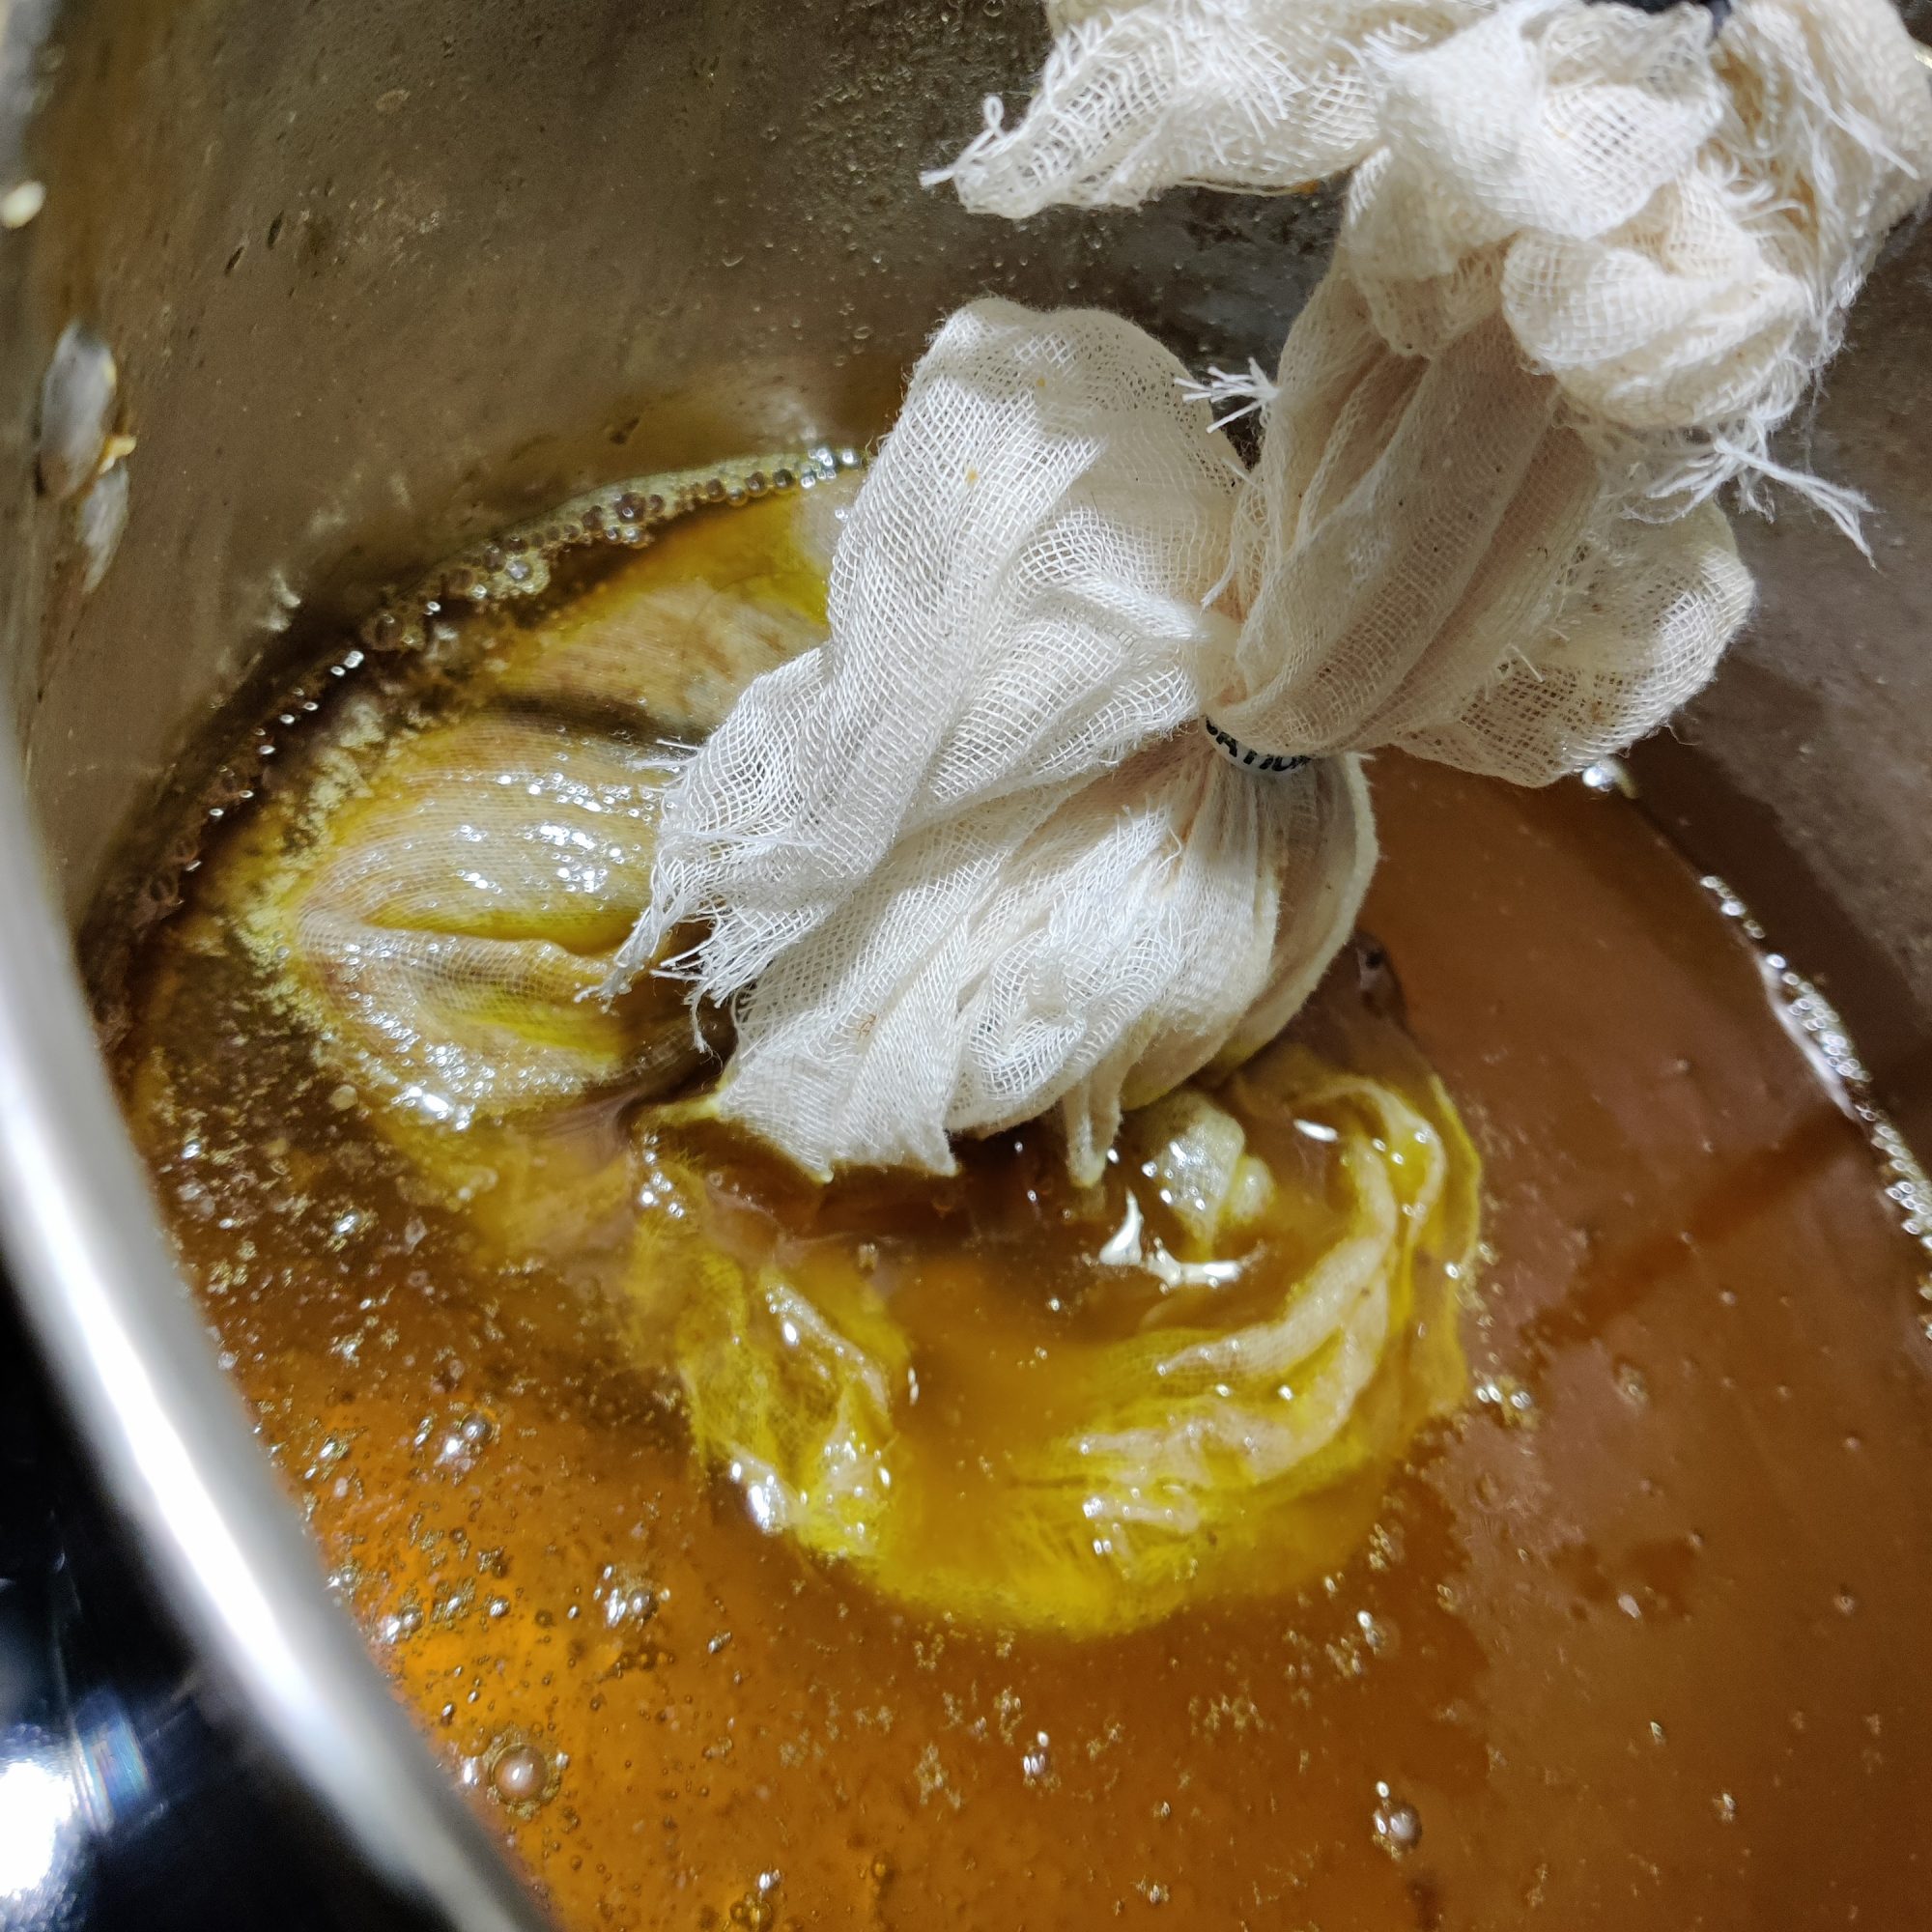
For processing smaller amounts of beeswax, instead of placing the beeswax inside the pan and filling it with water, place the beeswax inside a few layers of cheesecloth. Tie up this bundle and then place it in your pan with water covering the top of it.
Warm the water and allow the wax to melt from inside the cheesecloth.
The cheesecloth will filter the beeswax as it seeps out of the layers and into your pot of water. This allows you to melt and filter the beeswax in one step (though sometimes we need to do the process again to remove all the debris).
Once most of the wax has melted, remove the bundle of cheesecloth from your pot and allow the wax in the water to rise to the top and harden.
What Can You Make with Beeswax?
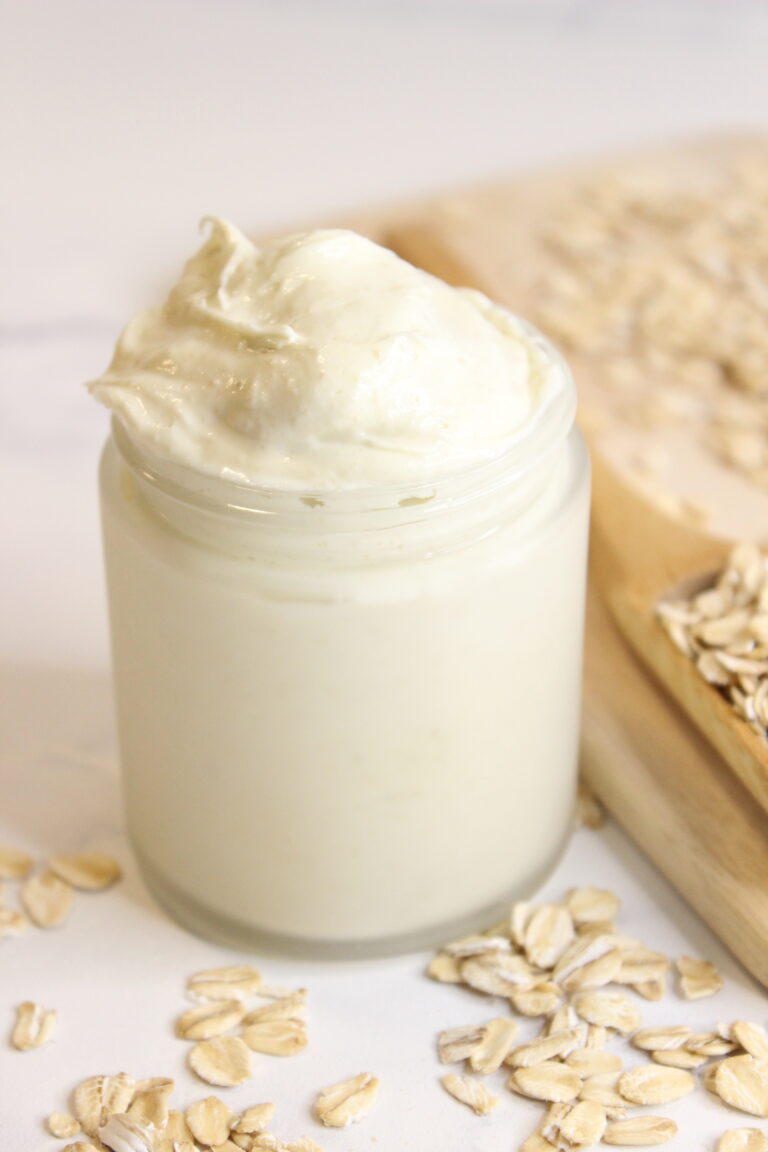
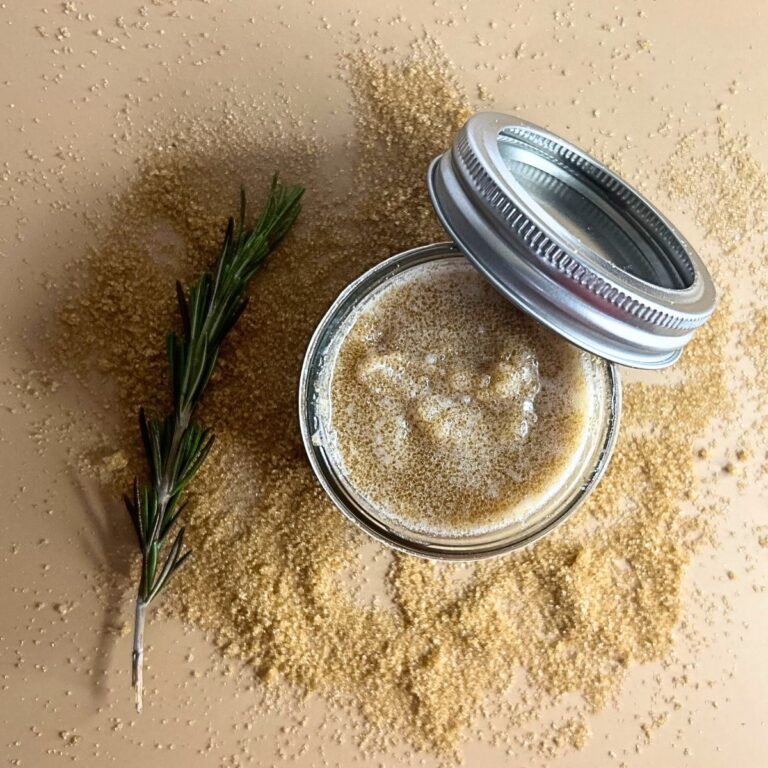
There are so many beautiful things you can make with beeswax. Personal care products take advantage of the health benefits of beeswax for your skin. Home products use the protective benefits of beeswax for leather and wood. And beeswax candles are healthier to burn in your home!
Try some of these products yourself!
- Beeswax Furniture Polish
- Beeswax Leather Conditioner
- Beeswax Pinecone Fire Starters
- Beeswax Lip Balm
- Beeswax Christmas Tree Ornaments
- Beeswax Lotion Bars
After years working as a public servant in a small California, beachside community, Starla has retired to Washington State to live out her homesteader dream along with her family. It is there you will find her tending bees, wrangling chickens, gardening, hunting, baking, preserving food, making soap and medicinal balms and salves as she studies to become a certified herbalist. She is also a licensed Amateur Radio Operator who hopes to have her own “Ham Shack” in the near future. She and her family are currently building toward teaching others vital skills of self sufficiency.


Do you use pesticides to treat your bees for mites? I understand that these pesticides will end up in the wax. What can be done to remove it?
This article was written by a guest author, so I cannot speak for her directly, but I can tell you my personal practices. We do not typically use pesticides to treat for mites; we try to use more natural pest control methods. I too have heard that these pesticides can end up in the wax, and I’m not aware of any means to remove it – I am not an expert but you can find articles from researchers who have studied this. So if I am sourcing beeswax to make skincare products, for example, I will try to source wax from operations that do not use pesticides.