This post may contain affiliate links.
Homemade vanilla extract is easy and fun to make. It makes a great gift and tastes much better than store-bought vanilla.
This method of making the vanilla extract makes the vanilla flavor more intense and robust.
Here’s a guide on how to make homemade vanilla extract.
What You’ll Need
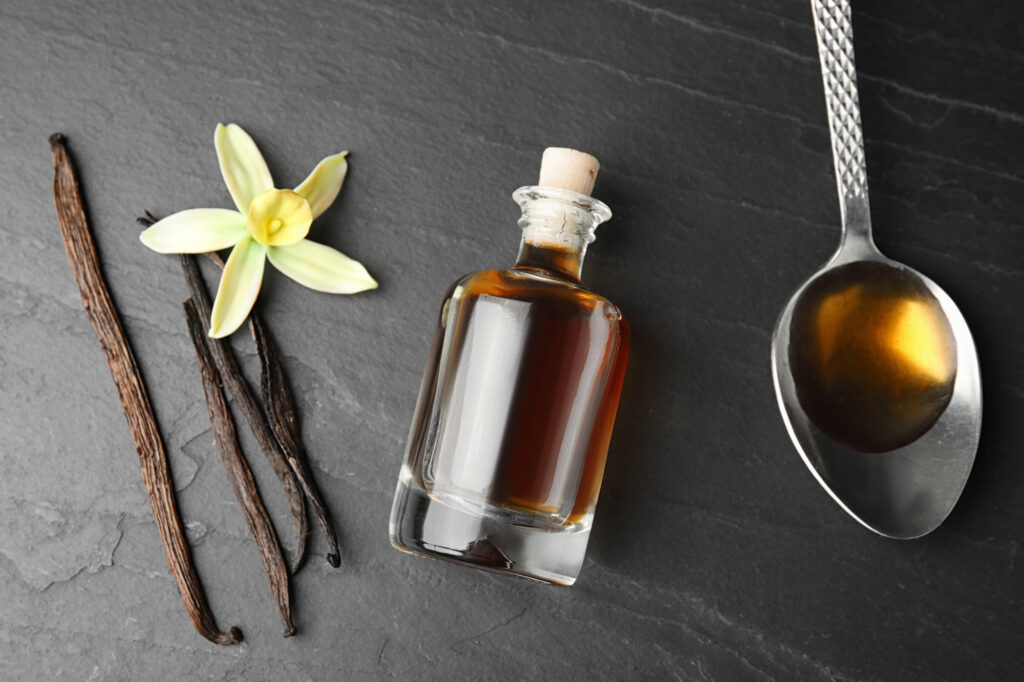
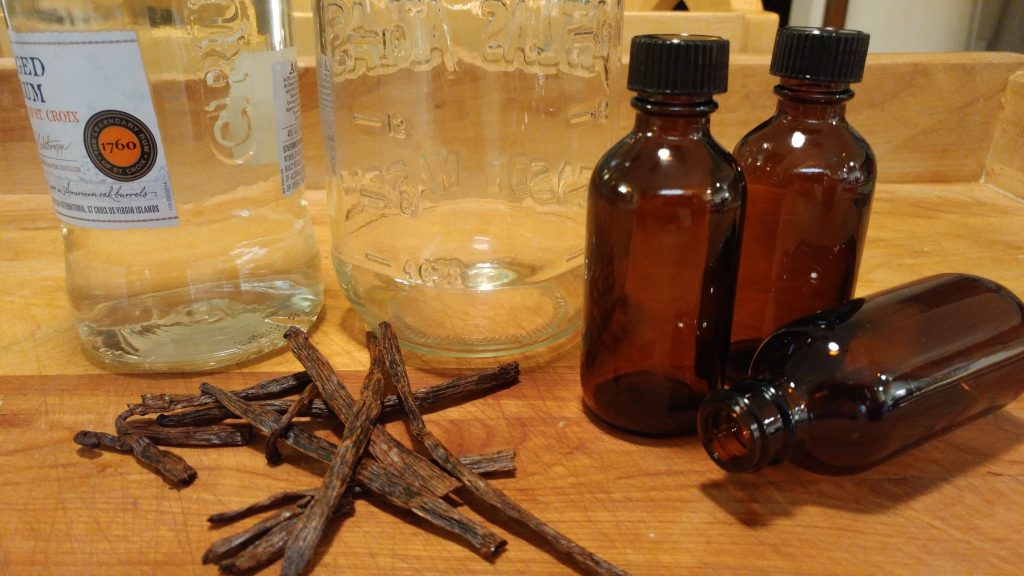
To make your own homemade vanilla extract, you need only four items:
Step One: Heat the Alcohol
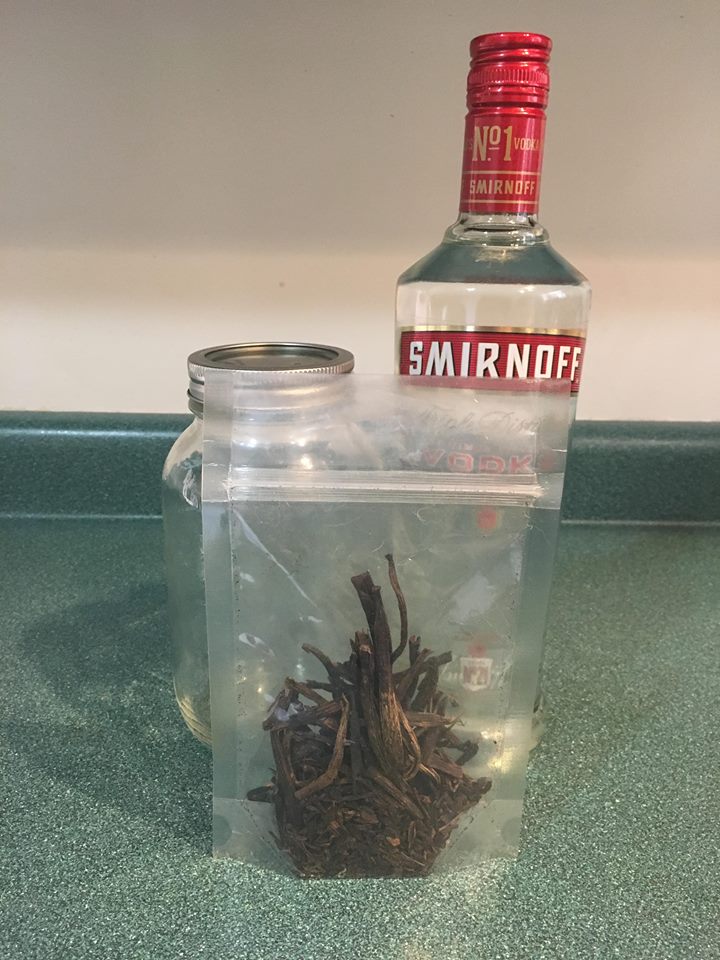
Gently heat the vodka (or rum) on the stove. The warm liquid helps the vanilla bean “open up,” creating a deeper flavor.
Pour the alcohol into a pot with the heat set on low. Heat it until it begins to steam and bubbles are on the bottom of the pan.
While this is happening, put your vanilla beans in your sterile jar.
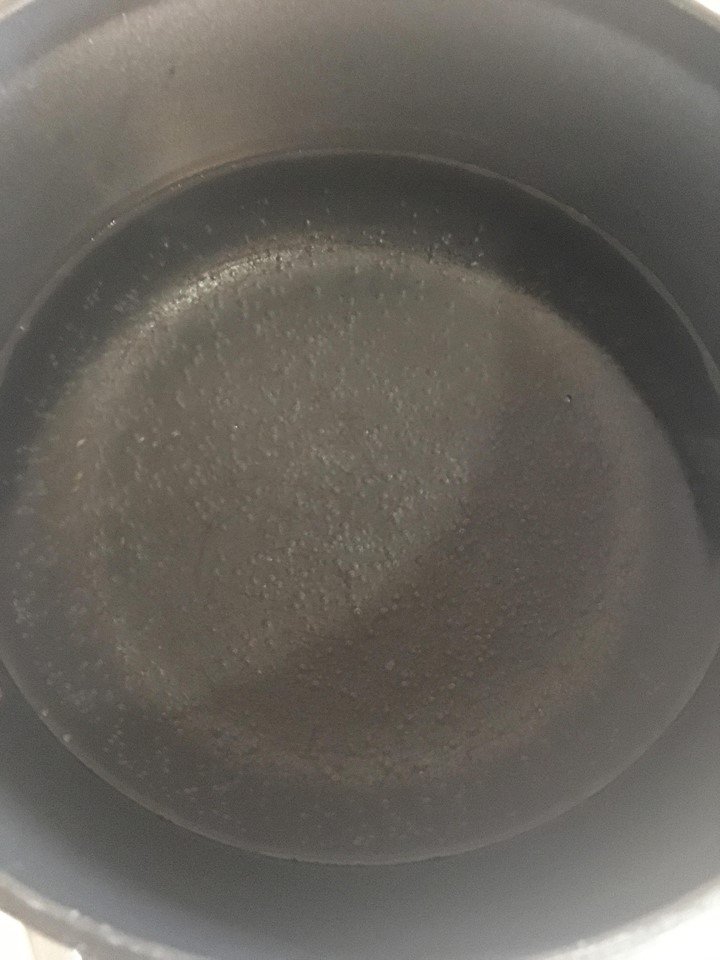
Please note: You do not have to heat up your alcohol to make vanilla extract. It simply speeds up the process and develops the flavor more.
Step Two: Prepare Your Vanilla Beans
If you are using vanilla bean bits, you will put these in the jar and pour your alcohol over them. However, if you are using whole beans or if your bits are bigger, you will want to slice them lengthwise in smaller pieces to expose all of the yummy vanilla insides of the bean. This will help to infuse the liquid more fully.
Step Three: Pour Alcohol over the Vanilla Beans
After you have heated your alcohol, pour it over the beans. Use a canning funnel for a smoother pour.
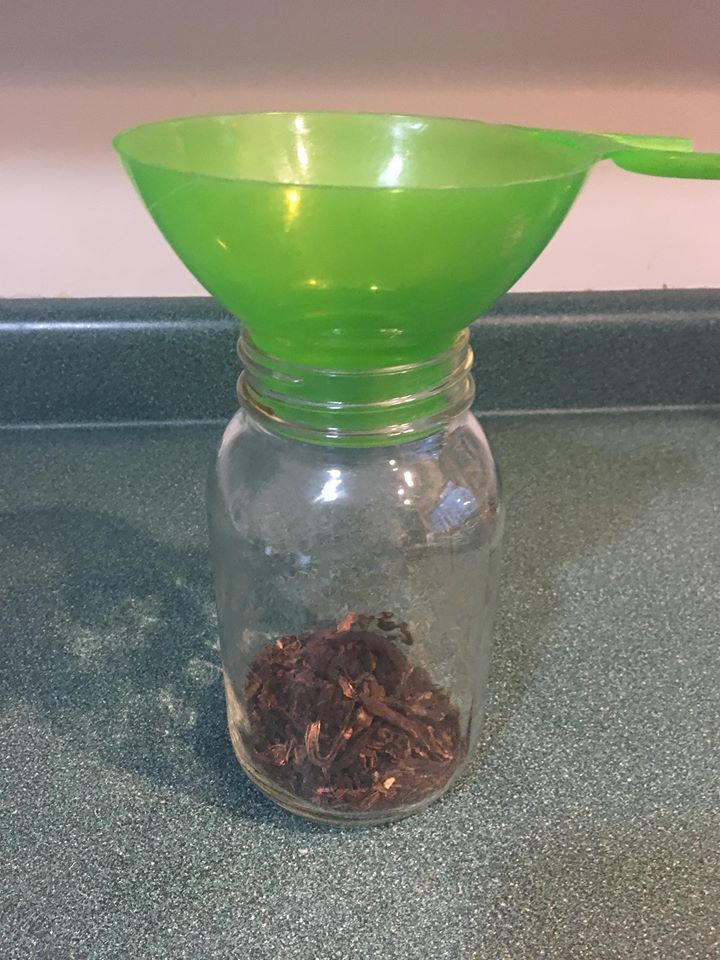
Step Four: Cool the Mixture
Place the lid on the jar without sealing it and let the mixture cool on the counter. If you screw the lid on tight while the alcohol is hot, you risk the chance of the jar self-sealing.
Step Four: Cover and Store it
Once the mixture is cool, twist the lid tight and place it in a cool, dark space like a cabinet or pantry. Every couple of days, take it out and give it a gentle shake.
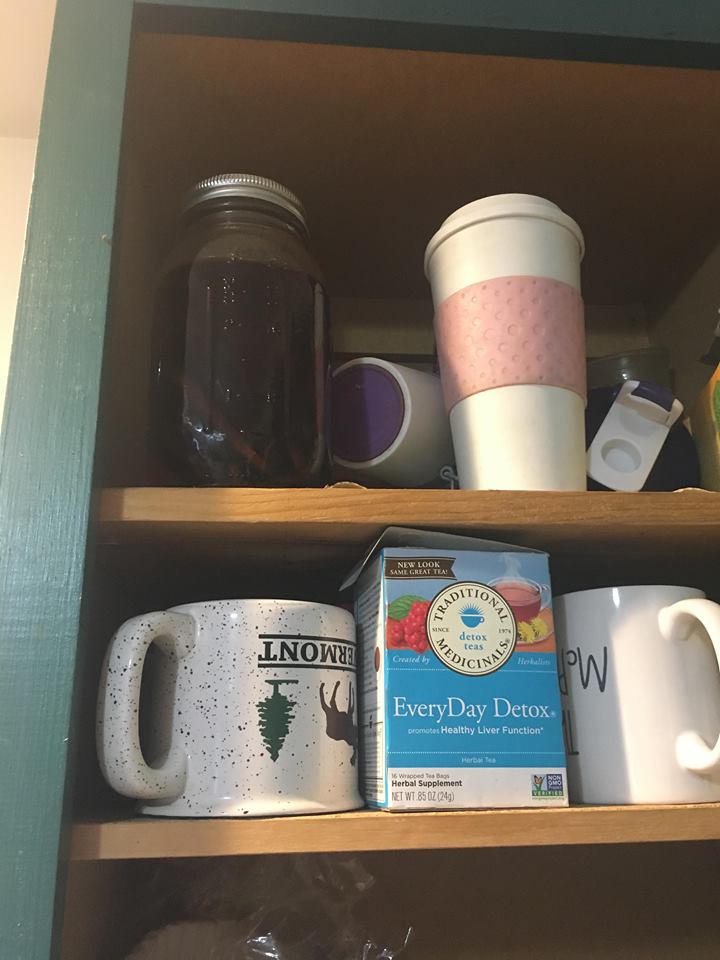
Step Five: Wait
You must let the mixture infuse for at least 12 weeks, but the longer, the better. If the alcohol smell is still stronger than the vanilla, then you will need to let it infuse for another week or two.
Starting your vanilla in a smaller container (say a half-pint jar or individually-sized jars) will likely infuse faster (in about two months).
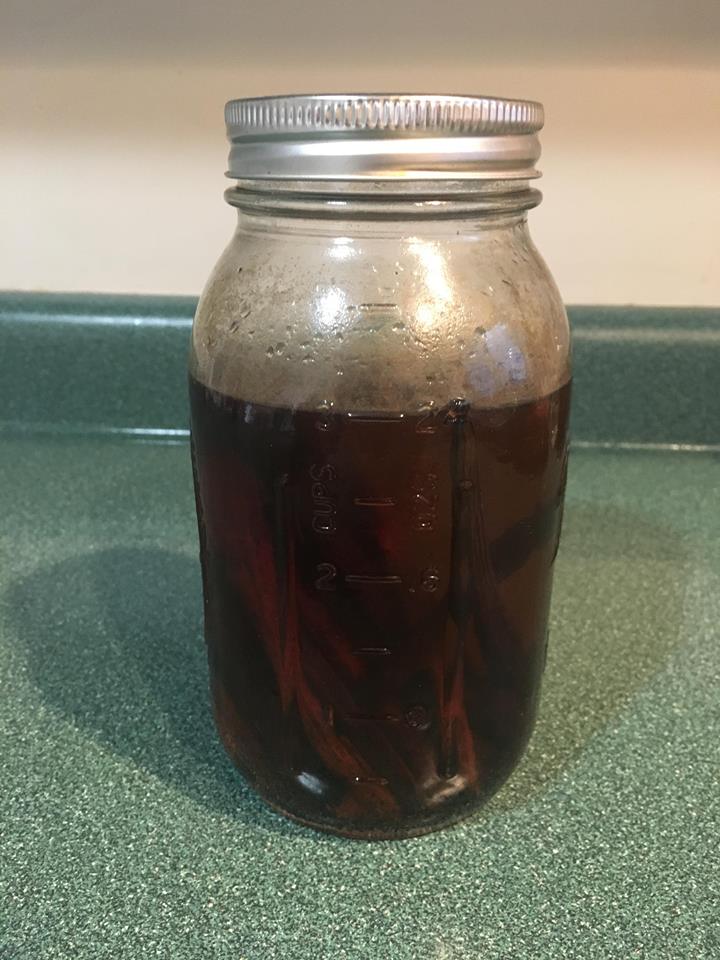
Step Six: Bottle your Homemade Vanilla
After infusing, you will want to bottle the homemade vanilla. It’s important to use dark bottles that protect from UV rays and light degradation.
Other posts you might like:
Is there a specific kind of vanilla bean you need to use?
For vanilla extract, you can use Grade B vanilla beans. Different grades are depending on what you want to use the vanilla for. Grade A beans are the fancier kind and are normally used for baking.
For this particular recipe, we used Grade B “bits.” These are broken pieces of beans instead of the whole bean. It is up to you whether you use one or two ounces for the extract. There are about 12 beans per ounce. Because vanilla can be a bit pricey, I only use one ounce, but this may mean that my vanilla takes longer to infuse the full flavor into the alcohol.
Vanilla beans can often be found in bulk at your grocery or health foods store, or you can buy them online. I belong to a vanilla bean co-op on Facebook. It’s an amazing place to get beans at a great price. You can find the group here! The beans aren’t always available, so Amazon is another great resource for them.
Can you reuse your vanilla beans after making vanilla extract?
Yes, you can reuse vanilla beans. Vanilla beans can be re-used for extract until you think they’ve lost their potency. At that point, you can add them to some sugar or salt to create vanilla sugar/salt.

