This post may contain affiliate links.


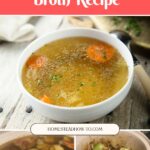

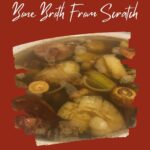

Bone broth has become a staple in my kitchen—it’s something I always keep stocked. Making it is incredibly easy, and the homemade version tastes infinitely better than anything you can buy at the store.
As the cold weather sets in and flu season approaches, I make sure to have plenty of bone broth stashed in the freezer. It’s not just comforting; it’s gentle on the stomach, making it the perfect pick-me-up during those chilly, germ-filled months. And on those raw winter days, nothing beats cozying up with a steaming mug of bone broth to warm you up from the inside out.
Here’s a quick and easy guide on how to make bone broth at home.

About Bone Broth
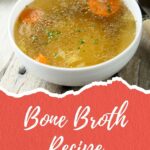
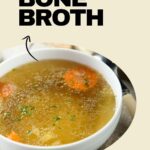
Curious about the difference between bone broth and regular broth? Well, bone broth is packed with vitamins, minerals, and nutrients that seem to be missing in your typical broth.
The key is in the slow cooking process—bone broth simmers low and slow for an extended period, allowing all those essential nutrients to seep out from the bones, joints, and cartilage of the animal you’re using.
Not only is bone broth nutrient-rich, but it’s also noticeably thicker than your average broth, thanks to the collagen extracted from the bones. Surprisingly, the ingredients are quite simple, often just bones, water, and a splash of apple cider vinegar.
Ingredients
- carcass
- apple cider vinegar with the mother
- onion
- celery
- carrot
- water
- garlic
- Salt
- Pepper
- turmeric
- Large Crockpot
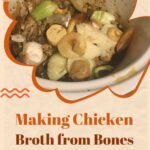
Step 1: Gather and Prepare the Ingredients
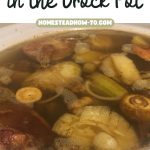
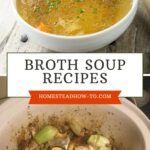
When I’m running low on broth and need to make a fresh batch, I use my largest crockpot designated solely for broth making. After stripping any leftover meat from the carcass, toss the bones, skin, and any other desired ingredients back into the crockpot.
I usually keep onion, celery, and
Step 2: Fill the Crockpot
Once the bones are in, add any additional ingredients. If you’re short on vegetable scraps, roughly chop a
Season with salt and pepper to taste, then add two tablespoons of

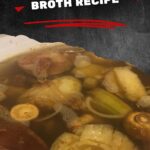
Step 3: Patience is Key
Allow the bone broth to simmer in the crockpot for 24 to 36 hours. I usually start mine on a Thursday evening, knowing I’ll have time to tend to it on Saturday mornings.
Stir occasionally—morning, afternoon, and evening. The enticing aroma might tempt you to finish early, but resist the urge. Slow cooking is crucial for extracting all the beneficial nutrients from the bones.

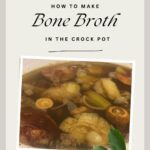
Step 4: Strain the Broth
Once the cooking time is up, turn off the crockpot and let it cool for an hour to avoid bacterial growth. Using oven mitts, carefully pour the mixture through a
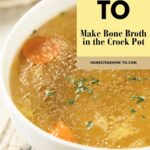
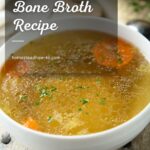
How to Store Bone Broth
Cover the strained broth and refrigerate it for at least a day. If using a store-bought bird, you might need to skim off a layer of fat once cooled.
When using home-raised birds with minimal fat, this step may be unnecessary. Once skimmed, portion the broth into 1-cup servings in freezer bags and lay them flat for easy storage.
Alternatively, if you have a pressure canner, you can opt to can the broth to save freezer space.


