Onions are one of those vegetables that don’t look like much when you first plant them. For quite a while, all you see are slender green tops sticking out of the soil. Then, as the plants mature, you start noticing something happening right at the soil line; the onion bulb begins to swell and become more visible.
That’s exactly what we watched happen with the onions growing at our community garden in Oakland, California. Our Zone 10 climate gives us relatively mild winters and a long growing season, and as the onions grew, we could actually see the bulbs getting larger above the soil.
Raised garden beds are a great place to grow onions because they give you more control over the soil, drainage, spacing, and weeds. Onions don’t need much room above ground, either, so you can fit quite a few into a relatively small bed.
We’ve previously covered three different ways to grow onions, but this guide focuses specifically on growing bulb onions in raised beds, from planting through harvest.
Why Grow Onions in a Raised Bed?
Onion bulbs need room to expand, and loose, well-draining soil makes that much easier than heavily compacted ground. Raised beds also drain well, which matters because onions appreciate consistent moisture but don’t want their roots sitting in soggy soil.
They’re also incredibly space-efficient. The plants grow mostly upright rather than sprawling across the bed, so you can grow a substantial number without sacrificing your entire garden.
That upright growth also leaves opportunities for companion planting. We’ve grown and written about several plants that grow well alongside onions if you want to use the remaining space in your raised bed.
Start With the Right Type of Onion
Before planting, choose an onion suited to your location. Onions are generally categorized as short-day, intermediate-day, or long-day varieties. This refers to the amount of daylight needed to trigger bulb formation, not how quickly the onion grows.
That distinction matters because the wrong type can produce plenty of green leaves without forming the large bulb you expect.
Your climate and latitude should guide your choice. If you’re buying locally, a good garden center will often carry onion varieties appropriate for your region.
Seeds, Sets, or Transplants?
You can start onions in several ways, and we’ve covered growing from seeds, sets, and transplants in more detail.
Seeds give you the largest selection of varieties but require the most time. Sets are small, partially grown bulbs that give you a head start, while transplants are young onion seedlings ready to go directly into the garden.
For someone growing onions for the first time, I like the simplicity of transplants or sets. You skip much of the slow early growth and get straight to establishing the plants in your raised bed.
Prepare the Raised Bed
Before planting, loosen the soil so the developing bulbs don’t have to fight against heavy compaction.
A good raised-bed mix should be loose, fertile, and able to drain excess water while still retaining some moisture. Mixing in finished compost before planting is an easy way to add organic matter and improve the soil.
I’d also clear out rocks, large pieces of woody material, and anything else that could interfere with bulb development.
You don’t need an extremely deep raised bed specifically for onions, but you do want several inches of good, workable soil for their relatively shallow roots.
How to Plant Onions in a Raised Bed
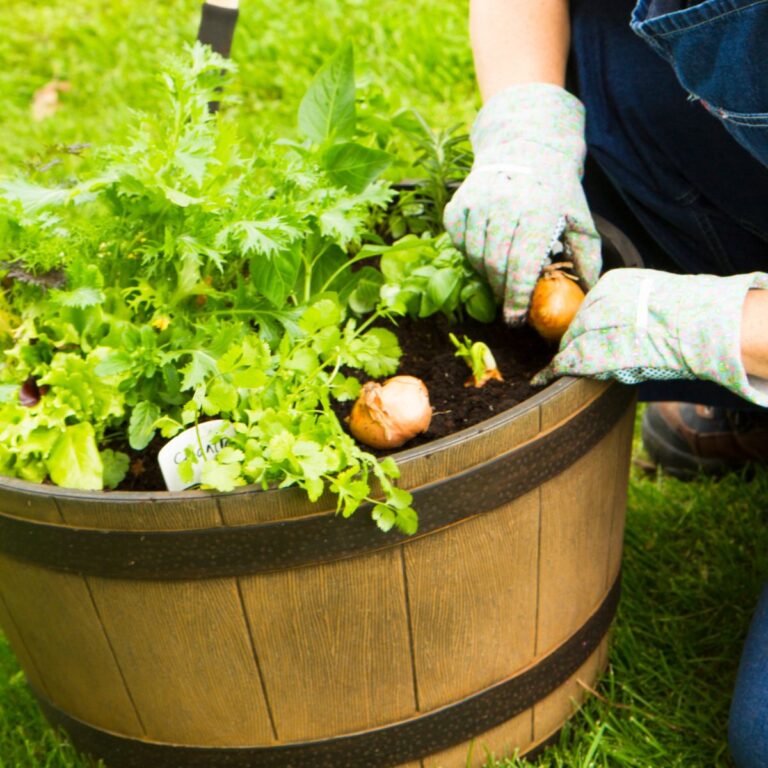
For full-sized bulb onions, space plants approximately 4 inches apart. Your exact spacing can vary depending on the variety and how large you want the onions to become.
Don’t bury transplants excessively deep. The roots need to be covered and secured in the soil, but the developing bulb should be able to expand near the surface rather than being buried several inches underground.
This becomes much more obvious later in the growing season. As our onions developed at the community garden, we could visibly see the bulbs swelling at the soil line. You don’t need to keep piling soil over that exposed portion of the bulb. Let it grow and expand naturally.
Give Onions Plenty of Sun
Choose one of the sunnier areas of your raised bed. Onions grow best with plenty of direct sunlight, particularly while they’re developing their bulbs. A raised bed shaded for much of the day by a fence, building, or taller vegetables isn’t where I’d put them if another location is available.
Also think about what else you’re growing in the bed. A small onion transplant doesn’t cast much shade, but a tomato or tomatillo planted beside it eventually might.
Planning for the mature size of neighboring plants can prevent your onions from getting buried underneath summer growth.
Keep the Soil Consistently Moist
Onions have relatively shallow roots, which means the upper portion of the soil shouldn’t repeatedly dry out for long stretches.
Water deeply enough to reach the roots and try to maintain relatively consistent moisture. Raised beds can dry faster than in-ground gardens, especially during warm weather, so don’t assume the bed is moist just because you watered a few days earlier.
At the same time, avoid keeping the soil constantly soggy. Good drainage and consistent watering are much better than alternating between bone-dry and waterlogged soil.
Stay on Top of Weeds
Onion leaves are tall and narrow and don’t create a dense canopy that shades the surrounding soil. That leaves plenty of opportunity for weeds to establish themselves around the plants and compete for water and nutrients.
Pull weeds while they’re small, but work carefully around your onions. Their roots are relatively shallow, and aggressive hoeing or digging can disturb them.
One advantage of a raised bed is that this job is much easier to keep up with.
Watching the Onion Bulb Form
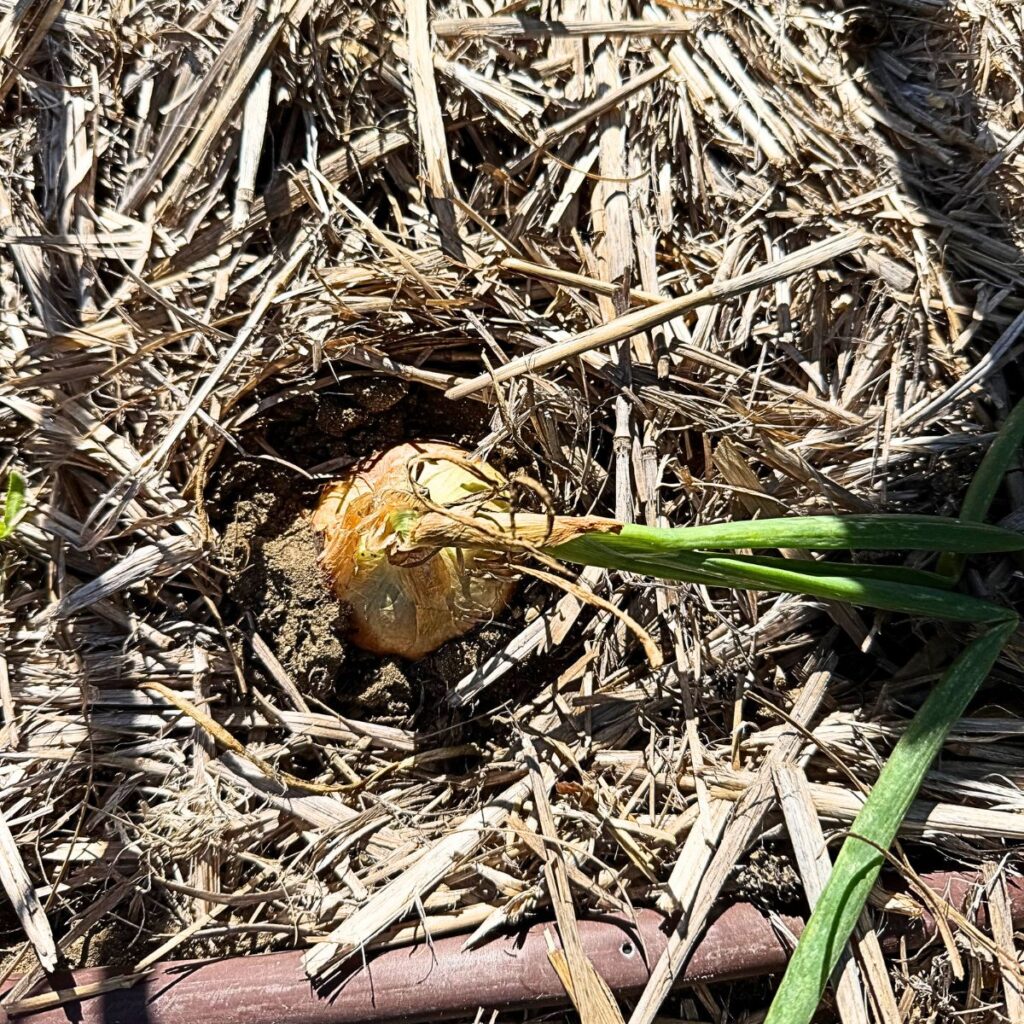
One of my favorite parts of growing onions is being able to actually watch the bulb develop. Early on, most of what you’ll see are upright green shoots, but as the plant matures, the base slowly begins to swell, and the onion becomes more visible at the soil line.
That’s exactly what happened with the onions we grew at our Oakland community garden. As our onion got larger, a good portion of the bulb eventually sat above the surrounding soil. Don’t be tempted to cover the exposed bulb with more soil. This is a normal part of bulb development, and you want to give the onion room to continue expanding.
As long as the tops are still healthy and green, I generally let the bulb continue growing. If you’re growing onions for full-sized bulbs rather than green onions, giving them that extra time can make a noticeable difference in the final size.
Don’t Harvest Just Because You Can See the Onion
Seeing a nice onion bulb poking above the soil can make it incredibly tempting to pull it. Unless you specifically want a smaller onion, give it time.
As long as the tops remain green and actively growing, the plant is still photosynthesizing and sending energy into the bulb. That means the onion you’re staring at today may become considerably larger if you leave it alone.
You can certainly harvest onions young and use them fresh, but if your goal is a large storage onion, patience pays off.
How to Know When Onions Are Ready to Harvest
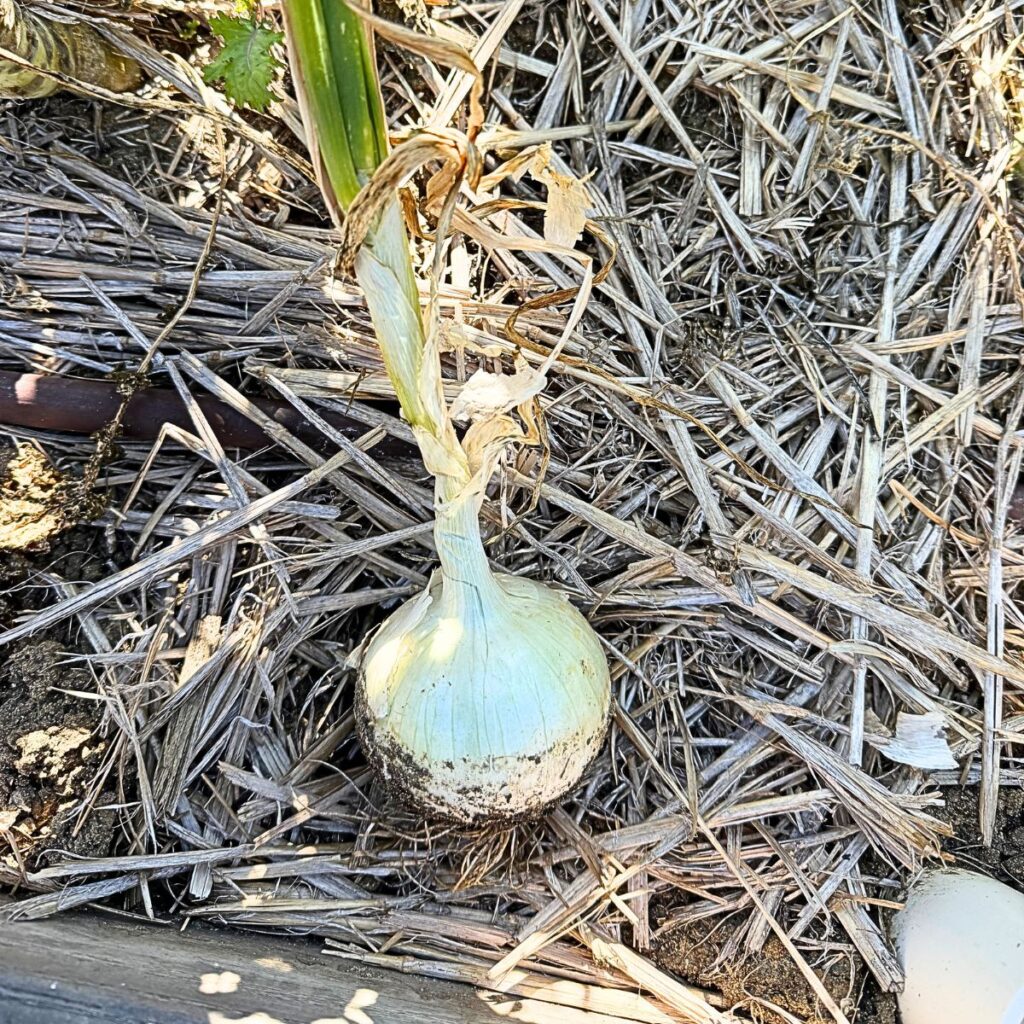
Seeing a large onion poking out of the soil doesn’t necessarily mean you need to harvest it immediately. While the green tops are still actively growing, the plant can continue putting energy into the developing bulb.
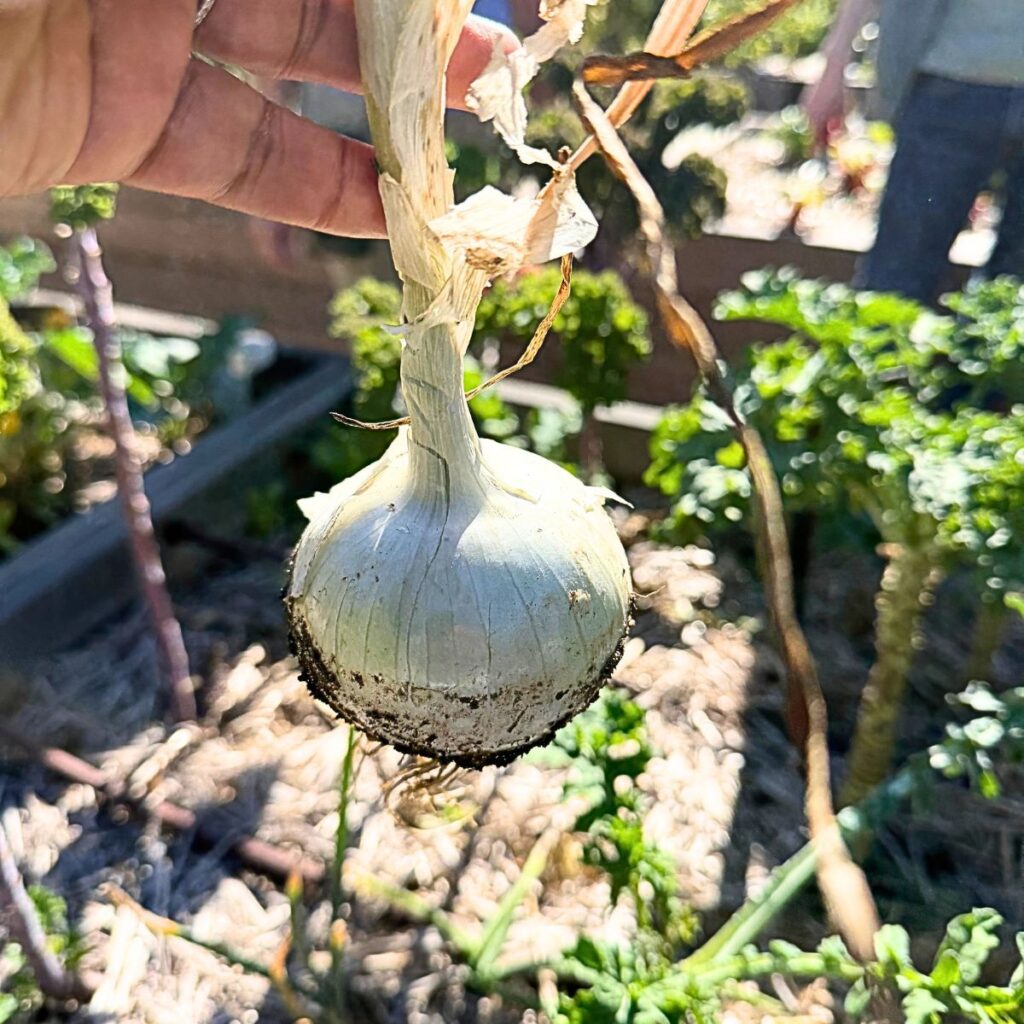
The onions will eventually give you a much clearer sign that they’re reaching maturity. The tops begin to bend over, yellow, and dry out. By the time we harvested this onion from our Oakland community garden, much of the foliage had already browned and dried, the neck was beginning to look papery, and the bulb itself was large and well formed.
At that stage, gently lift or pull the onion from the soil. If the soil is compacted, loosen it around the bulb first rather than pulling hard enough to damage the neck.
If you’re planning to store your crop rather than use it immediately, what happens next matters just as much as harvesting. We have a complete guide on how to harvest, cure, and store onions that walks through that process.
Don’t Bury a Bulb That’s Pushing Above the Soil
As your onions get larger, don’t be surprised if it looks like they’re pushing themselves right out of the raised bed. A significant portion of our mature onion was clearly visible above the soil by harvest time.
That’s not a sign that you need to add more dirt. Avoid mounding soil over a developing onion bulb just because you can see it. Keep caring for the plant normally, and let the bulb expand at the surface.
What to Do With Your Onion Harvest
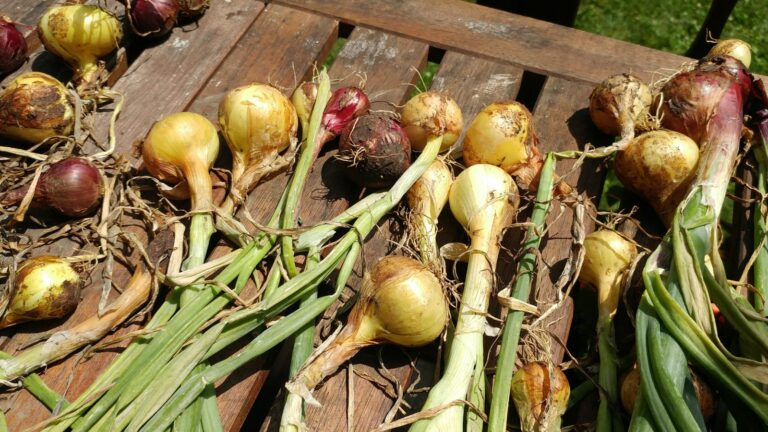
Freshly harvested onions can obviously go straight into the kitchen, but a good crop gives you plenty of options.
Properly cured onions can be stored for later use, although storage life varies considerably by variety. You can also preserve some of your harvest rather than trying to use everything fresh.
One method we’ve used is making dehydrated onions. Once dried, they’re convenient for adding onion flavor to soups, sauces, casseroles, marinades, and other dishes without needing a fresh onion every time.
What Can You Grow Next to Onions?
Because onions have such narrow, upright growth, there’s usually plenty of usable space around them in a raised bed.
Depending on your garden layout, vegetables such as
The bigger consideration is sunlight. I wouldn’t place onions where a much larger companion plant will eventually shade them heavily.
For more ideas, see our guide to the best plants to grow alongside onions.