Preparing for an emergency can feel like another expense you simply can’t afford. Between groceries, household bills, and everything else, spending hundreds of dollars on emergency supplies probably isn’t at the top of your list.
But building an emergency kit doesn’t have to happen all at once. Setting aside just $10 a week can help you gradually prepare for a power outage, severe weather, or another unexpected situation without putting too much pressure on your budget.
In fact, the Federal Emergency Management Agency (FEMA) recommends having enough basic supplies to last at least 72 hours. That includes drinking water, nonperishable food, flashlights, a first-aid kit, and other essentials.
The trick is figuring out what to buy first, what can wait, and how to make every dollar count.
Start small instead of buying everything at once
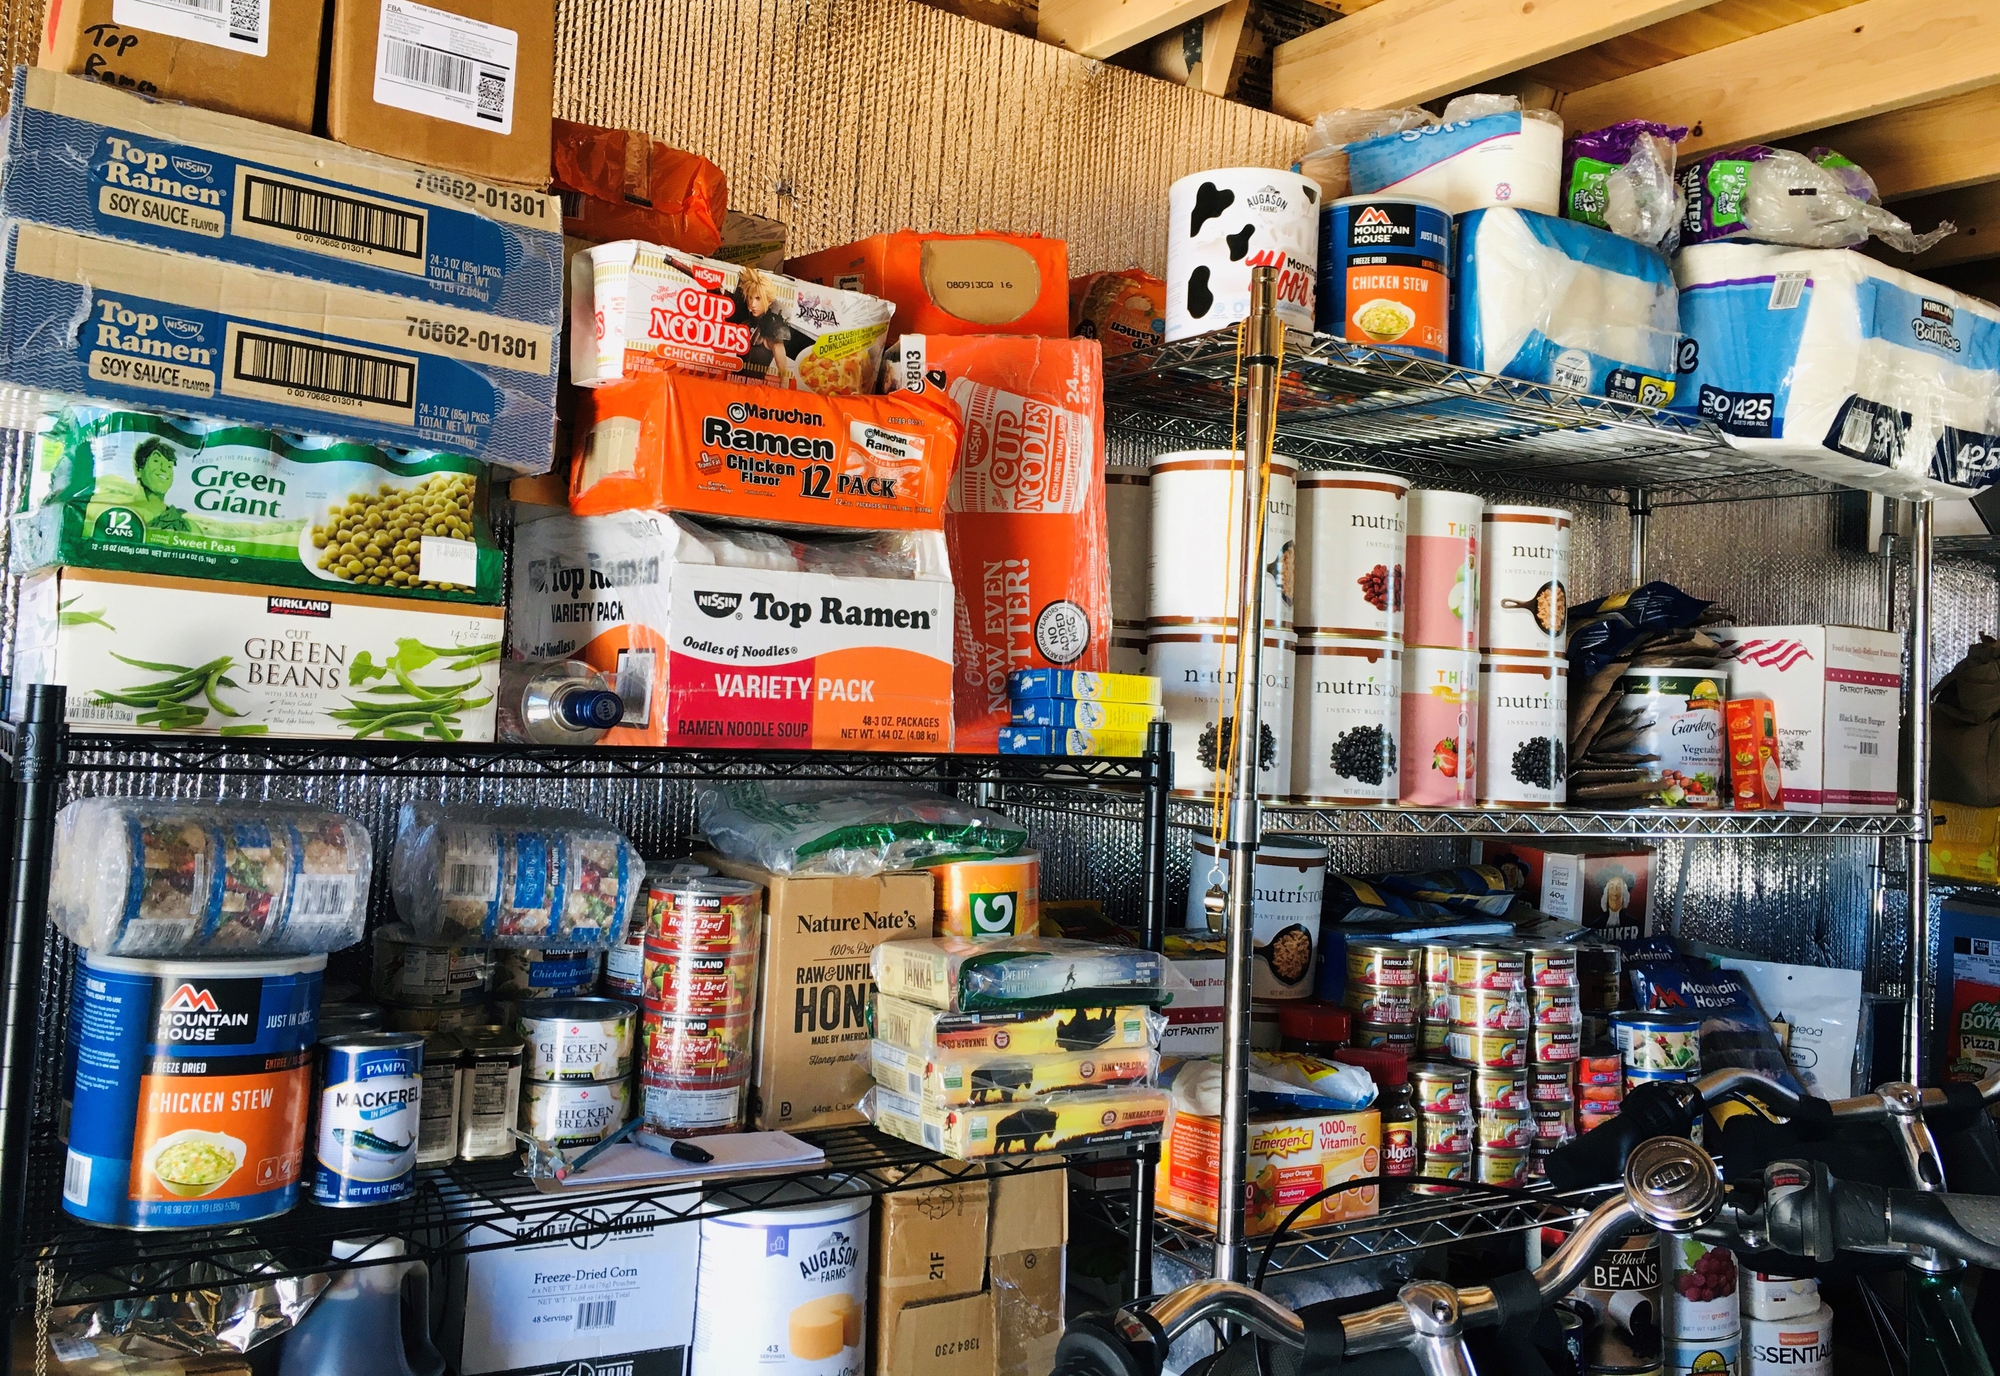
Prepper Ana Grace, who spends just £10 a week preparing for emergencies, told The i Paper how small, consistent purchases can build an emergency supply over time. It’s an approach that makes preparedness more manageable, especially for households already dealing with rising grocery costs.
You can apply a similar approach with $10 a week, focusing on a few essentials at a time. Over four weeks, that’s $40 toward emergency supplies, and after three months, you’ll have set aside roughly $120.
Before shopping, check what you already own. You may have flashlights, extra blankets, canned food, batteries, and a first-aid kit that can become part of your emergency supplies without spending anything extra.
Week 1 — Start with water and ready-to-eat food
Budget: $10
Water should be one of your first priorities. FEMA recommends storing at least one gallon of water per person per day for drinking and sanitation, which means a family of four would need at least 12 gallons for three days.
Start by purchasing as much drinking water as your budget allows, then use any remaining money for inexpensive shelf-stable foods. Canned beans, peanut butter, crackers, and canned fruit are practical options because they can be eaten without cooking or refrigeration.
You may not be able to purchase your entire household’s three-day water supply during the first week, and that’s fine. Continue adding water in the following weeks until you’ve reached the recommended amount.
Week 2 — Add flashlights and batteries
Budget: $10
A power outage becomes much more difficult once the sun goes down, especially if you have children or need to move around the house safely. Look for an inexpensive LED flashlight and compatible batteries, or check whether you already have working flashlights that simply need fresh batteries.
If you already have reliable lighting, put this week’s money toward additional water or food instead. The goal is to fill the gaps in your household’s supplies rather than purchase things you already own.
Battery-powered lighting is generally safer than candles, which can create a fire hazard during an emergency.
Week 3 — Stock up on hygiene and sanitation supplies
Budget: $10
Food and water get most of the attention when people talk about emergency preparedness, but basic hygiene becomes just as important if water or wastewater services are disrupted. Toilet paper, hand sanitizer, wet wipes, and heavy-duty trash bags are useful supplies to keep available.
You don’t necessarily need to buy everything in one shopping trip. Choose the items your household is most likely to need and add the others during future weeks.
One way to save money is to purchase an extra package of something you already use whenever it goes on sale. That way, your emergency supplies consist of products you know won’t go to waste.
Week 4 — Fill the gaps in your emergency food supply
Budget: $10
By the fourth week, take another look at your food and water supplies to see what’s still missing. Focus on foods that require little or no preparation, such as canned tuna, shelf-stable fruit, crackers, and other items your family already enjoys eating.
Don’t forget a manual can opener if you don’t already have one. It’s an inexpensive item that becomes particularly useful when the electricity goes out.
Pay attention to expiration and best-by dates, and avoid buying unfamiliar foods simply because they’re cheap. An emergency kit is much more useful when it contains things your household will actually eat.
Make your emergency supplies part of your regular shopping routine
One of the easiest ways to prepare without overspending is to buy extra quantities of things your household already uses. If canned beans are on sale, purchase an additional can or two. If you find a good price on bottled water, add some to your emergency supply.
This approach also makes it easier to rotate food before it expires. Instead of storing groceries for years and eventually throwing them away, use the oldest items first and replace them during your regular shopping trips.
Keep your supplies in a cool, dry, accessible location, and check them periodically to make sure batteries still work and food packaging remains in good condition.
You don’t need a big budget to start preparing
Emergency preparedness isn’t about having every survival gadget or purchasing months of supplies overnight. It’s about making sure your household has the essentials to get through an unexpected disruption.
Spending $10 a week might not seem like much, but it adds up. After three months, that’s roughly $120 invested in supplies that could help your family during a power outage, severe storm, or other emergency.
Start with what you can afford, focus on the supplies your household needs most, and build from there. A small emergency kit that you gradually improve is far more useful than one you keep putting off because it seems too expensive.