If you have a Monstera, Philodendron, or another climbing houseplant, you’ve probably noticed how quickly a moss pole can dry out. Keeping it moist can feel like another chore, especially when you already have several plants to care for.
A self-watering moss pole can make things a little easier. Instead of constantly misting the moss, you can use a simple watering system that helps distribute moisture throughout the pole, giving your climbing plants a better surface to attach their aerial roots.
What Is a Self-Watering Moss Pole?
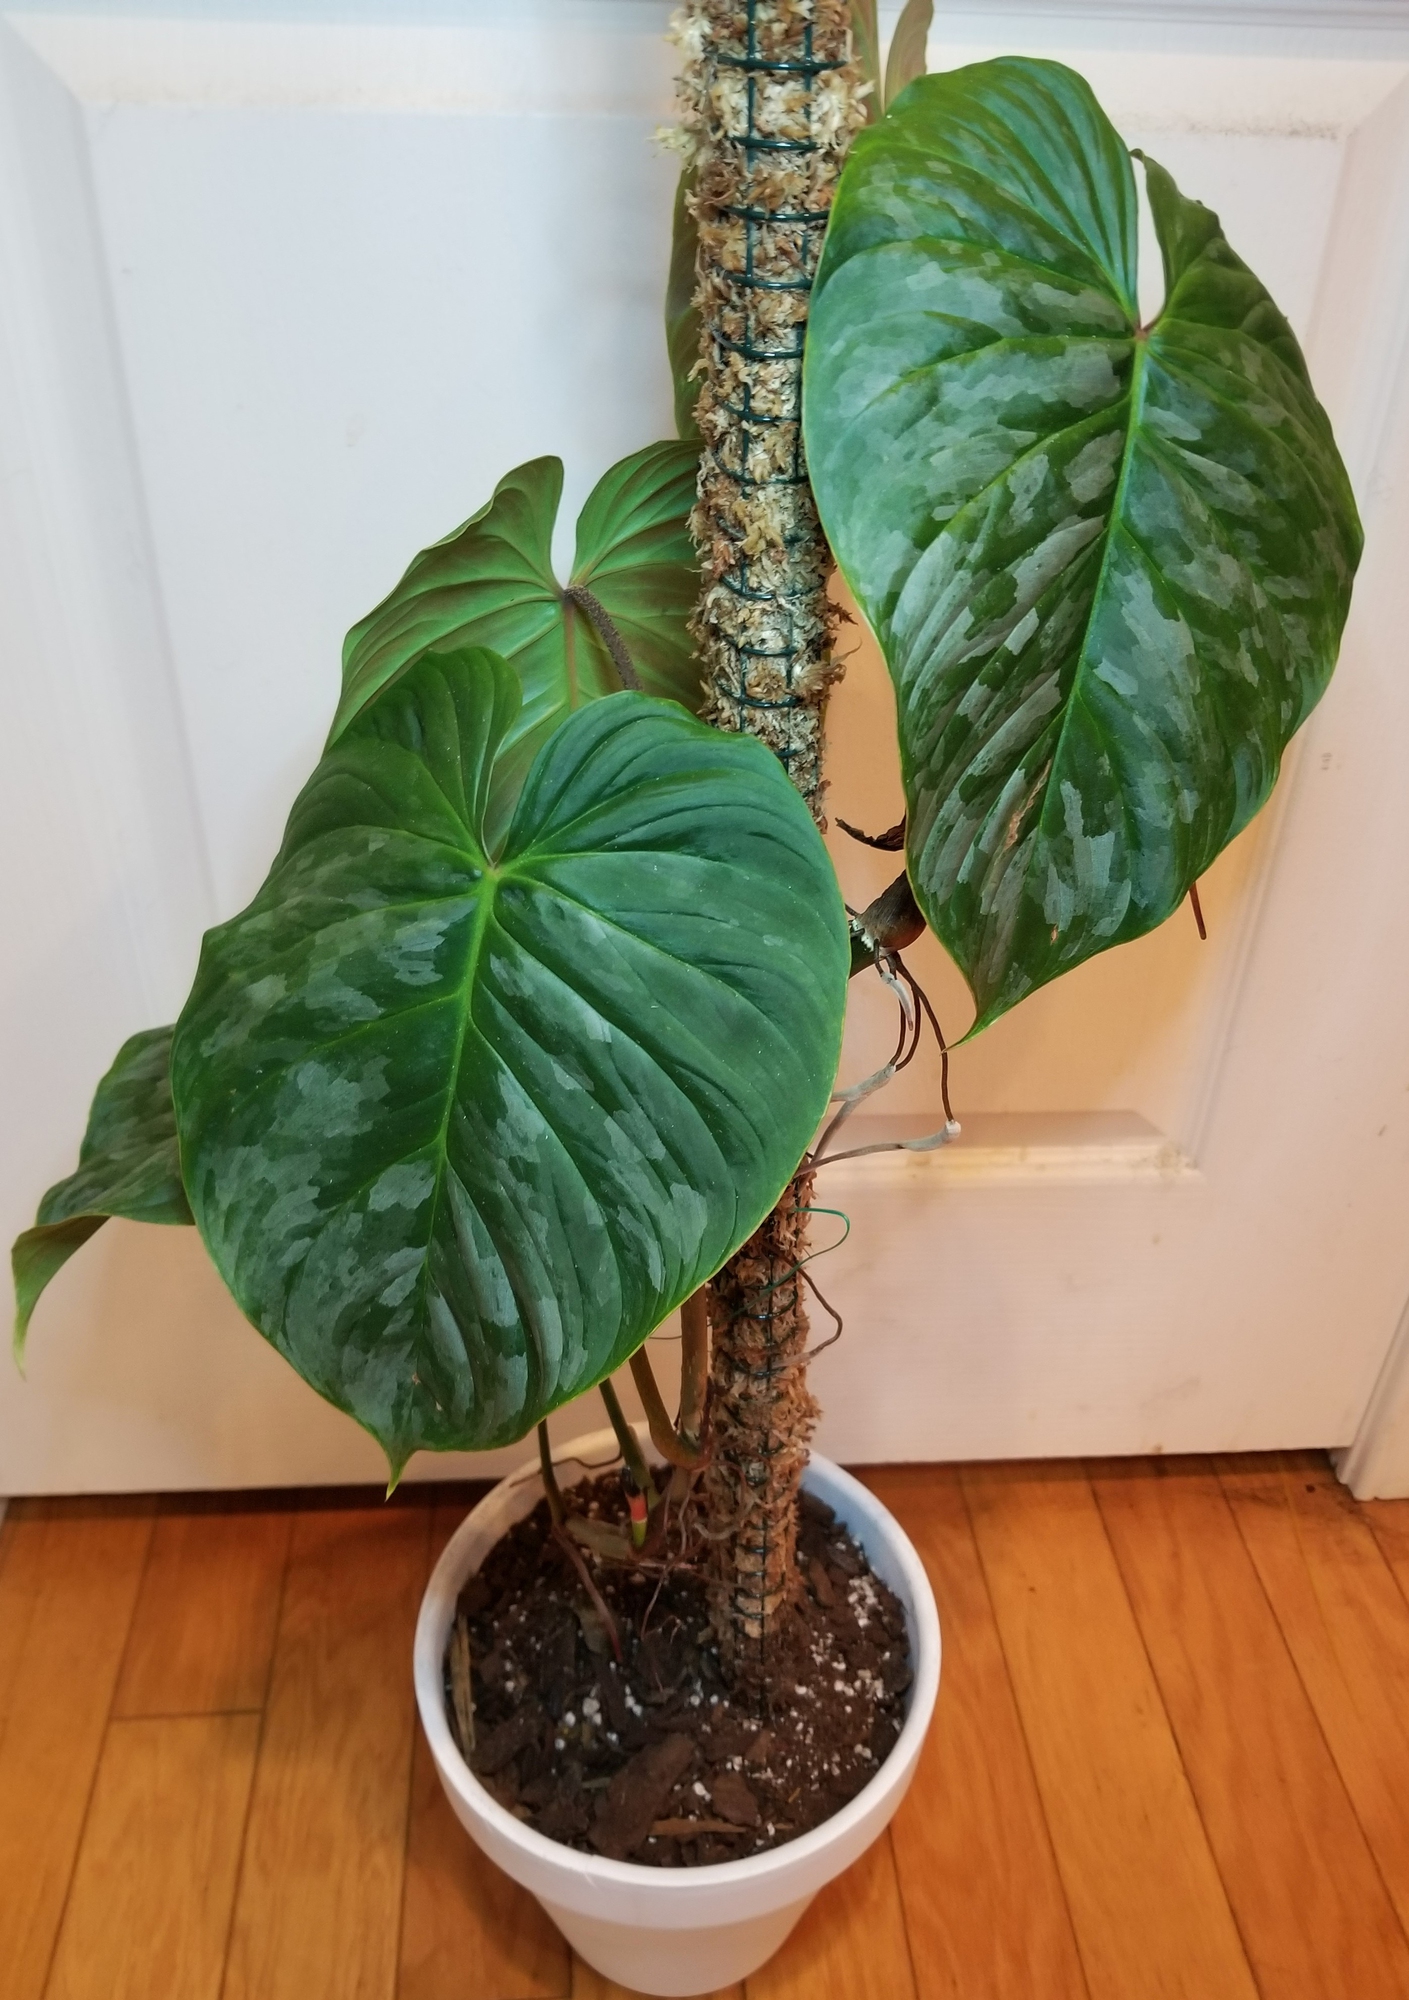
A self-watering moss pole is a plant support designed to hold moisture and provide climbing houseplants with a damp surface for their aerial roots.
Traditional moss poles are typically made with sphagnum moss wrapped around a support structure. While they work well for climbing plants, the moss can dry out quickly, particularly in homes with low humidity.
A self-watering version uses a watering system to help keep the moss hydrated. Some designs have a hollow center that lets you add water from the top, while others use a wick to move moisture from a water reservoir into the moss.
The goal is to make watering easier while providing a supportive growing surface for plants that naturally climb trees and other structures.
Why Use a Self-Watering Moss Pole?
Not every houseplant needs a moss pole, but certain climbing varieties can benefit from having something to grow against.
Here are a few reasons to consider making one.
Helps Support Climbing Plants
Plants like Monstera and climbing Philodendrons naturally grow upward by attaching their aerial roots to nearby surfaces.
A moss pole gives these plants something to climb, helping them grow vertically rather than spreading across shelves, furniture, or the floor.
Encourages Aerial Root Growth
Many climbing houseplants produce aerial roots that can attach to a moist surface.
When the moss stays damp, these roots may grow into it and help anchor the plant as it gets taller. For some climbing species, proper support and favorable growing conditions can also encourage larger, more mature leaves.
Makes Watering More Manageable
One of the biggest frustrations with traditional moss poles is how often you need to moisten them.
A self-watering design can help distribute water more evenly, reducing the need to spray the entire pole by hand. You’ll still need to check moisture levels and refill the water supply, but the process can be easier to manage.
Can Be Customized for Different Plants
Making your own moss pole allows you to choose the height and width that work best for your plant.
You can make a shorter pole for a young Philodendron or a taller, sturdier version for a growing Monstera. You can also extend or replace the support as your plant gets bigger.
What Plants Grow Well on Moss Poles?
Moss poles are particularly useful for houseplants that naturally climb and produce aerial roots.
Some good options include:
- Monstera deliciosa: Benefits from sturdy vertical support as its leaves and stems become larger.
- Climbing Philodendrons: Varieties such as heartleaf Philodendron and Philodendron micans can attach their aerial roots to a moist pole.
- Pothos: Can climb upward with support, and mature plants may develop larger leaves under suitable conditions.
- Rhaphidophora tetrasperma: A fast-growing climber that benefits from something sturdy to grow against.
- Monstera adansonii: Produces climbing stems and aerial roots that can attach to a moss-covered support.
Keep in mind that not all houseplants need a moss pole. Plants that grow upright on their own or naturally trail without attaching to surfaces may not benefit much from one.
Materials You’ll Need
You can make a DIY moss pole using supplies from a garden center or hardware store.
Here’s what you’ll need:
- PVC pipe: A sturdy support that forms the center of your moss pole.
- Sphagnum moss: Holds moisture and provides a surface for aerial roots to grow into.
- Cotton rope or wicking cord: Used if you’re incorporating a wick-based watering system.
- Plastic-coated wire or garden twine: Holds the moss securely around the pipe.
- Scissors: To cut the cord and secure materials.
- PVC cutter or small saw: For cutting the pipe to your preferred height.
- Water: For soaking the moss before assembly.
You’ll also need a plant pot large enough to hold the moss pole securely without crowding the plant’s roots.
For a more reliable self-watering setup, consider using a separate water reservoir and a suitable wicking arrangement rather than relying entirely on moisture from the plant’s potting soil.
How to Make a Self-Watering Moss Pole
Once you’ve gathered your materials, you can start assembling your moss pole.
The basic process involves creating a sturdy center, adding moisture-retaining moss, and incorporating a watering method to help keep it hydrated.
Step 1. Cut the PVC Pipe to Size
Start by deciding how tall you want your moss pole.
Measure the PVC pipe and mark where you’ll make your cut. Leave enough length at the bottom to secure the pole inside your plant’s pot.
Use a PVC cutter or small saw to cut the pipe, then smooth any rough edges with sandpaper.
For larger climbing plants, choose a thicker pipe that can support the weight of the stems and leaves as they grow.
Step 2. Prepare the Sphagnum Moss
Place your sphagnum moss in a bowl or bucket of water and let it soak until it has absorbed plenty of moisture.
Once hydrated, gently squeeze out the excess water. The moss should feel damp but not drip.
This step makes the moss easier to handle and helps it hold its shape when you wrap it around the pipe.
Step 3. Add the Wicking Cord
If you’re using a wick-based watering system, measure a length of cotton rope or suitable wicking cord.
Position the cord so it contacts the moss and extends toward a separate water reservoir. The exact arrangement will depend on your design, and the wick needs continuous contact with both the water source and the material you want to moisten.
A wick placed only in the potting soil may not provide enough moisture to keep the entire pole damp. Water also doesn’t automatically travel the full height of a tall pole, so test how well your setup works.
Step 4. Wrap the PVC Pipe With Moss
Take handfuls of damp sphagnum moss and wrap them around the PVC pipe.
Work from the bottom toward the top, adding enough moss to create a consistent layer around the support.
Use garden twine or plastic-coated wire to secure the moss as you go. Wrap it firmly enough to keep everything in place without compressing the moss.
Avoid large gaps or loose sections, since you want your plant’s aerial roots to have a consistent surface to attach to.
Step 5. Secure the Moss Pole in the Pot
Once your pole is assembled, install it.
If you’re repotting your plant, position the pole in the container before adding all the potting mix. This makes it easier to anchor the support without disturbing established roots.
Place the pole near the base of the climbing stems, making sure it’s stable and won’t tip over as the plant grows.
Fill the remaining space with potting mix and gently firm it around the base.
If you’re adding a pole to an existing plant, be especially careful when inserting it into the soil to avoid damaging the roots.
Step 6. Attach Your Plant to the Moss Pole
Gently guide your plant’s stems toward the moss pole.
Use soft plant ties, Velcro plant tape, or other flexible supports to hold the stems in place. Avoid tying them too tightly, since stems need room to grow.
Position stem sections that produce aerial roots against the moss whenever possible.
Over time, some aerial roots may attach to the moist surface, reducing the need for additional ties.
Step 7. Set Up and Test the Watering System
Now that your moss pole is installed, make sure the watering system works.
If you’re using a wick and separate reservoir, fill the reservoir and check whether moisture is moving into the moss. You may need to adjust the wick’s position or thickness to improve water distribution.
For designs that let you add water through the top of the pole, add water slowly and watch how evenly it reaches the moss.
The goal is to keep the moss lightly moist, not completely saturated.
Check the pole regularly during the first few days to see how quickly it dries out. This will help you determine how often it needs additional water.
How to Care for a Self-Watering Moss Pole
Even though the name suggests otherwise, a self-watering moss pole isn’t completely maintenance-free.
You’ll still need to check it occasionally to make sure the moss stays in good condition and your plant continues growing properly.
Check the Moisture Regularly
Touch the moss in several places to see whether it feels damp.
The top of the pole may dry out faster than the bottom, especially if your home has dry air or strong airflow.
If certain sections are drying out, you may need to adjust your watering system or moisten those areas manually.
Avoid Keeping the Soil Too Wet
Remember that the moisture needs of your moss pole and the moisture needs of your plant’s roots aren’t always the same.
Some houseplants prefer their potting mix to dry slightly between waterings, even though their aerial roots benefit from a damp climbing surface.
Don’t keep the entire pot saturated just to keep the pole moist. Doing so can increase the risk of root rot.
Watch for Mold and Deterioration
Because sphagnum moss holds moisture, check the pole for signs of mold, unpleasant odors, or decomposing material.
Good airflow can help prevent problems, particularly in humid indoor environments.
If the moss becomes heavily contaminated or starts breaking down, replace the affected sections rather than leaving them in place.
Adjust the Pole as Your Plant Grows
Climbing plants can grow surprisingly quickly once they’re established.
As the stems get taller, you may need to extend the moss pole, add another support, or move the plant into a larger container.
Check plant ties occasionally and loosen or remove any that are becoming too tight.
Common Mistakes to Avoid
Making a moss pole is fairly straightforward, but a few mistakes can make it less effective.
Using a pole that’s too small. A short or narrow support may not be strong enough for a mature climbing plant. Choose a size that accommodates future growth.
Wrapping the moss too tightly. Compressing the moss excessively can make it harder for aerial roots to grow into the surface. Keep the moss secure without packing it too densely.
Assuming the wick will water everything automatically. Wicking systems vary in effectiveness depending on the materials, reservoir placement, and pole height. Always test your setup before relying on it.
Overwatering the plant’s roots. Constantly soaking the potting mix to keep the moss moist can cause problems for plants that need better drainage.
Forgetting to check the moss. Even a self-watering pole can dry out, particularly in warm rooms or during periods of low humidity.
Is a Self-Watering Moss Pole Worth Making?
If you have climbing houseplants, making your own self-watering moss pole can be a worthwhile project.
It gives your plants a sturdy place to climb, provides a moisture-retaining surface for aerial roots, and allows you to customize the support to fit your space.
A self-watering system won’t eliminate maintenance entirely, but it can make caring for your climbing plants more manageable. And once you understand how the system works, it’s easy to adapt the design for other plants in your indoor garden.