This post may contain affiliate links.
This post is sponsored by JUA Technology. They provided us with a Dehytray Solar Dehydrator as a sample for the purposes of the article. Please read on to learn more about the mission behind the Dehytray in supporting global food security.
There are many different ways to dehydrate food. One of the oldest and simplest methods is drying food in the sun. This is also known as the process of solar dehydration.
This method has been used for centuries, and it’s still a great way to dehydrate fruits, vegetables, herbs, and other foods.
In this guide, we will discuss how to dehydrate food using the power of the sun (solar dehydration). We’ll provide helpful tips on equipment, set-up, and temperature control for proper food dehydration.
What is Solar Dehydration?
Solar dehydration is a method of food preservation that uses the sun’s heat to evaporate water from fruits and vegetables. The resulting product is a concentrated, shelf-stable product that can be stored for extended periods.
Solar dehydration is an ancient technique that is still used in many parts of the world today, and it is an ideal preservation method for homesteaders who want to store food for later use.
Benefits of Solar Dehydration
Solar dehydrators are relatively inexpensive and easy to build. They require no electricity to operate. The sun’s energy is free and abundant, making solar dehydration an environmentally friendly preservation method.
You won’t need to plug in your solar dehydrator or use electricity to support the process. Although solar dehydrators can be used to preserve any type of food, they are particularly well-suited for drying fruits and herbs.
Solar-dried fruits have an intense flavor and can be used in recipes or eaten as a healthy snack. Herbs can be used to make seasonings and teas. Solar dehydration is a simple, effective way to preserve food for later use.
It should be noted that solar dehydrators require some trial and error and use a more natural process than electric dehydrators. You cannot control the temperature and air circulation as readily, so you’ll have to keep an eye on the process and learn by doing.
Evolution of the Dehytray
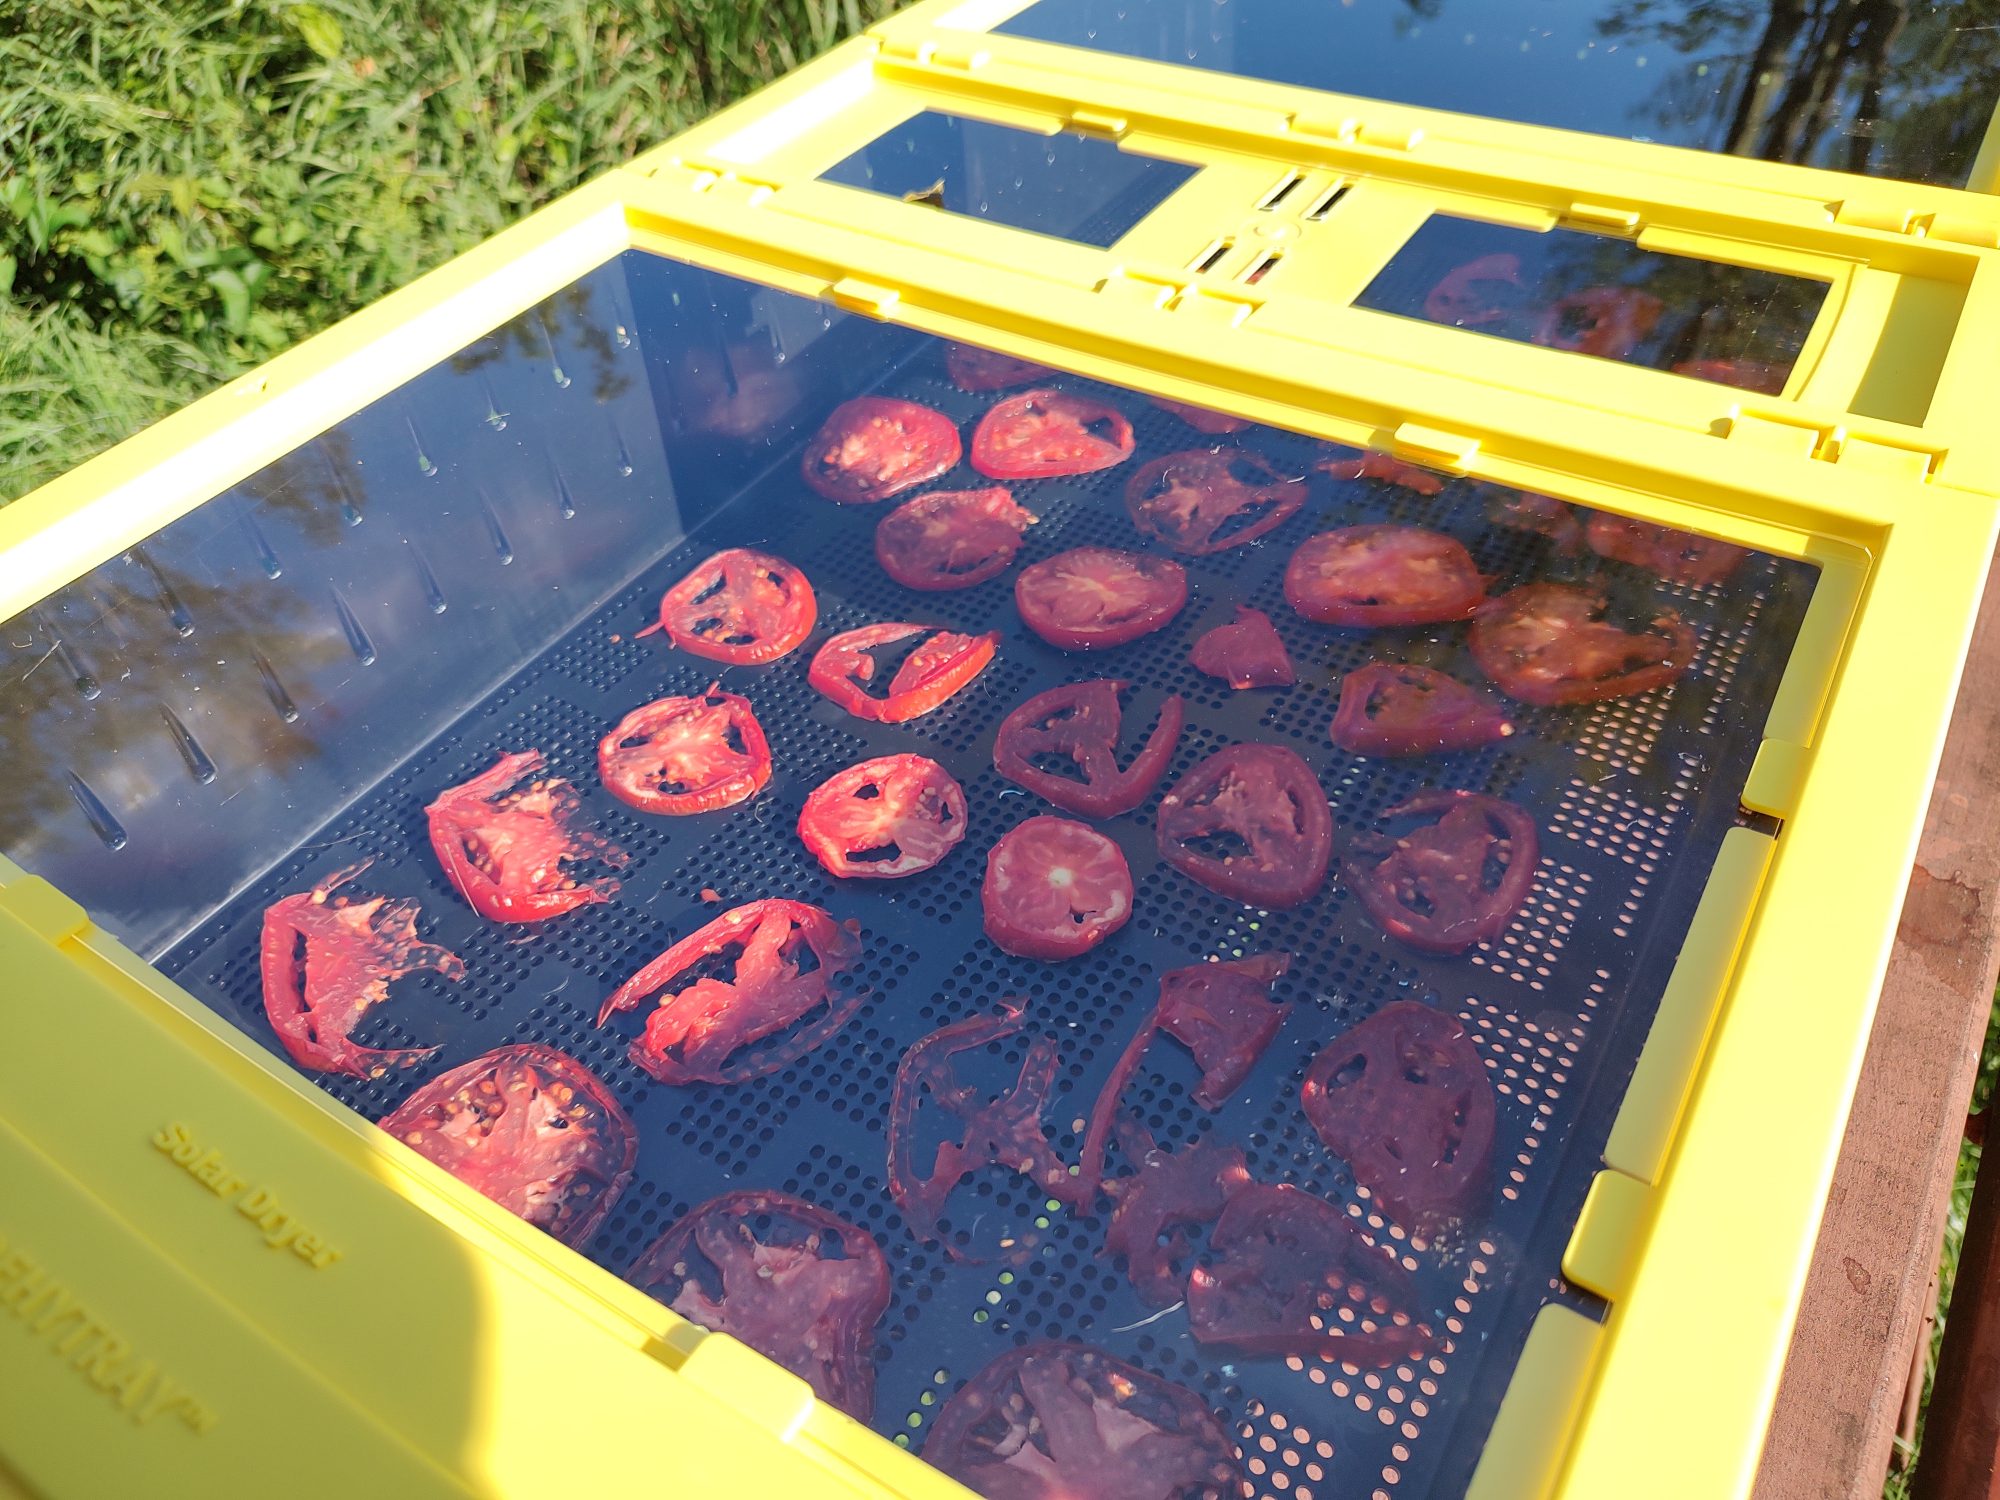
The solar dehydrator that we tested is not just for hobby homesteaders. It is a tool that was developed to address food insecurity globally. The Dehytray was developed by a team at Purdue University under the leadership of Dr. Klein Ileleji.
Having grown up in Nigeria, Dr. Ileleji knew that preserving the harvest was an important factor in addressing food insecurity around the world.
While working on a grant to develop a maize (corn) dryer in Kenya and Senegal, he learned that smallholder farmers and families were more interested in drying fruits, vegetables, herbs, and spices. He learned that an estimated 50% of these nutritious crops are lost to spoilage every year.
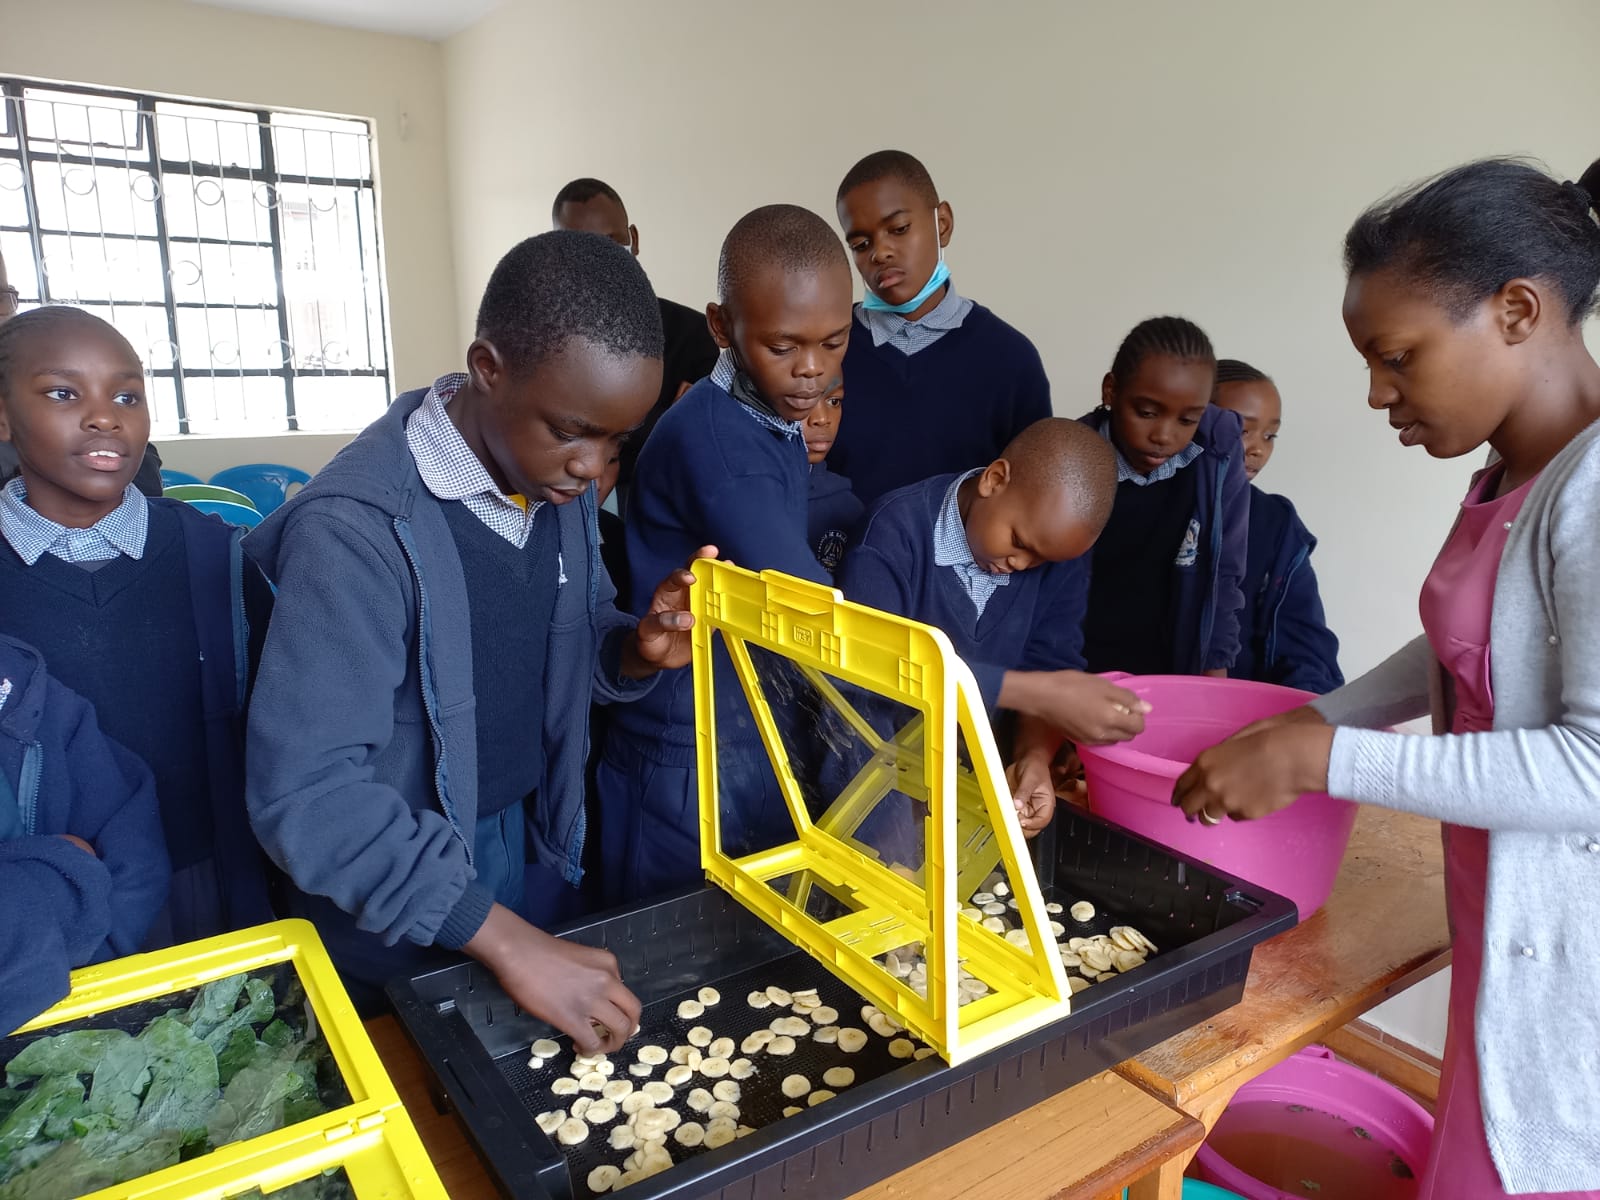
Dr. Ileleji wanted to make solar dehydrators more accessible and easy to purchase in these countries, and he and his team have seen success. The Dehytray has now been exported to over 10 countries in 4 continents through partnerships with subsidiary companies.
The Kenyan government even purchased 8,000 units in 2021 and distributed them to help over 200,000 families address household nutrition! We’re so happy to highlight the work of this socially-minded team of researchers and entrepreneurs.
How to Dehydrate Food with the Sun
There are a few basic things to keep in mind when solar dehydrating foods.
First, choose a sunny location with good airflow. Dr. Ileleji recommends you make sure that you look at the forecast to ensure that you’ll have enough sun for the food you’d like to dry. Vegetables can often dry in one day, but fruits will need two or more days.
The food should be placed on trays or racks in a single layer, and the dehydrator should be covered with a screen or cloth to keep out insects. Your food may take a few days to dry. Take your dehydrator in at night if possible, and if it rains.
A good rule of thumb temperature-wise is that the interior of your dehydrator can heat up to twice the temperature of the air as it captures heat. Therefore, if it is 70 degrees outside, the dehydrator could get up to 140 degrees. This temperature is good for fruits and veggies, but high for herbs.
It is important to monitor the food closely, as solar dehydrators can reach high temperatures quickly. Food should be checked every few hours, and items that are drying too slowly can be moved to a hotter spot or turned over for better exposure to the sun.
Different types of food will take different amounts of time – herbs should be dried at a lower temperature for a shorter amount time time, for example, than fruits or veggies. A fruit like tomato may take up to two days to fully sun-dry depending on the conditions.
Third, be sure that your food is fully dehydrated before storing it. You can check for doneness according to texture, or you can test the moisture content of the food by using a mini-hygrometer.
Simply place your food in a bag with the hygrometer, wait 15 minutes, then check the moisture content. Below 60% means you’re good to go; above 60% means your food needs to dry a little longer.
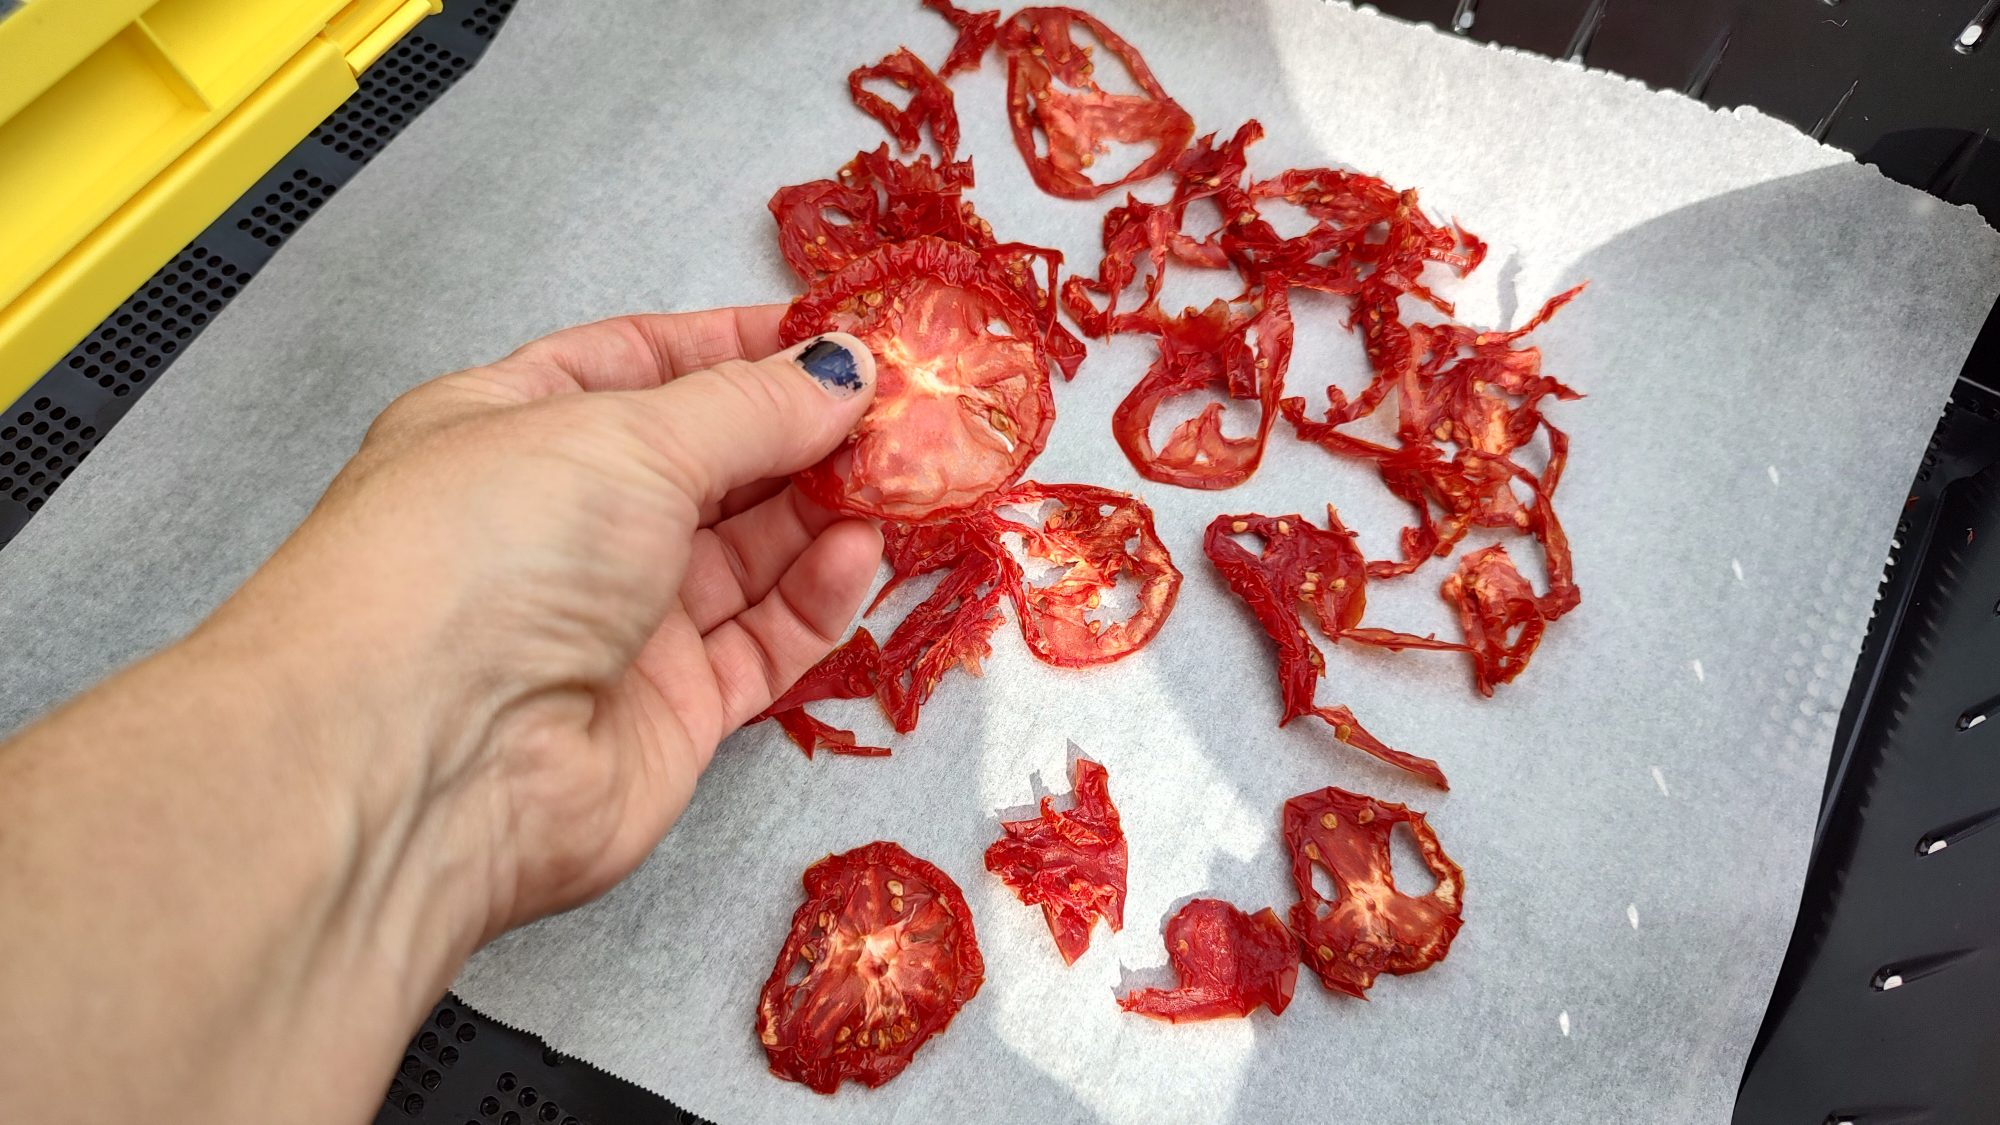
Finally, it is important to remember that solar-dehydrated foods will not have the same texture or taste as conventionally dehydrated foods. Solar-dried foods will be more pliable and have a chewier texture, and their flavor will be concentrated and intense.
For these reasons, it is best to start with small batches of solar-dried food until you get a feel for the process. With a little practice, you’ll be able to produce delicious, healthy, sun-dried foods that will help you get through the long winter months.
How to Choose or Build a Solar Dehydrator
Option 1: Purchase a Solar Dehydrator
You can purchase solar dehydrating equipment online from a variety of retailers. We were able to test a product called the “Dehytray” from JUA Technology.
This simple, but effective setup allows for air circulation and also traps the heat of the sun with plexiglass covers and an adjustable vent. The kit also comes with its own hygrometer for testing your food.
We found this tool to be effective and easy to use, and we also loved the mission of the founders (faculty at Purdue University) – to provide food preservation tools to people around the world so that they can safely store food for their families.
The Dehytray costs about the same as similar electric dehydrators, but your cost savings come in not having to use electricity to use it!
Option 2: Build a Solar Dehydrator
Building a solar dehydrator is a relatively simple process, and there are a variety of designs to choose from. Most models consist of a box or cabinet with shelves or racks for holding the food.
The shelves should be made of mesh, screen, or another material that allows for air circulation. Over the top of the box, you’ll need plastic sheeting, plexiglass, or another clear cover to keep pests out and capture the solar heat of the sun.
How to Store Dehydrated Food
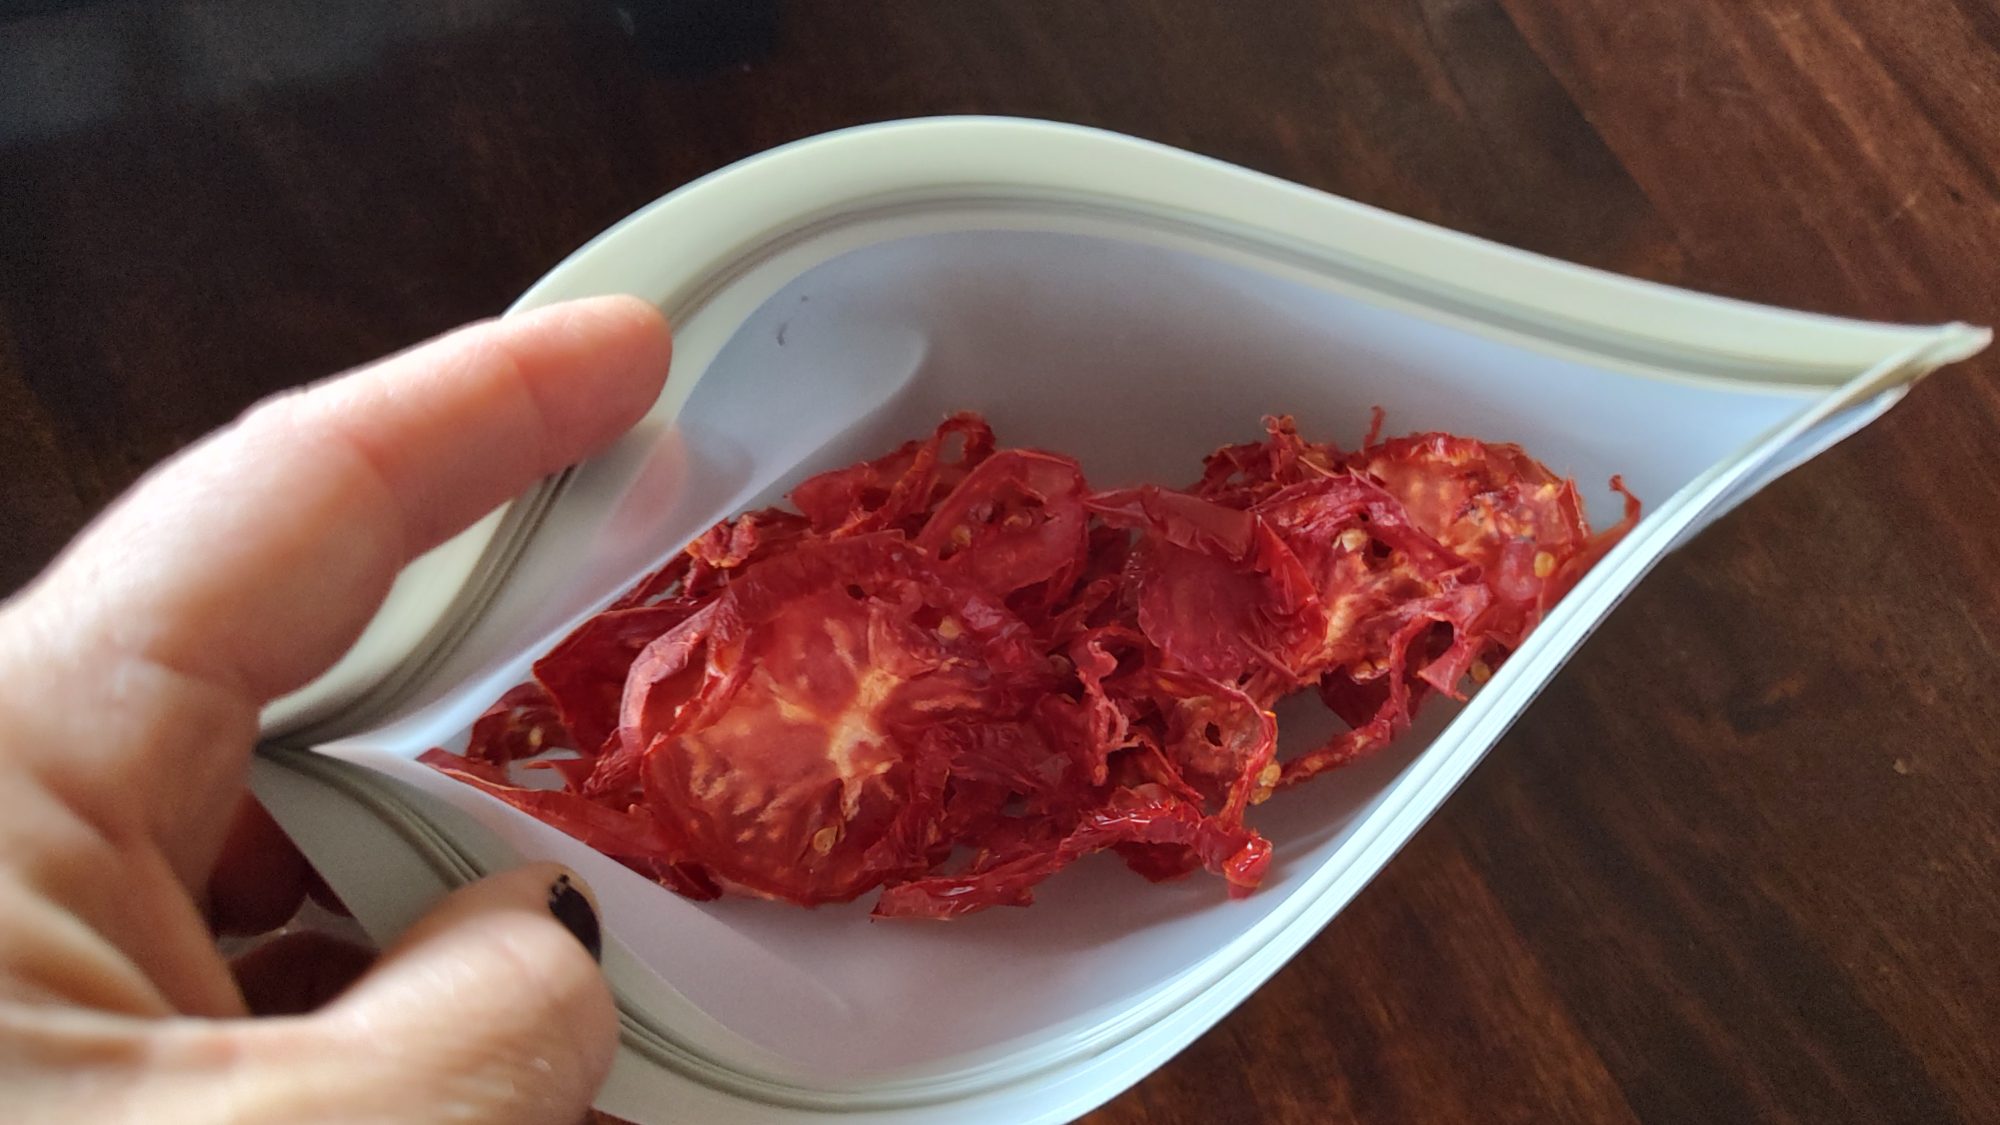
Because the water content has been removed, dehydrated foods can last for months or even years without spoiling. The key to successful dehydration is to store the food in an airtight container in a cool, dark place.
An ideal storage spot would be a pantry or cupboard that is away from any heat sources. Once the food is properly stored, it can be rehydrated by adding water and allowing it to sit for a few hours.
Dehydrated foods are a convenient way to have a stockpile of nutritious ingredients on hand, and with proper storage, they can last for years.
Carrie Williams Howe is an educational leader by day and an aspiring homesteader by night and weekend. She lives on a small homestead in Vermont with her husband, two children, and a rambunctious border collie. She blogs about her family's homestead life at The Happy Hive.

