This post may contain affiliate links.
Homemade yogurt is delicious and – quite nutritious. Making your own yogurt at home allows you to control the ingredients and customize the flavors to suit your taste.
Plus, it’s a cost-effective alternative to store-bought yogurt, and you can save a lot on packaging waste! By minimizing packaging waste and reducing your reliance on store-bought products, homemade yogurt is not only good for your health but also for the environment.
The process may seem intimidating at first, but with the right tools and a little practice, you’ll be able to enjoy homemade yogurt right in the comforts of your home.
Here’s a guide on how to make yogurt using an Instant Pot. This method is reliable, easy, and almost foolproof.

Why Make Yogurt at Home?
First, let’s talk about why you’d want to make your own yogurt at home. Here are a few reasons:
- It tastes amazing. making yogurt from scratch and with fresh products gives a different taste. That taste is simply amazing.
- It saves on waste. If you eat yogurt often, then you might find yourself with a towering stack of quart-sized yogurt containers. While yogurt containers can be reused or recycled, it still feels wasteful to use this many. Make your own yogurt in mason jars, and those days are over!
- It saves money. One quart of yogurt = one quart of milk plus some starter, which can either be the yogurt you made last or a packet of starter. Depending on the milk you buy, you can cut the cost of yogurt consumption by about half. Plus, if you buy your milk in glass jars, you’ve eliminated the waste associated with your yogurt habit.
- It’s incredibly easy to make. Let’s get into just how easy it is.
Instant Pot Yogurt-Making Supplies
Instant Pot Yogurt-Making Process
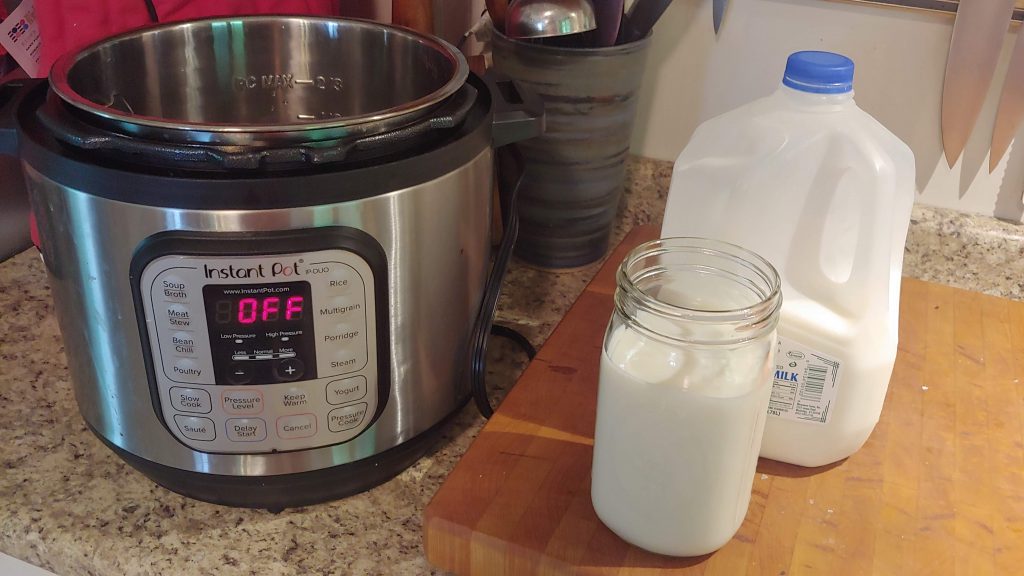
- Use a clean quart-sized mason jar and fill it about 90% with your chosen milk (you can use any fat percentage; we prefer 1%).
- Place the mason jar on the rack that comes with your Instant Pot. Do not put a cover on the jar.
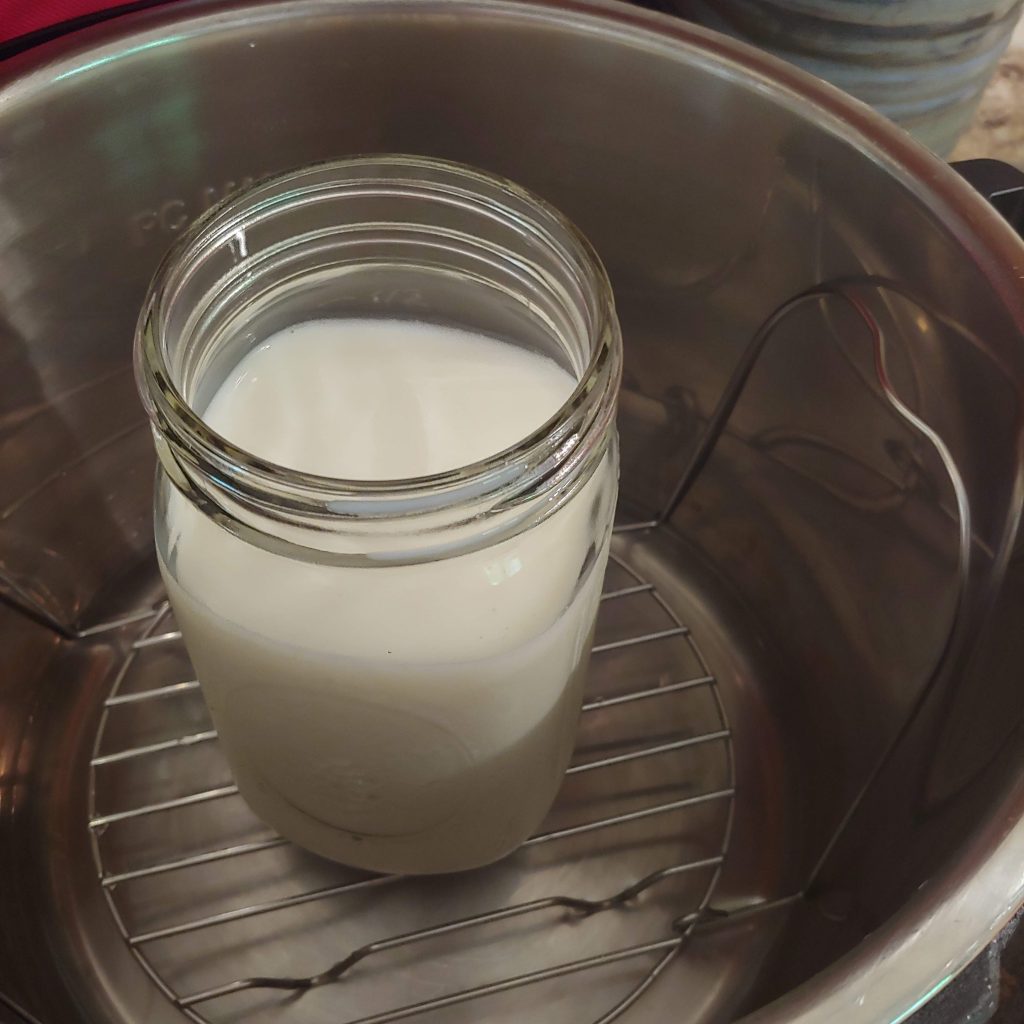
- Put about 1 cup of water in the bottom of the Instant Pot. Close the top and set to the sealing position.
- Select the STEAM setting and set the time for 2 minutes.
- When the pressure has been reached and the 2 minutes are up, let the steam release naturally. At this point, you’ll be tempted to rush things and let the steam out manually, but trust me, it is best to wait 10 minutes or so for the float valve to drop. It allows the container to cool down naturally, which you’ll need for the next step anyway.
- Remove the jar of milk from the Instant Pot using a canning jar lifter and place it onto a wire rack. If it’s cold outside, consider placing the jar on your cool porch or front step to help the cooling process. Do NOT be tempted to place the jar in cold water (or snow) as you might if you were making yogurt in metal (it will crack).
- You need to wait for the yogurt to get down to 108-111 degrees (my Instant Pot directions say 115, but I find it works better to let it cool down just a bit more). This will probably take 30-45 minutes, depending on how cool your environment is. Set your timer for 15-minute intervals and check the yogurt with a meat or candy thermometer. Alternatively, you can go with your gut and wait for it to reach “warm body temperature.” Get some other stuff done while it cools!
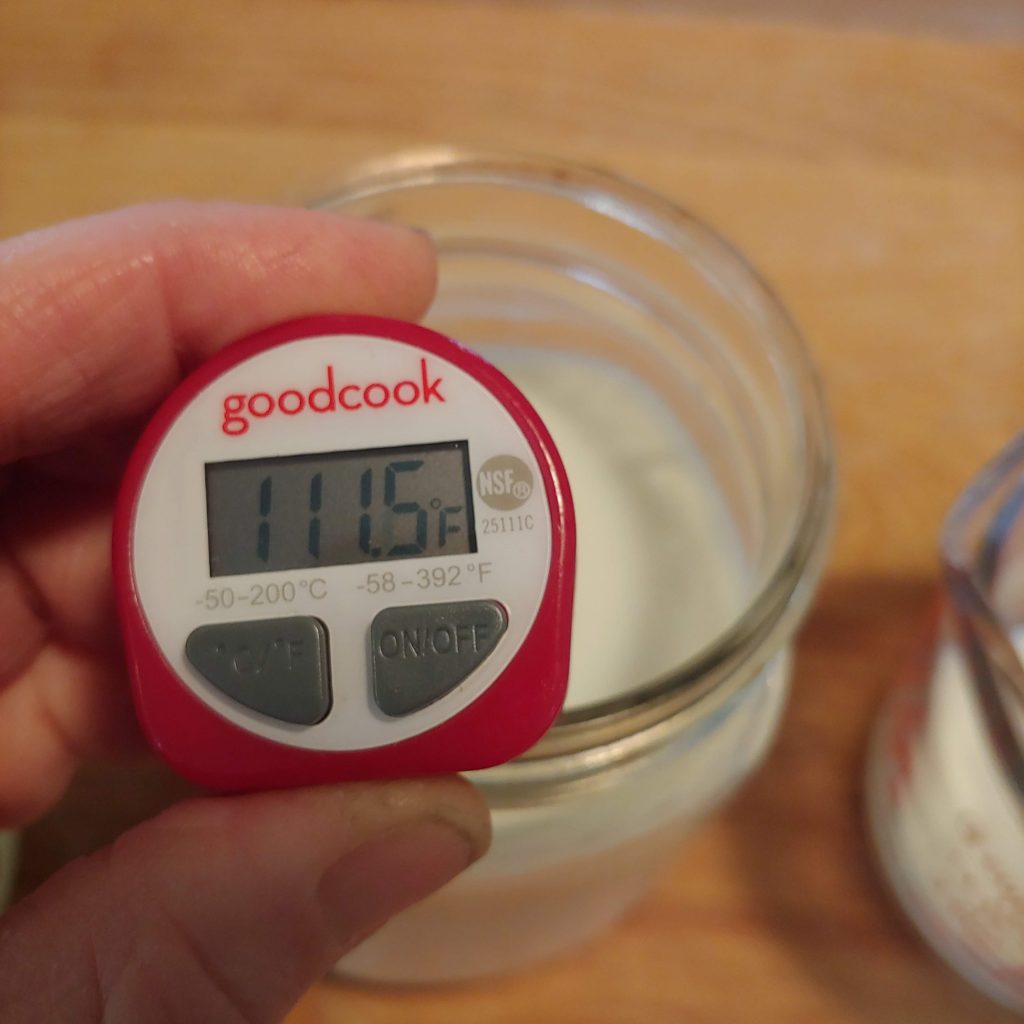
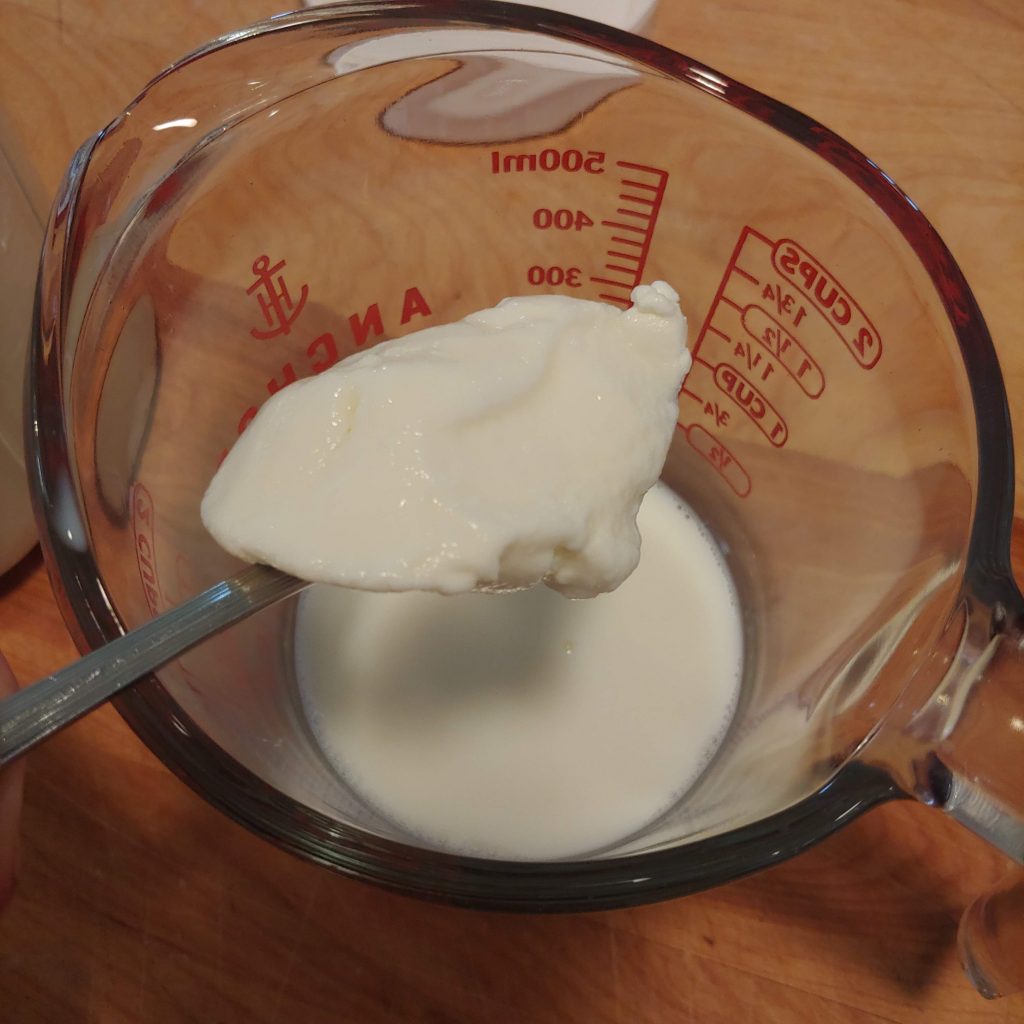
- Once your milk is down to about 108 degrees, pour a small portion into another container. Into this milk, add either 2 Tablespoons of yogurt you’ve made previously (we also find that a nice thick Greek Yogurt does the trick) OR one package of yogurt starter. Mix this thoroughly into your “sample” then gently stir the separated milk into the jar. Mixing it separately lets you get it better integrated and temperature adjusted without disturbing the whole quart of milk.
- Now, place your quart container back into the Instant Pot on the rack (still uncovered). Add another cup of water. Cover the Instant Pot and select the Yogurt program for the maximum amount of time (about 7.5 hours or overnight).
- After the yogurt cycle, take the yogurt out of the Instant Pot, and put it in the fridge to set. You’ll be able to enjoy it about 4 hours later!

Why we like this method
Fair warning: our method is the longer method – but most of the time is passive.
We like this method because the instant pot helps keep the yogurt at the right temperature, and it helps you accomplish all of the steps in just one container.
We had to experiment a few times to get our Instant Pot yogurt recipe right because the directions in our Instant Pot manual did not get us the results we wanted.
While those directions are a good starting point they don’t exactly get you there in a foolproof way. Here are a few reasons why: First, they don’t really tell you how long its going to take. Second, they give two options but don’t tell you which is better. Third, they leave out a couple of steps that ensures that get closer to that nice thick consistency we’re all looking for.
How long does it take to make yogurt in the Instant Pot?
In all, about 10 hours to make yogurt with your Instant Pot. Most of that time is passive (just letting the yogurt do it’s thing). But you’ll want to plan out your process so that you know you have time to deal with each step.
Here’s a hint a timing – start the yogurt-making process right after you finish dinner, then let the milk pasteurize (phase one in the Instant Pot) while you clean up and get the kids ready for bed; then, take it out and let it cool while you’re actually getting the kids to bed (at least that’s how it works in my house!), then let it ferment overnight. You’ll get a rhythm down.
Carrie Williams Howe is an educational leader by day and an aspiring homesteader by night and weekend. She lives on a small homestead in Vermont with her husband, two children, and a rambunctious border collie. She blogs about her family's homestead life at The Happy Hive.


