This post may contain affiliate links.
Beeswax furniture polish is a safe, natural, and effective way to bring new life to wood furniture. You can use beeswax polish to treat finished furniture, clean up damaged pieces and as a stand-alone finish on new woodworking projects. It is also great for cutting boards!
Making your own beeswax furniture polish is easy to do at home with this simple recipe and method. This article goes over how to make beeswax furniture polish and provides instructions for how to use it, especially when refinishing damaged pieces of furniture.
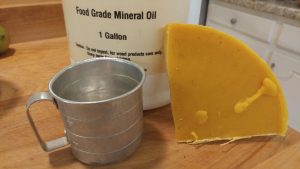
Ingredients for Beeswax Furniture Polish
Our recipe for beeswax furniture polish uses just two ingredients – beeswax and conditioning oil. Here’s a bit more information on both ingredients.
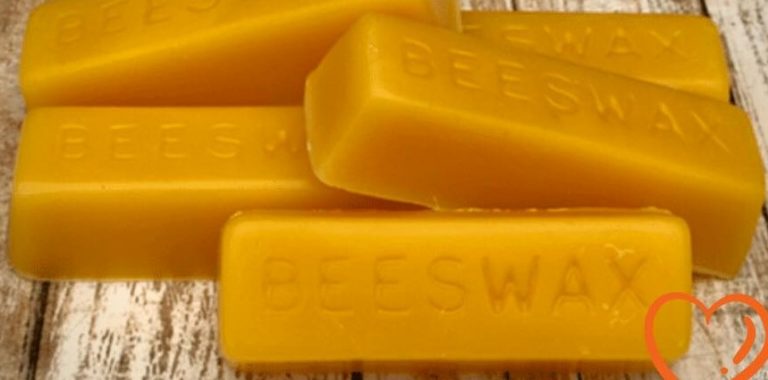
Beeswax
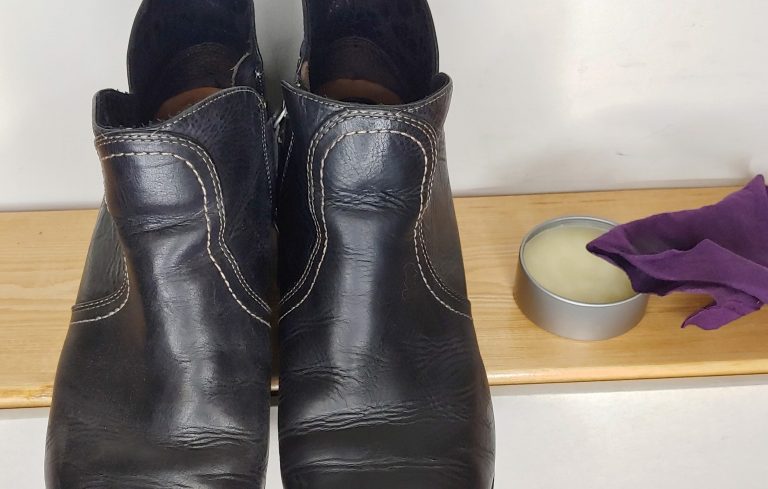
Beeswax is used in a number of home products because it offers a protective layer on your wood without any build-up or nasty chemicals. We also make beeswax leather conditioner with our wax, for example.
You can use any type of beeswax for this recipe, but I love to use yellow beeswax from reputable, trustworthy sellers or our own hives because we’re sure it’s free from chemical treatments that can linger in the wax over time. I also love that the yellow wax adds a little color to the final product. You can source beeswax from beekeepers on Etsy or purchase high-quality beeswax online.
Conditioning Oil
Conditioning oil helps restore moisture to “thirsty” wood and adds a little shine. For the oil, you’ve got two choices: you can use the traditional mineral oil, or you can use fractionated coconut oil.
Mineral oil has long been the go-to option for wood conditioning and it works quite well. However, mineral oil is a petroleum-based product, and some folks don’t like using it. If you are looking for an all-natural alternative to mineral oil, fractionated coconut oil is a great option.
Fractionated coconut oil is fantastic if you’re looking for a natural alternative. It’s been treated to stay liquid and is skin-safe (you’ll find it in many cosmetic recipes). Not to mention, it’s food-safe and won’t go rancid like certain vegetable oils over time, making it perfect for cutting boards. Sure, it’s a bit pricier, but you can grab a smaller bottle for a small batch.
Regardless of your choice, make sure the oil is food-safe or food-grade. Enjoy your furniture polishing adventure!
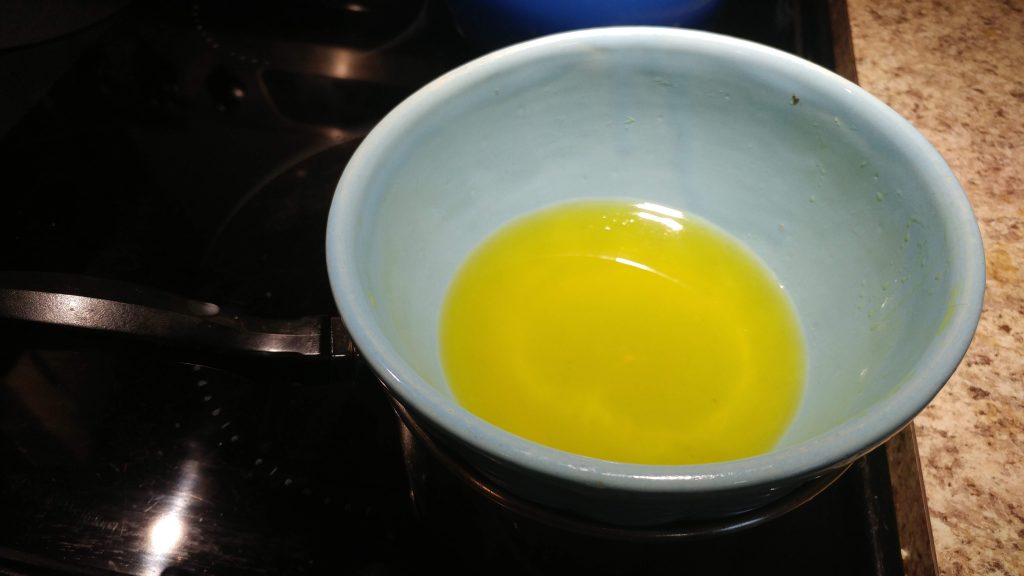
How to Make Beeswax Furniture Polish
Here’s the recipe: you’ll need just a few supplies and less than an hour to make your own beeswax furniture polish at home. This recipe makes approximately 8 ounces of finished polish.
Ingredients
While there are a variety of methods and proportions for making beeswax furniture polish, I chose to keep it to 2 simple ingredients and a very simple ratio of one part beeswax to three parts conditioning oil.
- ¼ Cup Beeswax (2oz by weight or liquid measurement)
- ¾ Cup Mineral Oil or Fractionated Coconut Oil (6oz by liquid measurement)
You can also add lemon, lavender, or other scents to furniture polish.
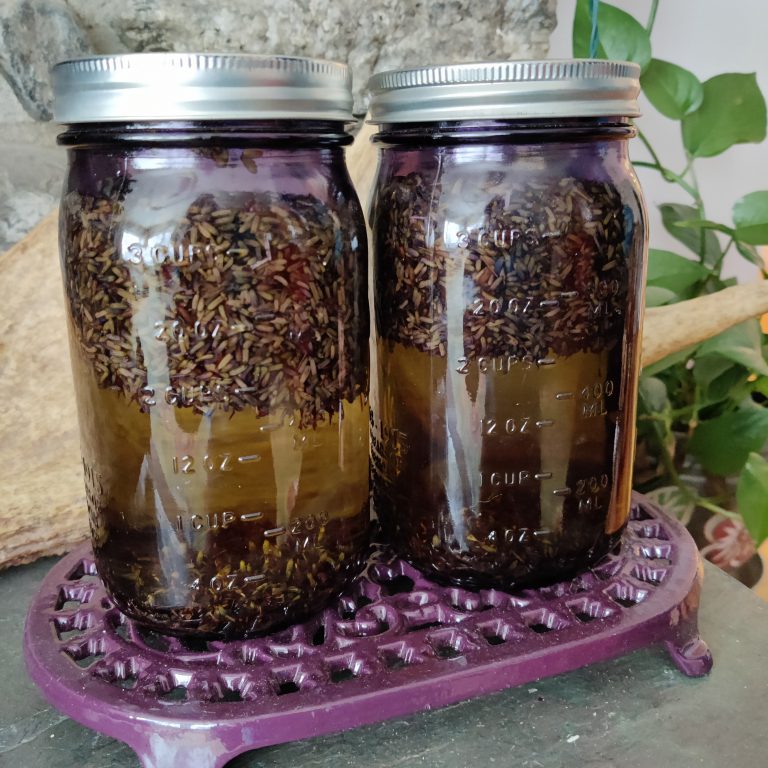
If you want to infuse lavender into the polish, you can either infuse your oil first using this warm infusion method or simply add 1-2 drops of essential oil while making the polish.
Other Supplies
To bring the furniture polish together, you’ll need just a few pieces of equipment:
- A double boiler that you don’t mind using for wax (or a bottom pan plus a mixing bowl that fits into it);
- A wooden skewer for stirring (or a spoon you don’t mind using for wax);
- A container for your finished product (a 1/2 pint wide mouth mason jar or an 8oz tin with a lid).
Instructions
Please note that it can be tricky to remove beeswax from the pots and pans you use to melt it down. Consider getting some beeswax equipment at a thrift store that you will dedicate to that purpose. But, if you’re careful not to spill too much, this polish can be cleaned out of your everyday tools.
To make the beeswax furniture polish:
- Place about an inch of water in the bottom of a double boiler, and place either the top pan or a heat-safe mixing bowl on top. Add your beeswax to the top bowl and allow it to melt, stirring now and then (I like to use a wooden skewer to stir so that I don’t get pure wax on my spoons).
- While still warm, add the mineral or fractionated coconut oil and gently stir until it has come together.
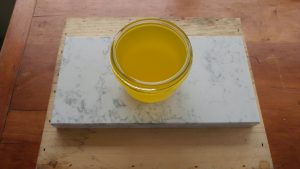
- Once the beeswax furniture polish is fully melted and combined, pour the hot liquid into a container for storage. You can use a ½ pint wide-mouth jar so it would be easy to access the polish, or you can purchase or recycle a metal tin, like those you would use for candles.
- Allow the polish to cool until it has reached a semi-solid semi solid state (about 3-4 hours). Although scraping out may require some effort, the polish stores well and spreads quickly when warmed up. It may be a fairly firm polish you’ll need to scrape out to use, but that’s not a problem. It stores well and will spread easily and quickly when warmed up.
How to Refinish Furniture with Beeswax Furniture Polish
Beeswax furniture polish can be used in various ways – to keep regular wood furniture looking good or as the finishing touch on your woodworking project. You simply apply it, let it rub in, and buff.
However, you can also use this beeswax furniture polish to refinish furniture that needs attention. In our case, we used the polish to bring an old piece of furniture back to life without heavy sanding or refinishing. This requires a few extra steps to make the post of the final polish coat.
Here is the process we used on our old bureau:
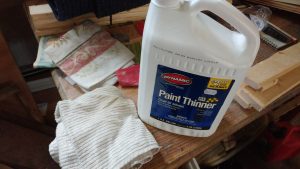
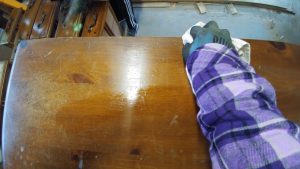
Step 1 – Clean the Wood
If you are refinishing furniture using beeswax polish, you’ll want to thoroughly clean it before polishing. Here, you have a couple of options. If you are removing paint or have a lot of build-up, we recommend an all-natural paint remover like Citristrip.
This all-natural citrus-based cleaner is applied to wood and allowed to rest, then helps peel off old paint to take it down to natural wood. You may have to apply a few times to remove all the paint.
If you are not trying to remove anything but want to clean the wood thoroughly, you can use paint thinner on a soft, clean cloth to clean the surface of your wood. This will help to remove any old waxy build-up as well as any dirt.
Use long strokes that follow the grain of the wood, especially on top. We also used a toothbrush to clean the inside of the groves on our bureau. Be sure to wear gloves and to do this in a well-ventilated area (or outside). You won’t be bothered by the fumes of the paint thinner.
Step 2: Dry the Wood
After cleaning, allow the wood to dry completely (2-3 hours) – hint: this is a great time to make your beeswax furniture polish!
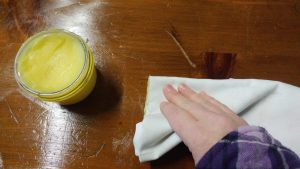
Step 3: Apply Beeswax Furniture Polish
Apply the beeswax furniture polish using a clean, dry cloth that will not leave fuzz on your surface. We used old napkins that had been washed). To apply, scoop up a bit of polish on your cloth, then rub it into the surface of the wood using a circular motion. Be sure to cover the entire surface.
Once fully applied, go back over the polish with long swipes along the wood grain. Clean up any immediate excess polish and smooth out the surface.
Step 4: Allow Beeswax Furniture Polish to Absorb
Allow the polish to sink into the wood for about 15 minutes.
Step 5: Buff the Wood
Buff the polish by going over it again with a fresh, clean cloth to remove excess greasiness. Again, follow the grain of the wood as much as possible and clean any wax buildup in nooks and crannies.
Step 6: Allow the Beeswax Furniture Polish to Cure
Allow the wax to fully cure in a warmish room for 12-24 hours before moving.
Step 7: Admire your Finished Product!
Step back and admire your beautiful piece!
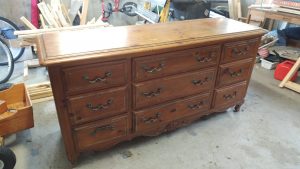
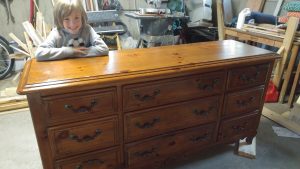
Check out these before and after pictures to see the results of using beeswax furniture polish after cleaning an old piece of wood furniture.
PS – Beeswax Furniture Polish also makes a nice gift 😊
What else can you make with Beeswax?
You won’t believe all the cool stuff you can whip up with beeswax! Pamper your skin with personal care goodies that tap into the incredible health benefits of beeswax. Spruce up your place with home products that make the most of beeswax’s protective powers for leather and wood.
Plus, you gotta try beeswax candles—they’re way healthier for your home vibe by purifying the air and getting rid of odors, pollen, and dust! Beeswax products are a healthy, natural, excellent source of home solutions.
Try some of these products yourself!
- Beeswax Furniture Polish
- Beeswax Leather Conditioner
- Beeswax Pinecone Fire Starters
- Beeswax Lip Balm
- Beeswax Christmas Tree Ornaments
- Beeswax Lotion Bars
Carrie Williams Howe is an educational leader by day and an aspiring homesteader by night and weekend. She lives on a small homestead in Vermont with her husband, two children, and a rambunctious border collie. She blogs about her family's homestead life at The Happy Hive.

This was very helpful. I have a beautiful old 15 drawer dresser that is in need of some love. Spring project!
Made a small batch and worked great! I am curious, have you ever had a issue the beeswax polish attracting insects? I am not sure if the sweet smell would attract insects or tell them to go away, bees are nearby. Thank you for the recipe!
As a follow up, been making a few batches here and there. BEST MIX of wax and oil is 2:3 (beeswax : Mineral oil) ratio. Not too hard and not too mushy
Also ratios are nice because they are easily scalable …you can make as little or much as you want.
I rescued a set of wood intricately designed dinning room chairs that needed a lot of love. Followed your advise on cleaning and polishing. WOW what a difference, they look brand new and are perfect in our dinning room.
I make and keep the beeswax polish on hand for all my wood furniture. Thank you!