This post may contain affiliate links.
Drying herbs is a simple way to preserve the flavor for homemade dishes all year round. And when handled with care, dried herbs maintain their nutritional value, offering a convenient and long-lasting source of flavor enhancement and health benefits for your meals.
With several methods available to dry herbs, we’ll explore best approaches tailored for most green, leafy varieties.
When to Harvest Herbs for Drying
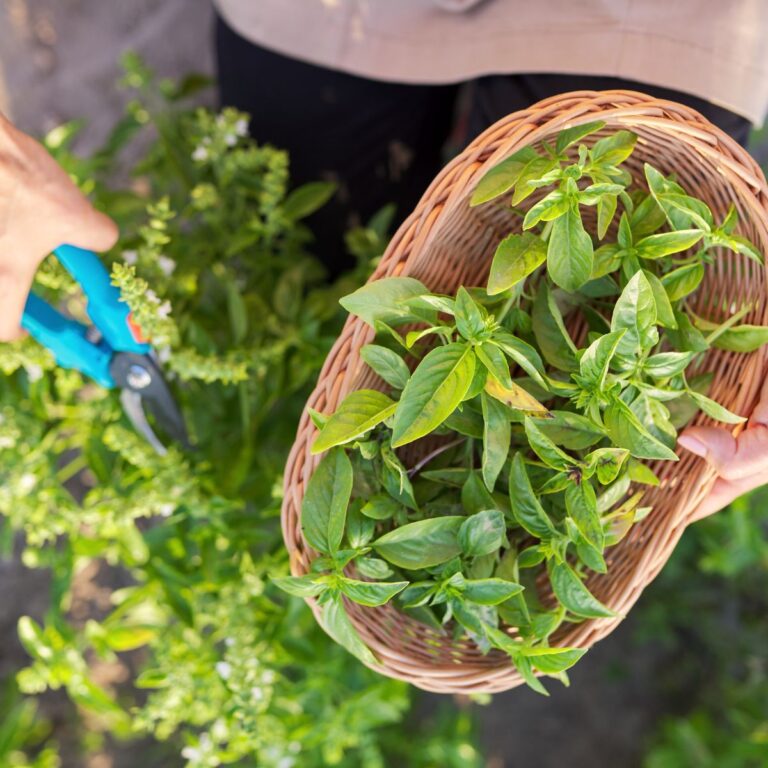
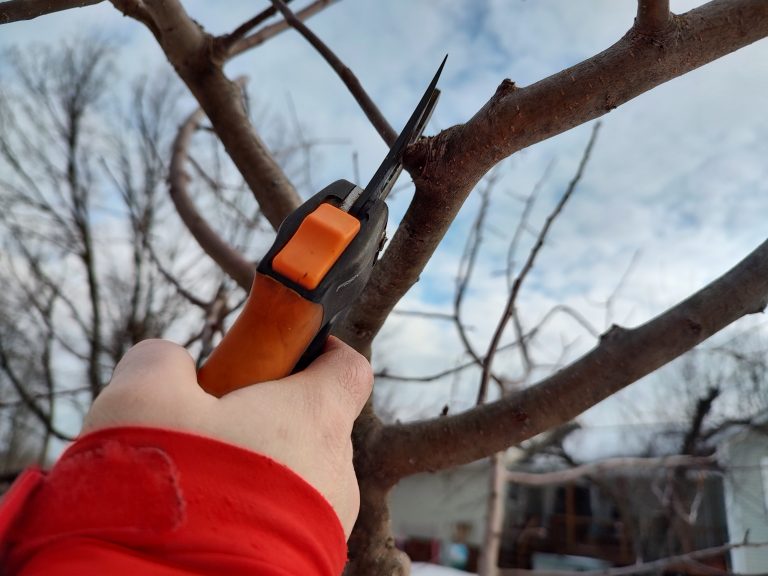
For best results when harvesting herbs, timing is key. Aim to harvest your herbal plants in the late morning, after they’ve dried off any morning dew and are at their freshest.
Each herb has its own harvesting technique. It’s crucial to gauge the herb’s growth stage; ideally, gather them when they’ve reached full maturity, typically with 5-10 stems. Waiting too long risks toughness, as observed in parsley, which can become large and chewy with age. However, picking leaves prematurely may hinder plant growth.
For instance, basil benefits from being harvested just above where side leaves have developed. This method encourages the growth of new offshoots, promoting robust growth.
Parsley or Cilantro, on the other hand, can be harvested on the stem near the base, in essence trimming off a section of your larger plant.
Late summer presents the best time for herb harvesting, especially when plants reach bush-like proportions and their abundance exceeds immediate use. Prioritize gathering basil and cilantro before the onset of the first frost, as they are more sensitive to colder temperatures. Thyme, oregano, and parsley, on the other hand, can endure a few frosts before harvesting becomes critical.
3 Ways to Dry Herbs
Method 1: Hanging Herbs to Dry
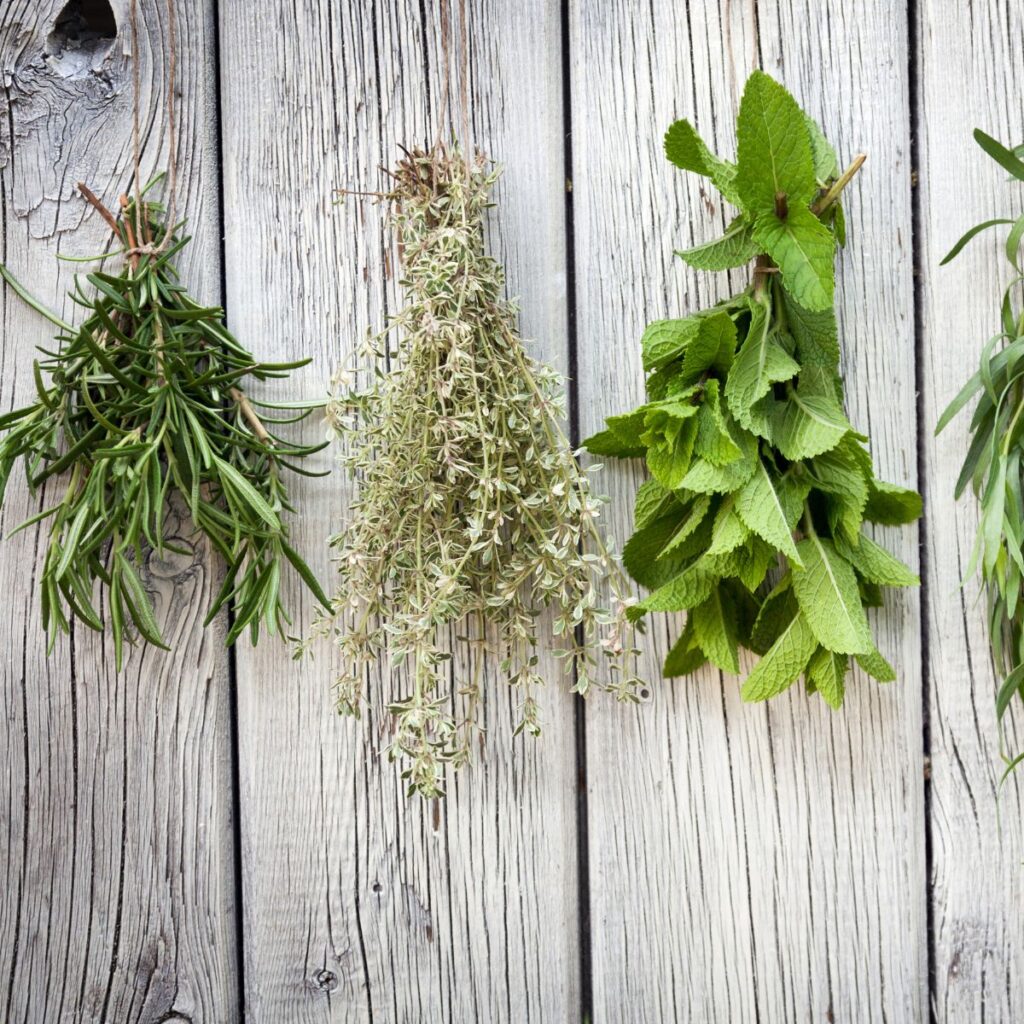
One of the most time-honored techniques for drying herbs is the simple act of hanging them. Gather your herbs into bundles, secure the stems with an elastic band, twine, or twist tie, and suspend them to dry. The duration typically ranges from one to three weeks, depending on the herb variety.
For optimal results, consider these key tips:
- Firstly, avoid exposing the drying herbs to direct sunlight, as it can diminish their color, flavor, and nutritional content.
- Secondly, select a cool, dark location with adequate air circulation to expedite the drying process while preventing excess moisture buildup and the risk of mold. For instance, a well-ventilated closet away from direct light works excellently.
- Thirdly, consider enclosing the hanging herbs in a paper bag to capture any fallen leaves, especially beneficial for herbs like lavender with delicate flower buds prone to dropping.
Personalized herb drying racks offer convenient solutions. These racks often feature clips to secure herbs and paper bags, allowing for simultaneous drying of multiple herb types.
Alternatively, mesh herb drying racks provide a single-layer arrangement for hanging herbs.
Method 2: Drying Herbs in a Dehydrator
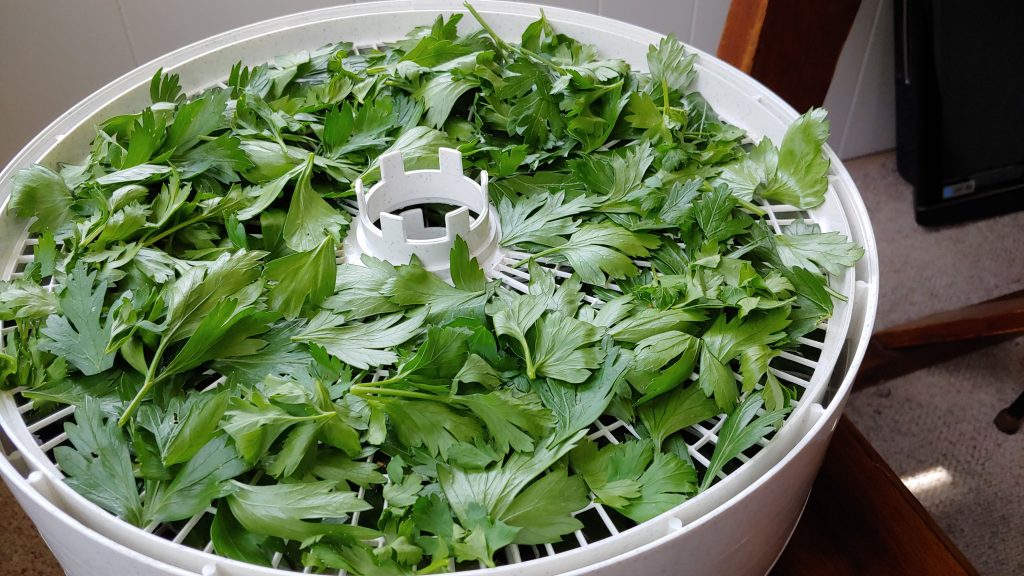
A dehydrator offers a swift solution for drying herbs by employing dry heat at a low temperature. There are two main types to consider: electric dehydrators and solar dehydrators.
Electric dehydrators, such as the Nesco model, provide versatility and temperature control for consistent results. If you’re in the market for a multi-purpose dehydrator capable of handling more than just herbs, check out our comprehensive guide for recommendations.
On the other hand, solar dehydrators utilize the sun’s heat instead of electricity. While they require careful monitoring, especially for delicate herbs, they offer an eco-friendly alternative. Plus, you have the option to purchase or build one yourself.
Both methods typically involve drying herbs at around 95 degrees for a day or two, depending on their moisture content. While basil may lose its vibrant green hue with prolonged drying, herbs like parsley and sage fare well in a dehydrator.
When using a dehydrator, remove large herb leaves such as parsley or basil from their stems and arrange them in a single layer. For herbs like thyme, tarragon, or oregano, leaving them on the stem until later is also an option.
Related post: How to Choose a Food Dehydrator
Method 3: Drying Herbs in your Oven

If a dehydrator isn’t in your toolkit and you’re eager to dry herbs without the waiting game of air-drying, your oven can step in as a reliable alternative. However, it requires careful monitoring to prevent over-drying.
To dry herbs in your oven, preheat it to its lowest setting (typically around 200-250 degrees), then switch it off. As the oven gradually cools down to a more suitable drying temperature (closer to 100 degrees), you can place your herbs inside. Check on them periodically, every few hours, to gauge their dryness.
Alternatively, if your oven allows for low-temperature settings (about 170 degrees), you can place the herbs inside and leave the oven door slightly ajar for about 30 minutes. Keep a close eye on them, as drying times vary between different herbs.
Some opt for drying herbs in the oven with just the oven light on. This method may provide sufficient warmth, but its effectiveness depends on the specific oven. To test this approach, consider using an oven thermometer and turning on the light for 10-15 minutes before checking the temperature. Aim for a range between 90 to 110 degrees for optimal drying without excessive delay.
How to Chop Fresh Herbs
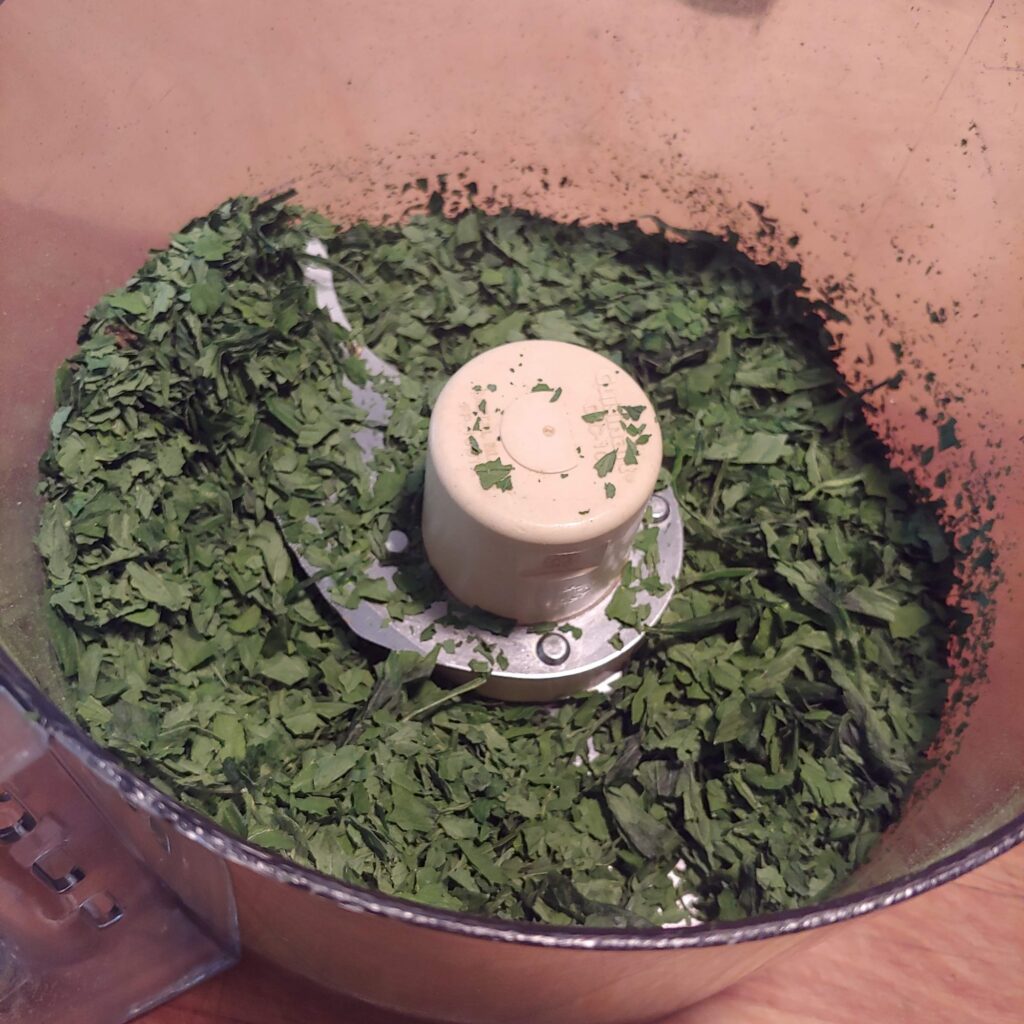
Once your herbs are dried, you will want to pick leaves off stems (if you haven’t already, and chop your herbs into smaller pieces.
While you can do this with a knife or by hand, we prefer a food processor. Specifically, we use our mini-chopper to puree herbs to our desired consistency.
Other posts you might like
- How to Dry Apples
- How to Make Dried Orange Slices
- How to Dry Rosemary – 4 Easy Methods
- How to Dry Black Currants in a Dehydrator
How to Store Dried Herbs
To maintain the freshness of dried herbs, store them in airtight containers or resealable plastic bags to prevent spoilage.
Consider refilling store-bought herb jars or invest in your own jars for a personalized herb display.
Remember, exposure to sunlight can compromise their quality, so opt for a dark corner of the kitchen, or store them in a cabinet or drawer to preserve their flavor and potency.
Grab Homemade Labels from the Shop
We’ve curated the perfect labels to help you get organized. Designed to bring simplicity and elegance to your spice collection. These Jar Labels will transform your spice storage and add a touch of minimalist charm to your kitchen.
Carrie Williams Howe is an educational leader by day and an aspiring homesteader by night and weekend. She lives on a small homestead in Vermont with her husband, two children, and a rambunctious border collie. She blogs about her family's homestead life at The Happy Hive.

