This post may contain affiliate links.
A Bean Teepee – a classic garden structure that’s both eco-friendly and visually appealing. Bean teepees are a vertical gardening option for growing pole beans.
In this guide, we’ll break down the process of creating your own bean teepee.
This easy-to-follow instructions and practical advice will help you construct a bean teepee that the kids and your family will love.
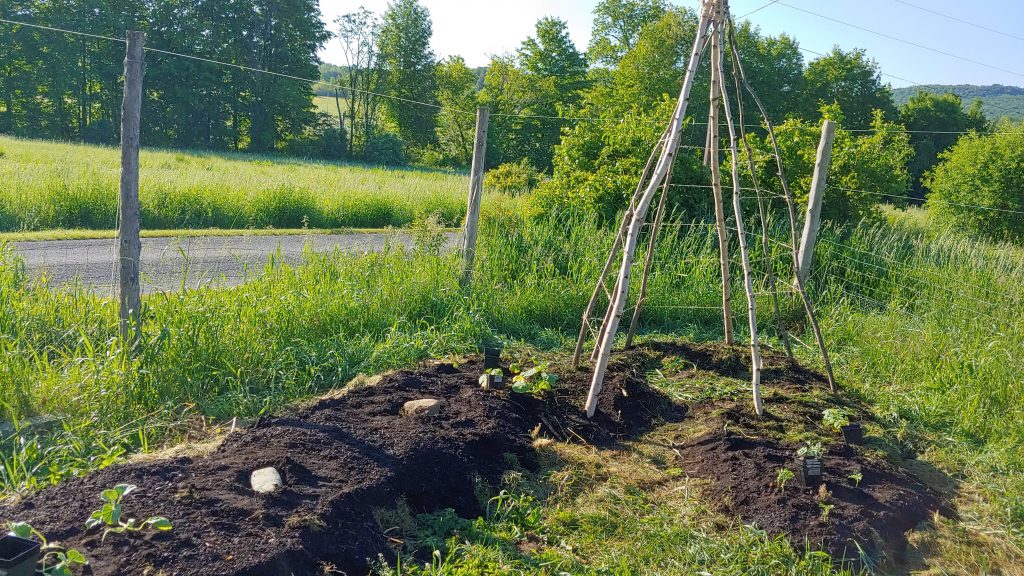
Why Build A Bean Teepee
These bean towers are an awesome addition to your garden for many reasons. Here are just a few reasons why:
- They are a great example of vertical gardening. Going up with your garden can help save space and allow you to grow more food in smaller square footage.
- They also take advantage of companion planting if you plant squash around the outer edges of the teepee.
- They add visual appeal to your garden both as an empty structure and when they are filled with growth. A lush green bean tower with multi-colored beans is a site to behold!
- They are a great family project – both to build and enjoy. A fully covered bean teepee is a great place for a tea party, hide-and-seek, or just the adventure of ducking inside to pick and eat fresh beans. This kind of tower can encourage kids to eat and enjoy fresh vegetables without forcing the issue!
- An excellent alternative to expensive store-bought products. It is made with natural, low-cost supplies. And when you are done with it, the parts can simply be returned to nature.
Supplies for Building a Bean Teepee
All you need to build a bean tower are:
- 5-7 tall sturdy sticks (we had just cut down some seedlings along our road before this project and they made the perfect structural parts)
- 50 feet of natural twine
- post-hole digger or shovel
- ladder or step stool (depending on how tall you want to go with your tower).
Bean Teepee Directions
A bean tower/teepee is a work of art as much as an engineered structure, so there is flexibility in how you build it. I describe our process here because we took a few extra steps to ensure our tower would be sturdy and roomy inside.
Step 1: Determine the location for your bean teepee
Remember, this tower will get tall and fill with foliage so make sure you won’t be shading out other parts of your garden that need light.
You’ll need a space where you can carve out a circle about 5-6 feet wide. One great option is to pair the bean tower with where you are going to plant squash (another of the “three sisters” veggies).
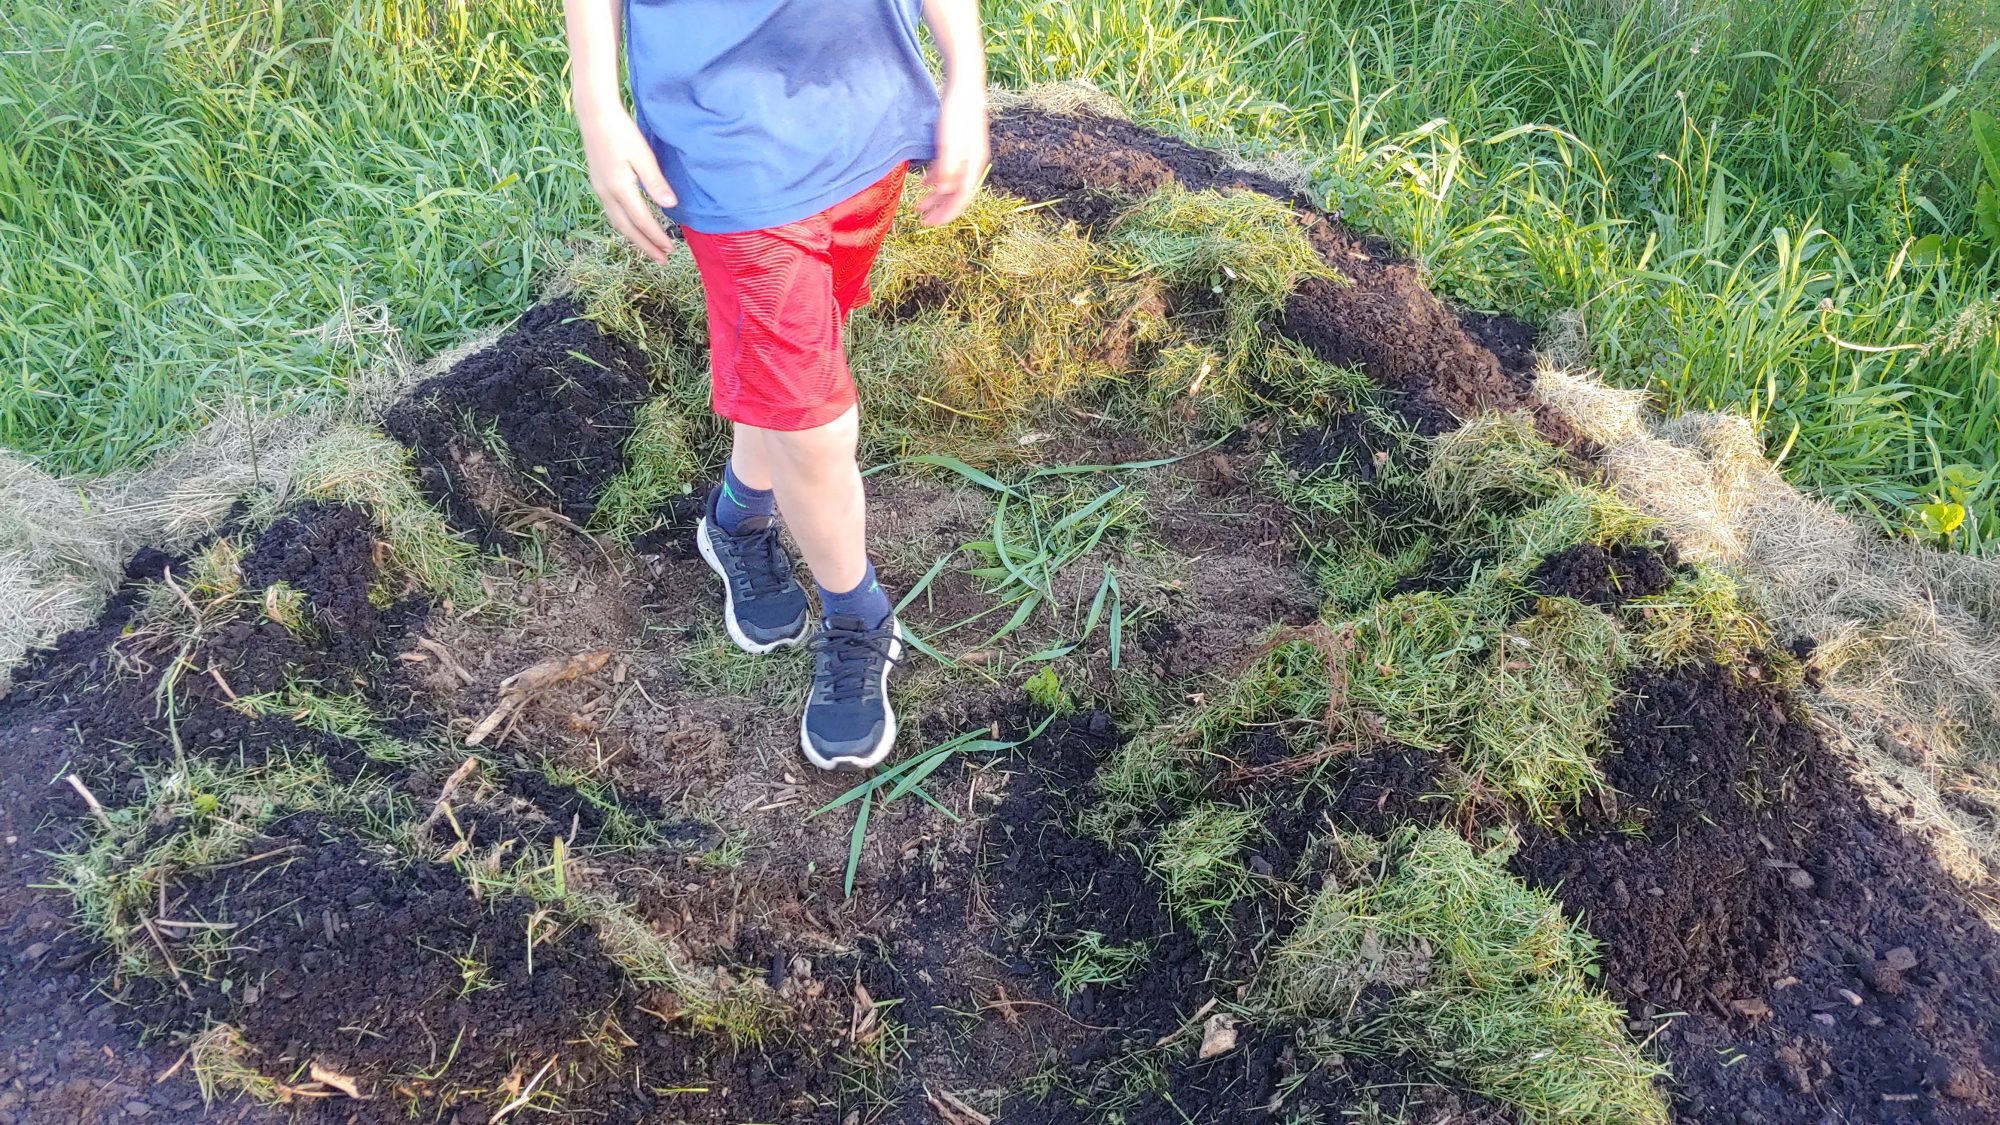
Squash can be planted around the bottom of the tower and allowed to grow along the ground while the beans grow up! Create a nice circle of raised compost in this area to really give your beans a treat!
Step 2: Dig your holes
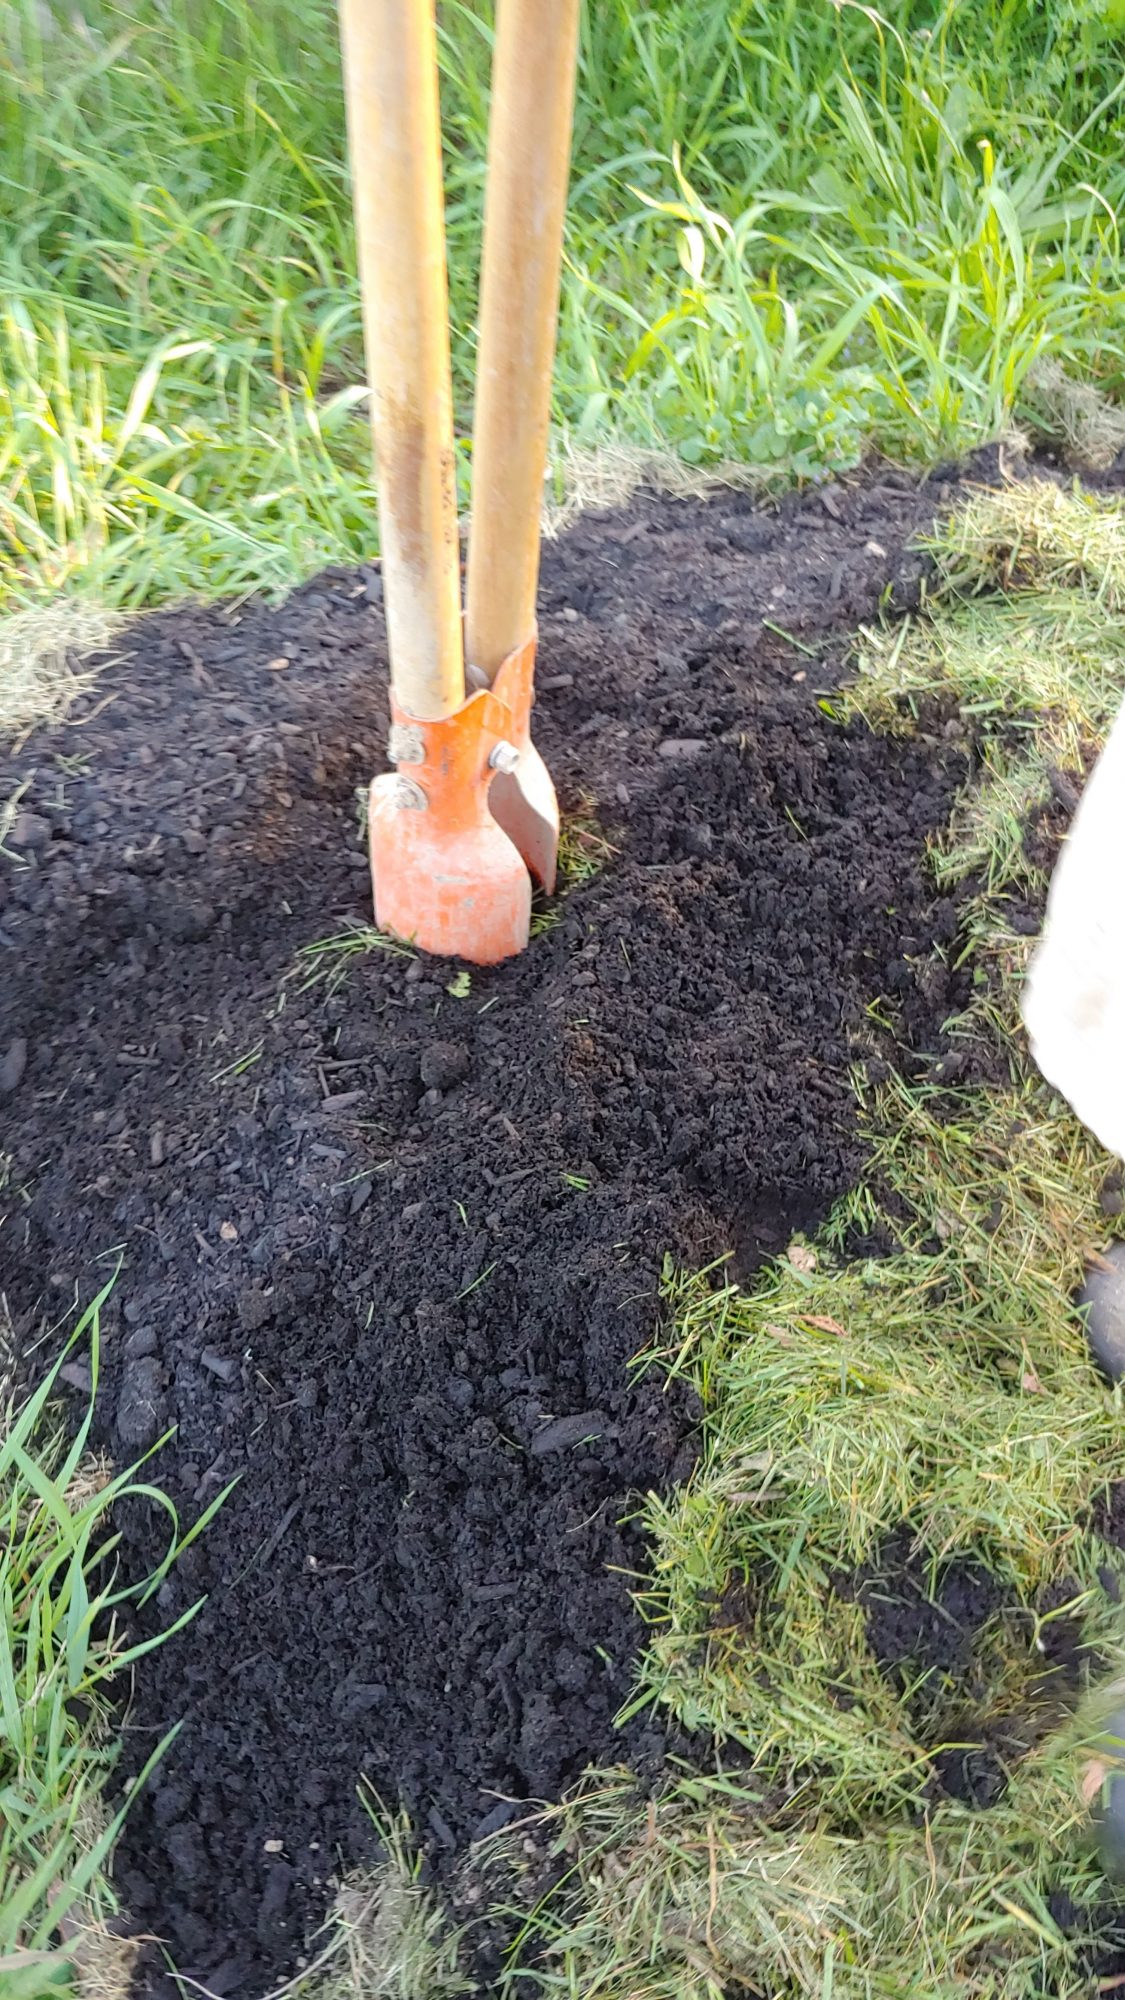
While you can simply place the branches on the ground and time them together at the top, we highly recommend digging about 6-10 inches down and placing your branches into the holes, then filling in around them with compact soil.
This will provide a second layer of stability for your tower so that it can last more than one season. Lay the branches in at an angle toward the middle of the circle.; you’ll need one person to hold the branches as you continue to add to the teepee.
Step 3: Tie branches together at the top
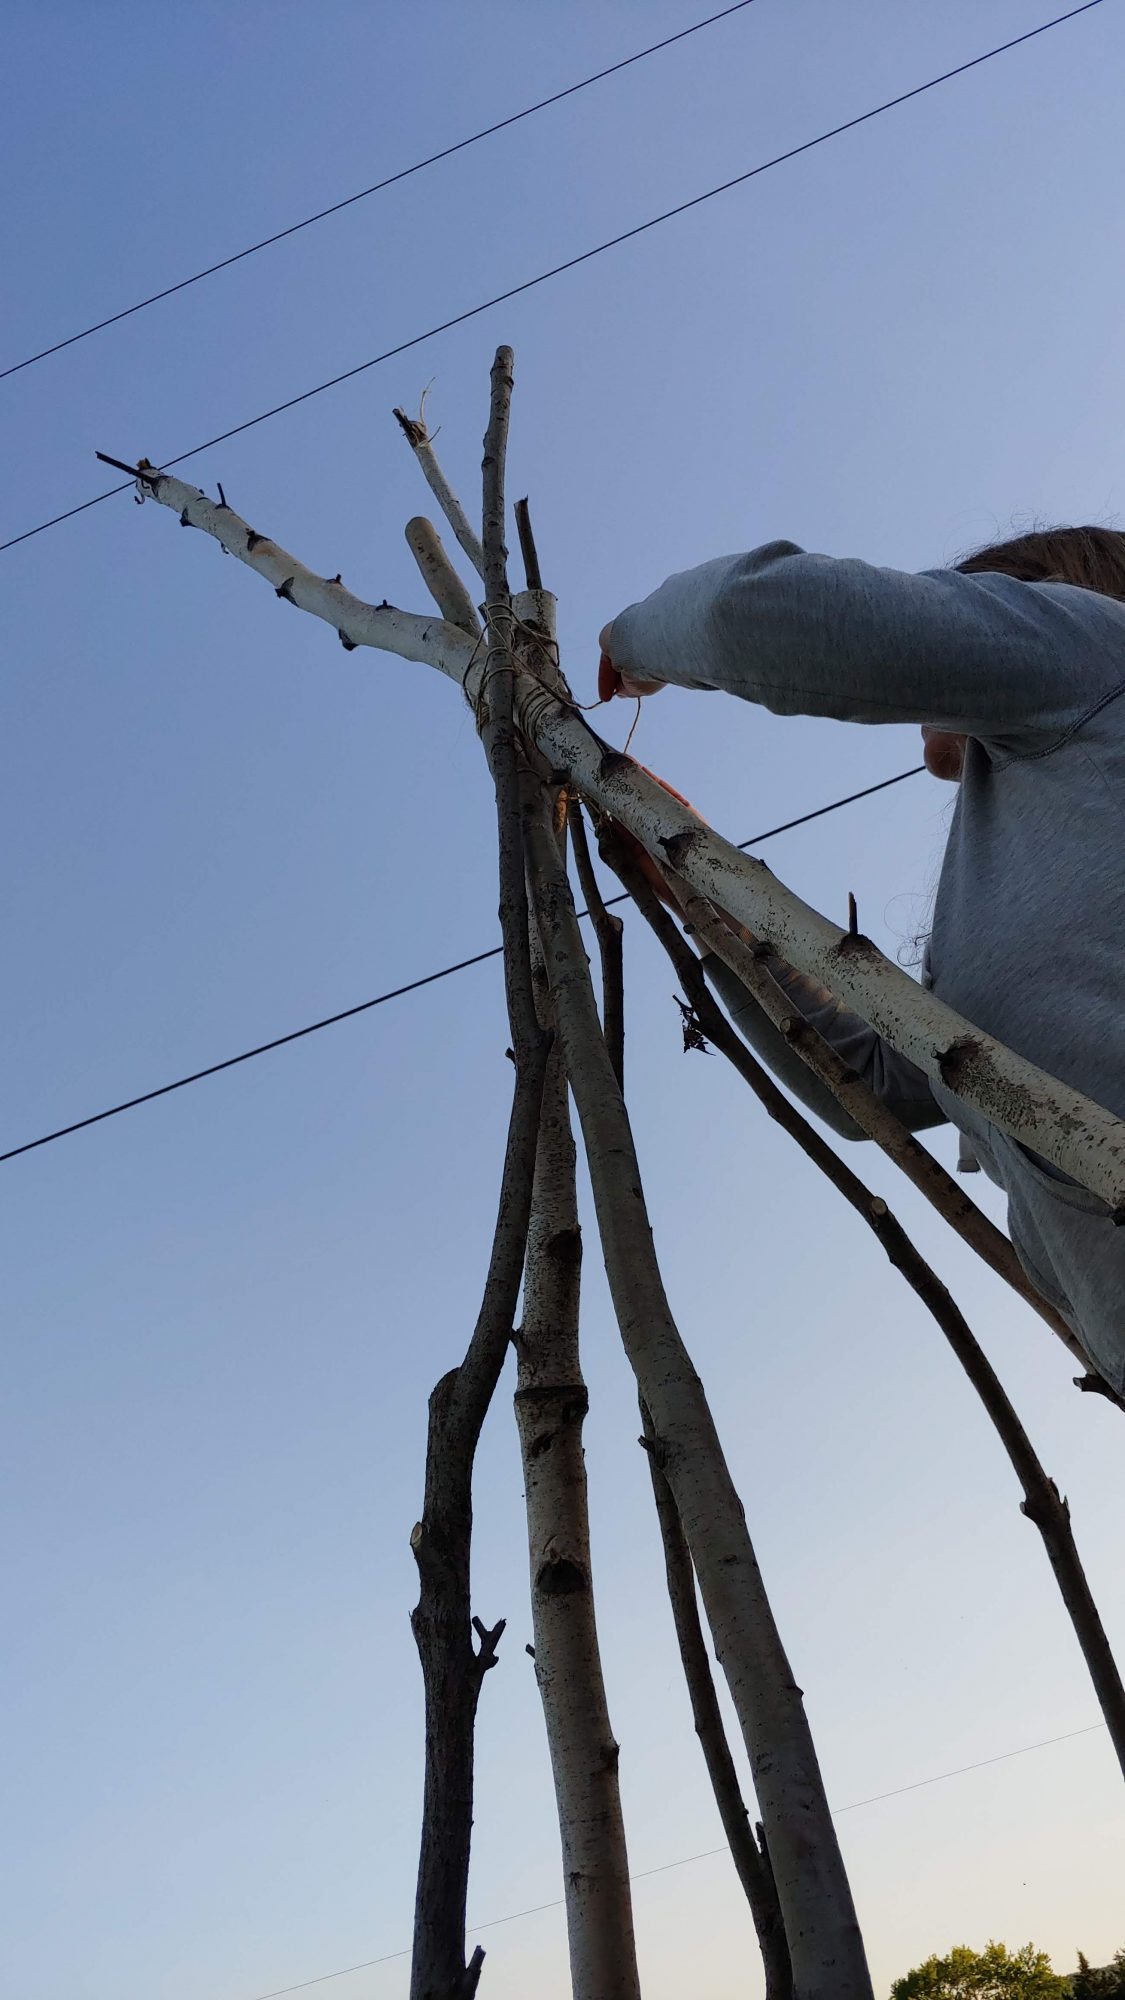
While one person stabilizes the first 2-3 branches, the other person can get up on a step ladder and tie the tops of the branches together. Begin by tying one end of the twine around a single branch with a strong knot, then wrapping the twine around the other branches.
We wrapped around individual branches as well as the whole collection for double support. Keep adding branches and adding twine as you go so that each branch gets some attention as it is added.
At the end, you may want to go around the whole group of branches of bunch of times to create a thick wrapping of twine.
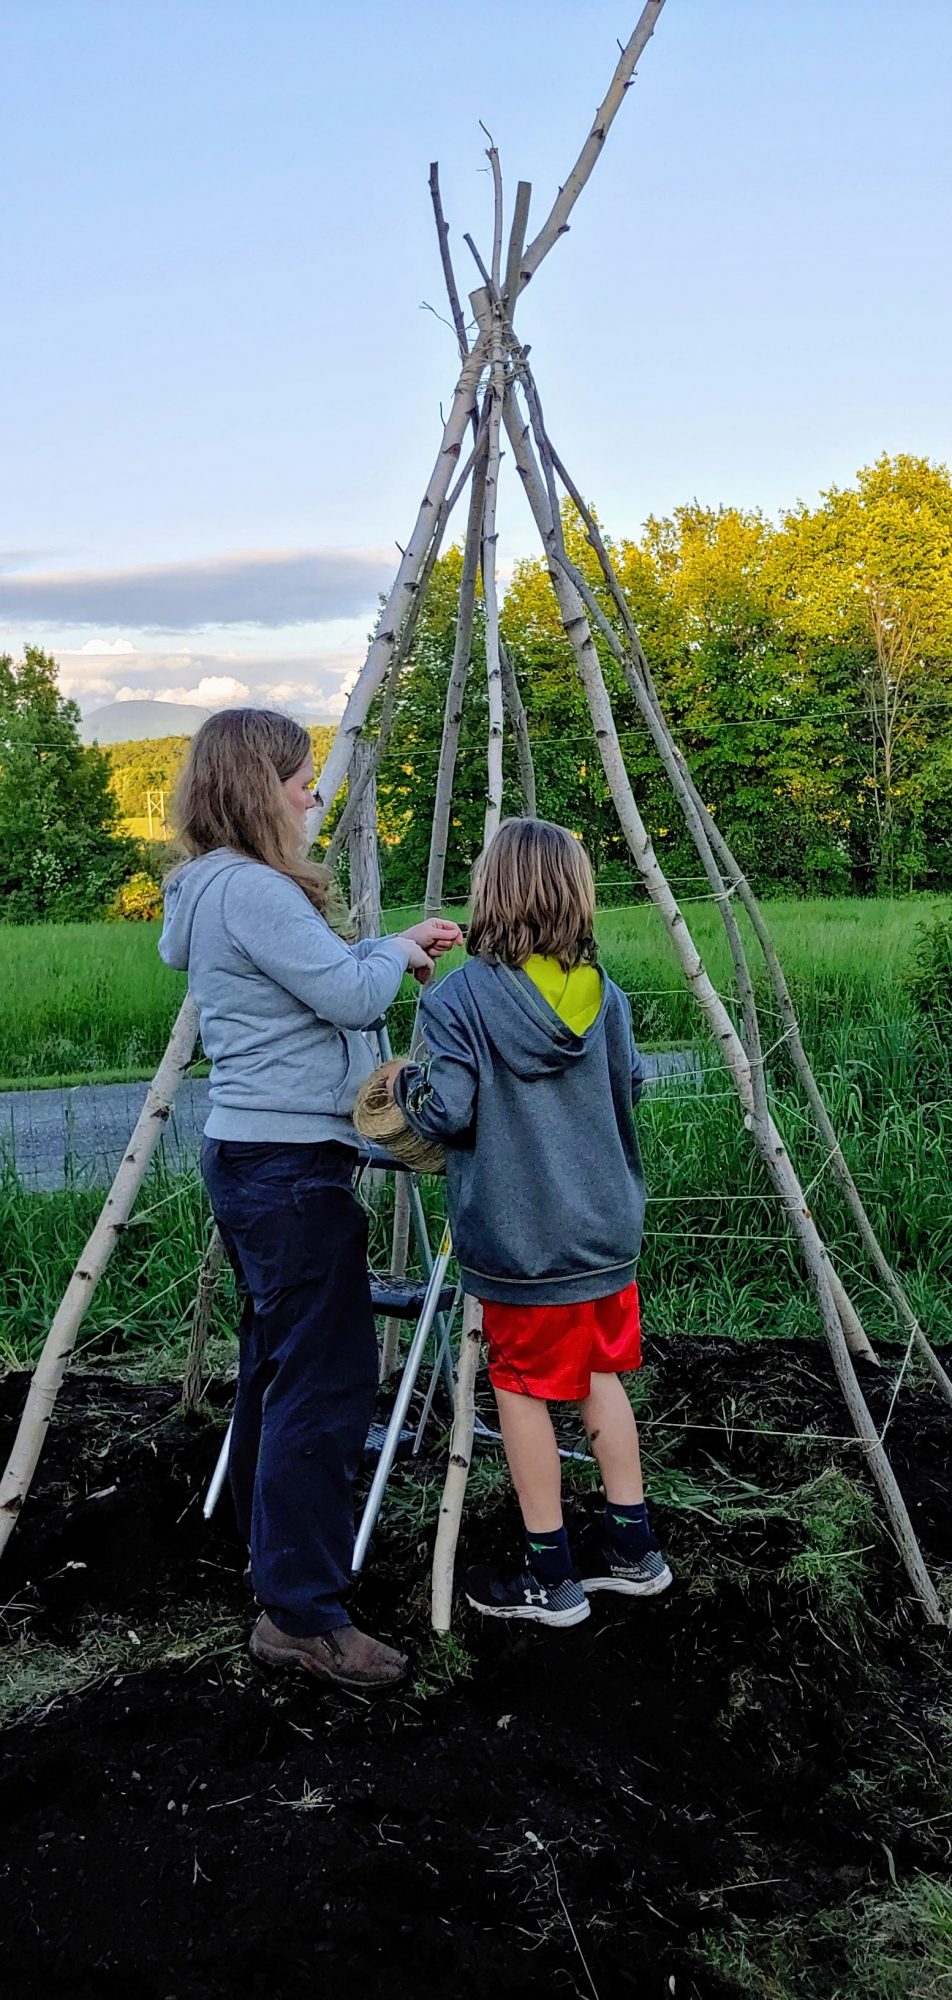
Step 4: Create a Twine Trellis
Using the same twine, start at one branch and create a horizontal support trellis by looping the twine twice around each branch (one wrap above and one wrap below). Repeat every 8 inches or so up the teepee until you are about 8 inches from the top.
Step 5: Plant Pole Beans
Plant pole bean seeds around the circumference of your teepee. We like to plant a few directly around the branch and then a few between each branch segment. There are several lovely varieties of pole beans out there.
For example, we like Heirloom Blue Lake Pole Beans from Renee’s Garden, or you could get a variety pack of Tri-Color Pole Beans to add color and diversity to your bean harvest.

And of course, don’t forget to hang out in your bean teepee to fully appreciate it!
Carrie Williams Howe is an educational leader by day and an aspiring homesteader by night and weekend. She lives on a small homestead in Vermont with her husband, two children, and a rambunctious border collie. She blogs about her family's homestead life at The Happy Hive.

